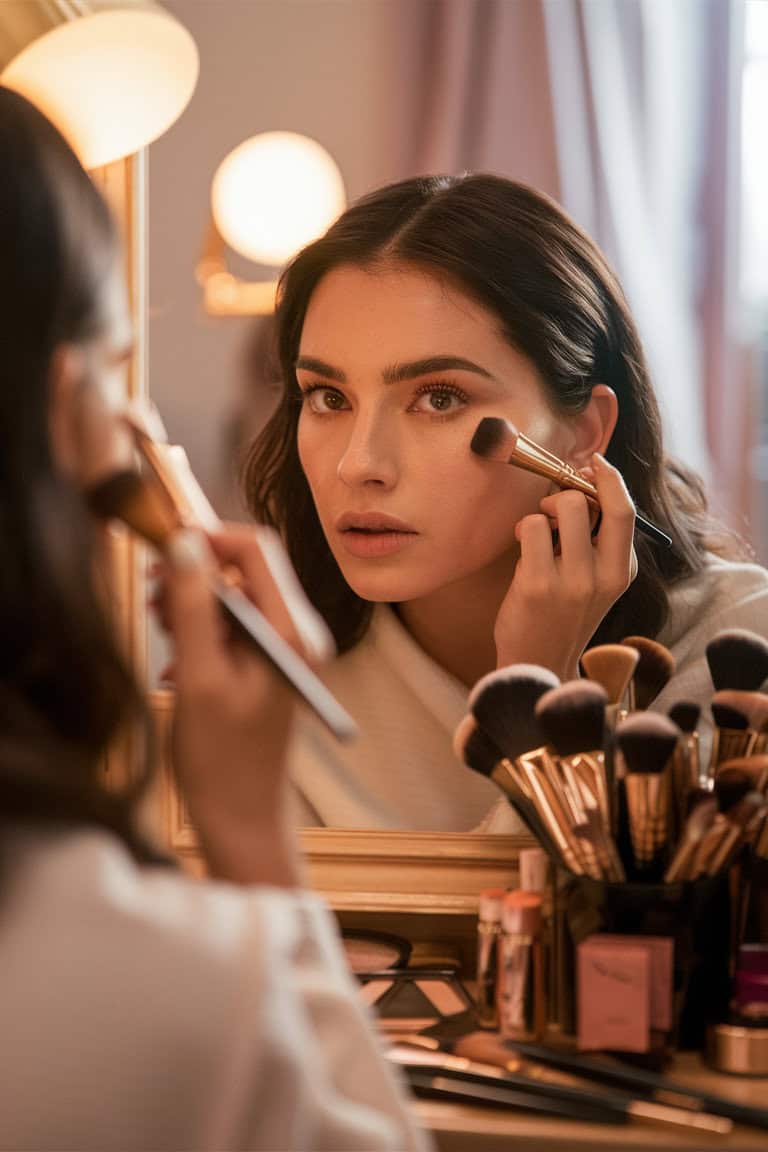
How to Contour Face for Beginners: Your BFF’s Guide to Sculpted Cheekbones
Hey there, gorgeous! So, you’ve decided to dip your toes into the world of contouring, huh? Well, grab your favorite beverage (I’ll wait while you pour that coffee… or wine, no judgment here!), and let’s dive into the wonderful world of face sculpting!
I remember when I first heard about contouring. It sounded like some kind of dark magic that only makeup artists and celebrities could master. But let me tell you a secret: it’s not as scary as it seems. In fact, once you get the hang of it, contouring can be downright fun! And the best part? You get to feel like a sculptor, but instead of marble, you’re working with your gorgeous face.
Table of Contents
What Even Is Contouring?

Before we jump into the how-to, let’s chat about what contouring actually is. In simple terms, contouring is the art of using makeup to sculpt and define your facial features. It’s all about creating shadows and highlights in strategic places to enhance your natural bone structure.
Think of it this way: have you ever taken a selfie in really good lighting and thought, “Dang, I look good!”? That’s because the light and shadow naturally contoured your face. With makeup, we’re just recreating that effect. Cool, right?
The Magic of Light and Shadow

Okay, time for a mini art lesson (don’t worry, I promise it’ll be painless and there won’t be a quiz at the end). The key to understanding contouring is understanding how light and shadow work on your face.
- Light areas come forward and appear more prominent.
- Dark areas recede and appear less prominent.
That’s it! That’s the big secret behind contouring. We use darker colors to create “shadows” in areas we want to recede, and lighter colors to bring areas forward. See? I told you it wasn’t rocket science!
Tools of the Trade: What You’ll Need

Before we start painting that beautiful face of yours, let’s talk about what you’ll need:
- Contour Product: This can be a powder, cream, or stick. For beginners, I recommend starting with a powder because it’s easier to blend and build up gradually.
- Highlighter: Again, this can be powder or cream. A subtle shimmer works great for everyday looks.
- Brushes: You’ll need a contour brush (something angled works great) and a fluffier brush for blending.
- Beauty Blender or Sponge: This is optional but great for blending cream products.
- Setting Powder: To lock everything in place.
- Mirror: Preferably one you can get up close and personal with.
- Good Lighting: Natural light is best, but any bright, even lighting will do.
Don’t feel like you need to run out and buy a whole new makeup kit. Work with what you have to start, and you can always invest in more specialized products later if you decide contouring is your jam.
Know Your Face Shape: The First Step to Contouring Success

Before we start slapping on makeup, let’s take a moment to get to know your face shape. This is crucial because different face shapes benefit from different contouring techniques.
Here’s a quick and dirty guide to figuring out your face shape:
- Round: Your face is about as wide as it is long, with full cheeks and a rounded chin.
- Oval: Your face is longer than it is wide, with a gently rounded jawline.
- Square: Your face is about as wide as it is long, with a strong, angular jawline.
- Heart: You have a wider forehead and cheekbones with a narrow chin.
- Diamond: Your cheekbones are the widest part of your face, with a narrow forehead and chin.
- Rectangle: Your face is longer than it is wide, with a square jawline.
Don’t stress if you don’t fit perfectly into one category. Most of us are a combination of shapes. The goal here is just to get a general idea of where we want to add dimension.
Contouring 101: The Basic Technique

Alright, now for the fun part! Here’s a step-by-step guide to basic contouring:
- Start with a clean, moisturized face: Make sure you’ve done your skincare routine and applied your foundation and concealer as usual.
- Find your cheekbones: Suck in your cheeks (you know, like you’re a fish or you’re about to apply blush in an 80s movie). See that hollow beneath your cheekbone? That’s where your contour is going to go.
- Apply contour: Using your contour brush, apply your contour product in a line just beneath your cheekbone, starting from your ear and moving about two-thirds of the way towards your mouth. Remember, we’re creating a shadow, so stay in that hollow!
- Blend, blend, blend: Use your fluffy brush to blend the contour upwards into your cheekbone. The key here is to make it look like a natural shadow, not a stripe of dirt on your face.
- Contour your forehead: Lightly apply contour around your hairline, focusing on the corners of your forehead.
- Define your jawline: Apply a light line of contour just beneath your jawline to define it.
- Highlight: Apply highlighter to the high points of your face – the tops of your cheekbones, the center of your forehead, down the bridge of your nose, and on your cupid’s bow (that little dip above your top lip).
- Blend again: Yes, more blending. Blending is your best friend in contouring.
- Set: Use a light dusting of setting powder to lock everything in place.
And voila! You’ve just contoured your face. Give yourself a pat on the back, you makeup artist, you!
Contouring for Different Face Shapes

Now that we’ve covered the basics, let’s talk about how to customize your contour for your face shape:
Round Face:
- Focus on creating shadows along the sides of your face to create the illusion of more length.
- Contour along your hairline, temples, and jawline.
- Apply highlighter down the center of your face to create the illusion of length.
Oval Face:
- Lucky you! Oval faces are considered the “ideal” shape for contouring.
- Focus on enhancing your natural bone structure.
- Don’t go too heavy on the forehead contour.
Square Face:
- Soften your angular jawline by applying contour along the corners of your jaw.
- Focus highlighter on the center of your forehead and chin to elongate your face.
Heart Face:
- Contour along your temples and the sides of your forehead to balance out width.
- Apply highlighter to your chin to bring it forward.
Diamond Face:
- Contour the area just below your cheekbones to enhance them.
- Apply highlighter to your forehead and chin to balance out your features.
Rectangle Face:
- Focus on creating width rather than length.
- Contour along your hairline and jawline.
- Apply highlighter to the apples of your cheeks to create fullness.
Remember, these are just guidelines. Feel free to experiment and find what works best for you!
Common Contouring Mistakes (And How to Avoid Them)

Okay, let’s talk about some common contouring pitfalls and how to steer clear of them:
- Using the wrong shade: Your contour should be only 1-2 shades darker than your natural skin tone. Any darker and you risk looking muddy or like you have dirt on your face.
- Not blending enough: I know I sound like a broken record, but blend, blend, blend! Harsh lines are not your friend in contouring.
- Contouring every part of your face: Remember, less is more. You don’t need to contour every single feature. Focus on the areas that will give you the most impact.
- Forgetting to set your makeup: Setting your contour with a light dusting of powder will help it last longer and look more natural.
- Using the wrong product for your skin type: If you have oily skin, powder products might work better for you. Dry skin? Cream products could be your best friend.
- Ignoring your neck: Make sure to blend your contour down onto your neck a bit to avoid any obvious lines of demarcation.
Contouring for Different Occasions

One of the great things about contouring is that you can adjust it for different occasions:
Everyday Look:
- Keep it light and natural.
- Focus on a subtle cheekbone contour and a touch of highlighter.
Night Out:
- Go a bit heavier with your contour.
- Add extra highlight for that candlelit glow.
Special Event or Photos:
- You can go a bit more dramatic since cameras tend to wash out makeup.
- Pay extra attention to blending to avoid any harsh lines in photos.
Cream vs. Powder Contour: The Great Debate

Let’s talk about the pros and cons of cream and powder contour products:
Cream Contour:
- Pros: Blends seamlessly into the skin, great for dry skin types.
- Cons: Can be trickier to apply, might not last as long on oily skin.
Powder Contour:
- Pros: Easier to build up gradually, great for oily skin types.
- Cons: Can look cakey if overapplied, might emphasize dry patches.
My advice? Start with whatever you’re most comfortable with. You can always experiment with different products as you get more confident in your contouring skills.
Contouring Different Features

While we’ve focused a lot on cheekbones, you can contour other features too:
Nose Contouring:
- Apply a thin line of contour down each side of your nose bridge.
- Highlight the center of your nose bridge.
- Be sure to blend well!
Lip Contouring:
- Apply a small amount of contour just below your bottom lip to make it appear fuller.
- Add a touch of highlighter to your cupid’s bow.
Eye Contouring:
- Apply contour to your crease to make your eyes appear larger.
- Highlight under your brow bone and in the inner corner of your eye.
The Importance of Blending (Yes, I’m Mentioning It Again)

I know I’ve said it before, but it bears repeating: blending is the key to natural-looking contour. Here are some blending tips:
- Use circular motions when blending to avoid streaks.
- Blend upwards with your contour to lift your features.
- If you’re using cream products, blend quickly before they set.
- When in doubt, blend more. You can always add more product, but it’s harder to take away.
Contouring for Different Skin Tones

Contouring isn’t one-size-fits-all. Here are some tips for different skin tones:
Fair Skin:
- Choose cool-toned contour products to mimic natural shadows.
- Go light-handed with application.
Medium Skin:
- Warm-toned contour products often look most natural.
- You can go a bit deeper with your contour shade.
Dark Skin:
- Look for rich, deep contour shades.
- Don’t be afraid of a more dramatic highlight.
Taking Care of Your Skin

Remember, great makeup starts with great skincare. Here are some tips to keep your skin in top shape for flawless contouring:
- Cleanse your face morning and night.
- Exfoliate regularly to remove dead skin cells.
- Moisturize to keep your skin hydrated.
- Use SPF daily to protect your skin from sun damage.
- Remove your makeup thoroughly every night.
Practice Makes Perfect

Here’s the thing: contouring is a skill, and like any skill, it takes practice to master. Don’t get discouraged if your first few attempts don’t look like something out of a magazine. Even makeup artists had to start somewhere!
Try practicing your contouring when you have some free time at home. This way, you can experiment without the pressure of having to go anywhere. Plus, if it doesn’t turn out quite right, you can just wash it off and try again!
Embracing Your Natural Beauty

While contouring can be a fun way to enhance your features, remember that it’s just makeup. You’re beautiful with or without it. Contouring should be about having fun and feeling confident, not about trying to change who you are.
Some days you might feel like going full glam with a dramatic contour, and other days you might prefer a bare face. Both are perfectly okay! Makeup is about self-expression, so do whatever makes you feel like the best version of yourself.
Wrapping It Up
Phew! We’ve covered a lot of ground, haven’t we? From the basics of contouring to tips for different face shapes and skin tones, you’re now armed with all the knowledge you need to start your contouring journey.
Remember, these are all just guidelines. Makeup is an art form, and you’re the artist. Feel free to experiment, play around, and find what works best for you. Maybe you’ll discover a unique technique that makes your cheekbones pop like never before!
At the end of the day, contouring is about enhancing your natural beauty, not changing it. So have fun with your makeup, but never forget that you’re gorgeous just as you are.
Now go forth and sculpt those cheekbones! And if anyone asks about your suddenly more defined face, just wink and say it’s your little secret. Your contour and I will never tell!


