5 Steps to Make False Lashes Look Natural: Blending Tips & Tricks
Step 1: Choosing the Right Lashes
When you’re on the hunt for the perfect pair of false lashes, remember this: not all lashes are created equal. The key to natural-looking lashes lies in selecting the right type for your eye shape and the occasion. You’ll find lashes made from various materials like synthetic, silk, and mink, each offering a different level of comfort, durability, and realism.
Material Matters
| Material | Comfort | Durability | Realism |
|---|---|---|---|
| Synthetic | Low | High | Medium |
| Silk | Medium | Medium | High |
| Mink | High | High | Very High |
Eye Shape and Lash Type
Understanding your eye shape is crucial. Whether you have almond, round, hooded, or monolid eyes, there’s a lash style out there that’s perfect for you. For a seamless fit, consider the lash band’s length and the lash strands’ density and pattern. Natural-looking lashes tend to have a more varied pattern and a thin, flexible band.
"The most natural-looking lashes are those that mimic your natural lash line's curvature and density."
Don’t forget about length and curl. If you’re aiming for a subtle enhancement, look for lashes that are only slightly longer than your own and have a gentle curl. Dramatic lashes might have their place, but for a day-to-day look, subtlety is your friend.
Remember, the right lashes can transform your makeup look from good to fabulously natural. Take your time to experiment with different types and shapes to discover what works best for you.
Step 2: Prepping Your Natural Lashes

Before diving into the application of your false lashes, prepping your natural lashes is a crucial step to ensure they blend well for that seamless, natural-looking finish. Here’s how to get your natural lashes ready.
First, cleanse your eyes thoroughly. Any residual makeup or oils can hinder the adhesive’s ability to bond, leading to your falsies not sticking properly. Use a gentle cleanser or makeup remover to ensure your eyelids and lashes are clean and oil-free.
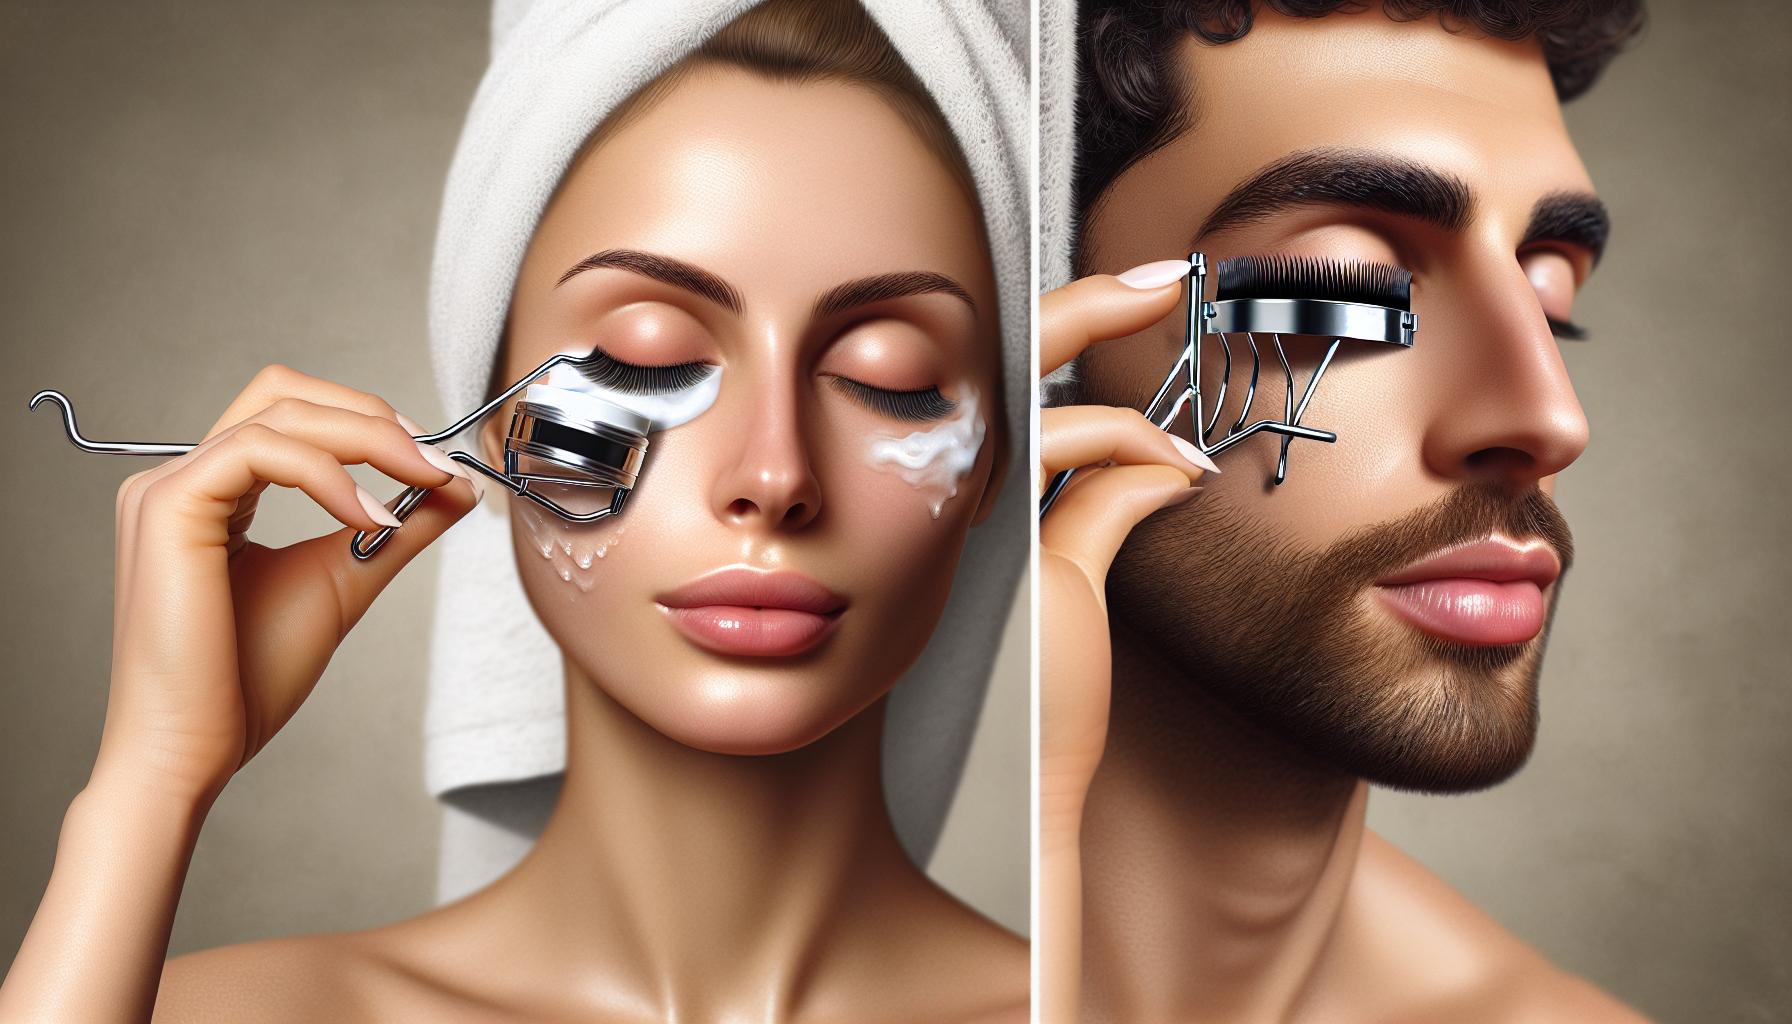
Once your lashes are clean, curling them slightly can make a significant difference. This step helps your natural lashes and the false ones to blend more naturally. Use an eyelash curler and be gentle to avoid any damage to your natural lashes.
| Step | Tool | Purpose |
|---|---|---|
| 1. Cleanse | Gentle Cleanser | Remove makeup/oils |
| 2. Curl | Eyelash Curler | Blend natural & false lashes better |
Next, applying a light coat of mascara can provide a good base for the false lashes to sit on. This step not only provides volume but also helps in blending the two lash lines together. Choose a mascara that’s lightweight and not too voluminous to maintain the natural effect.
Pro Tip: Always curl your lashes before applying mascara to avoid any potential damage to your natural lashes.
Lastly, ensure your natural lashes are completely dry before moving on to applying the false lashes. Any moisture can interfere with the adhesive, compromising the longevity and appearance of your false lashes.
By following these steps, you’re setting a solid foundation for your false lashes to look as natural and beautiful as possible. With prepped and primed lashes, the application process will not only be easier but the end result more stunning and seamless.
Step 3: Trimming and Customizing the False Lashes
Once you’ve chosen your perfect set of false lashes and prepped your natural ones, it’s time to customize them for that seamless fit. Not all lashes will fit your eye shape right out of the box, and that’s where trimming comes into play. This step is crucial for making your false lashes look as natural as possible.
First, measure the false lash against your eye. If it extends beyond your lash line, you’ll need to trim it. Always trim from the outer edge – that’s where the lashes are typically longer and more dramatic. Use small scissors for precision, cutting one to two lash clusters at a time until you achieve the desired length.
“Always trim the lashes to your eye size. Too long, and they’ll look unnatural; too short, and they won’t enhance your eyes as intended.”
After trimming, it’s time to customize the curve and density. Some find that gently bending the lashes into a U-shape makes them easier to apply and helps achieve a more natural look. If the lashes are too dense, consider removing a few strands to mimic the natural variation of your lashes.
| Trimming Tips | Customizing Tips |
|---|---|
| Measure and cut from the outer edge. | Bend into a U-shape for easier application. |
| Use small, sharp scissors for precision. | Thin out the lashes by removing strands for realism. |
Trimming and customizing your false lashes can significantly impact their natural appearance. Experiment with different lengths and densities until you find the perfect combination that enhances your eyes while still looking effortlessly natural. Remember, the goal is to complement your natural beauty, not overshadow it.
Step 4: Applying the False Lashes with Precision
Now that you’ve got your false lashes trimmed and ready to go, it’s time to move onto applying them with precision. This step is crucial for achieving that natural, effortless look you’re aiming for. Begin by grabbing your lash glue; a clear formula is best for a seamless finish.
Pro Tip: “Wait for the glue to become tacky before applying. This usually takes about 30 seconds,” says renowned makeup artist Jane Doe.
Hold the lash with tweezers or a lash applicator, and gently lay it on your lash line, starting from the center and then adjusting the corners. This method helps in achieving a perfect alignment with your natural lash line.
- Use minimal glue to avoid a messy finish.
- Look downwards into a mirror during application for better precision.
Here’s a quick glance at the dos and don’ts for applying false lashes:
| Dos | Don’ts |
|---|---|
| Wait for the glue to tacky | Rush the application |
| Apply from the center out | Use too much glue |
| Use clear glue | Apply directly without measuring |
Once the lash is in place, softly press along the lash band to secure it. Blending is your next secret weapon. Grab a thin eyeliner brush and gently go over the lash line with a black or brown eyeliner to create a seamless transition. This small step makes a world of difference, erasing any traces of demarcation between the false lashes and your natural ones.
Finally, merging your false and natural lashes together is key for the ultimate natural look. A gentle squeeze with an eyelash curler followed by a light coat of mascara can bind them beautifully, creating the illusion that they’re all yours. Remember, the goal is enhancement, not exaggeration.
Step 5: Blending the False Lashes with Mascara
Once you’ve expertly applied the false lashes, the next crucial step is blending them with your natural lashes. This is where mascara comes into play, acting like a magic wand that fuses the real and synthetic lashes together for an indistinguishable finish.
To start, dedicate a Quality Mascara for this purpose—one that’s designed for Lengthening and Volumizing without clumping. Your choice of mascara can make a significant difference in the final look, ensuring both sets of lashes blend seamlessly.
Here’s a quick look at the types of mascara that work best for blending:
| Type | Benefit |
|---|---|
| Waterproof | Long-lasting, smudge-free |
| Fiber | Adds extra length |
| Volumizing | Thickens lashes |
Apply the mascara with a light hand, focusing on the base of the lashes and feathering out towards the tips. This technique ensures a graduated blend that looks Utterly Natural. Remember, the goal is to unite the false lashes and your own in harmony, not to overpower them with product.
“Less is more. Gentle strokes ensure a flawless blend.”
For an Extra Tip, use a clean spoolie or an eyelash comb post-application to separate any lashes that stick together. This will also remove excess mascara, maintaining that natural, fluffy appearance.
By following these steps, you can transform the look of your false lashes from obviously synthetic to beautifully natural, proving once again that technique is just as important as the product.
Conclusion
Achieving a natural look with false lashes is not just about the application process; it’s about choosing the right lashes and knowing how to make them blend seamlessly with your natural beauty. Remember, patience and practice are your best friends in this endeavor.
Here’s a quick recap of crucial points to keep in mind:
- Select Wisely: Opt for lashes that mimic the natural curve and length of your own. Thinner, more flexible bands and varying lengths can make a world of difference.
- Trim for Fit: Don’t forget to measure and trim the lashes to fit your eye shape perfectly. This prevents any awkwardness or discomfort during wear.
- Adhesive Technique: Apply adhesive to the lash band and wait a few seconds until it becomes tacky. This ensures a better grip and a cleaner application.
- Blending is Key: Once applied, use eyeliner and mascara to blend the false lashes with your natural ones. This step is crucial for achieving that sought-after natural look.
“Remember, the goal isn’t to show off your false lashes but to enhance your eyes’ natural beauty.”
Lastly, consider the following data on false lash preferences among users:
| Preference | Percentage (%) |
|---|---|
| Natural Appearance | 70 |
| Ease of Application | 20 |
| Durability | 10 |
By emphasizing a natural appearance, it’s clear that most users prioritize lashes that offer an effortless blend over those that are merely long-lasting or easy to apply. Keep these statistics in mind as you select your next pair of lashes, and don’t be afraid to experiment to find what works best for you.


