Ultimate Guide: How to Wear Lashes Like a Pro & Care Tips
Understanding the Basics of Lashes
Before you dive into the lash-wearing process, it’s crucial to get acquainted with the basics. Understanding these elements will not only make your experience smoother but also ensure that your lashes look as natural and flattering as possible.
Selecting the Right Pair
Choosing the right pair of lashes can feel overwhelming at first. However, it essentially boils down to your eye shape and the look you’re aiming for. If you’re not sure about your eye shape, consult a beauty expert or take a closer look in the mirror and compare your eyes to common shapes like almond, round, hooded, or monolid.
Here’s a quick guide to help you get started:
| Eye Shape | Lash Type | Effect |
|---|---|---|
| Almond | Any Style | Enhances natural shape |
| Round | Winged | Creates elongation |
| Hooded | Curled | Opens up the eye |
| Monolid | Layered | Adds depth |
Essential Tools for Application
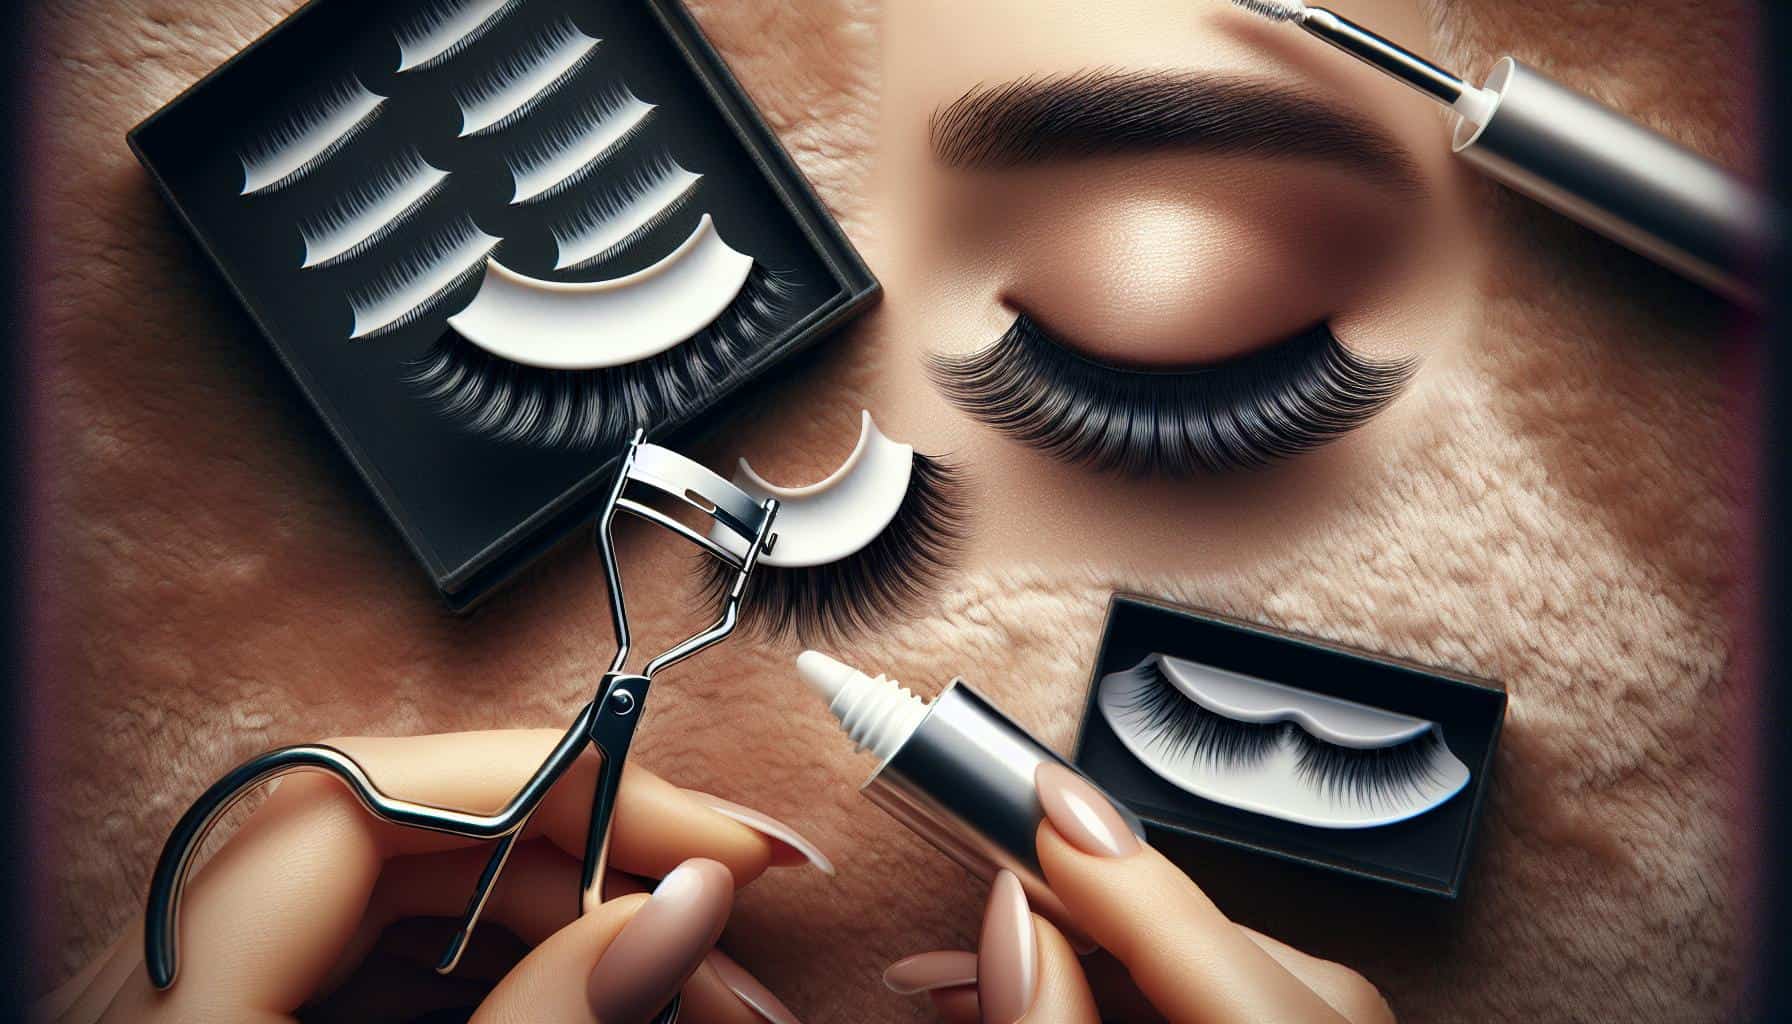
Having the right tools is half the battle. Ensure you have the following:
- High-quality lash glue: Opt for a waterproof and latex-free option if you have sensitive eyes.
- Tweezers or a lash applicator: These will aid in precise placement.
- Scissors: For trimming the lashes to fit the width of your eye.
“The key to flawless lashes isn’t just in the application. It’s also about selecting the right style and tools from the get-go.”
Remember, practice makes perfect. You might not get it right on the first try, but don’t get discouraged. With persistence and patience, you’ll find that mastering the art of wearing lashes will elevate your makeup game to a whole new level.
Choosing the Right Lashes for Your Eye Shape
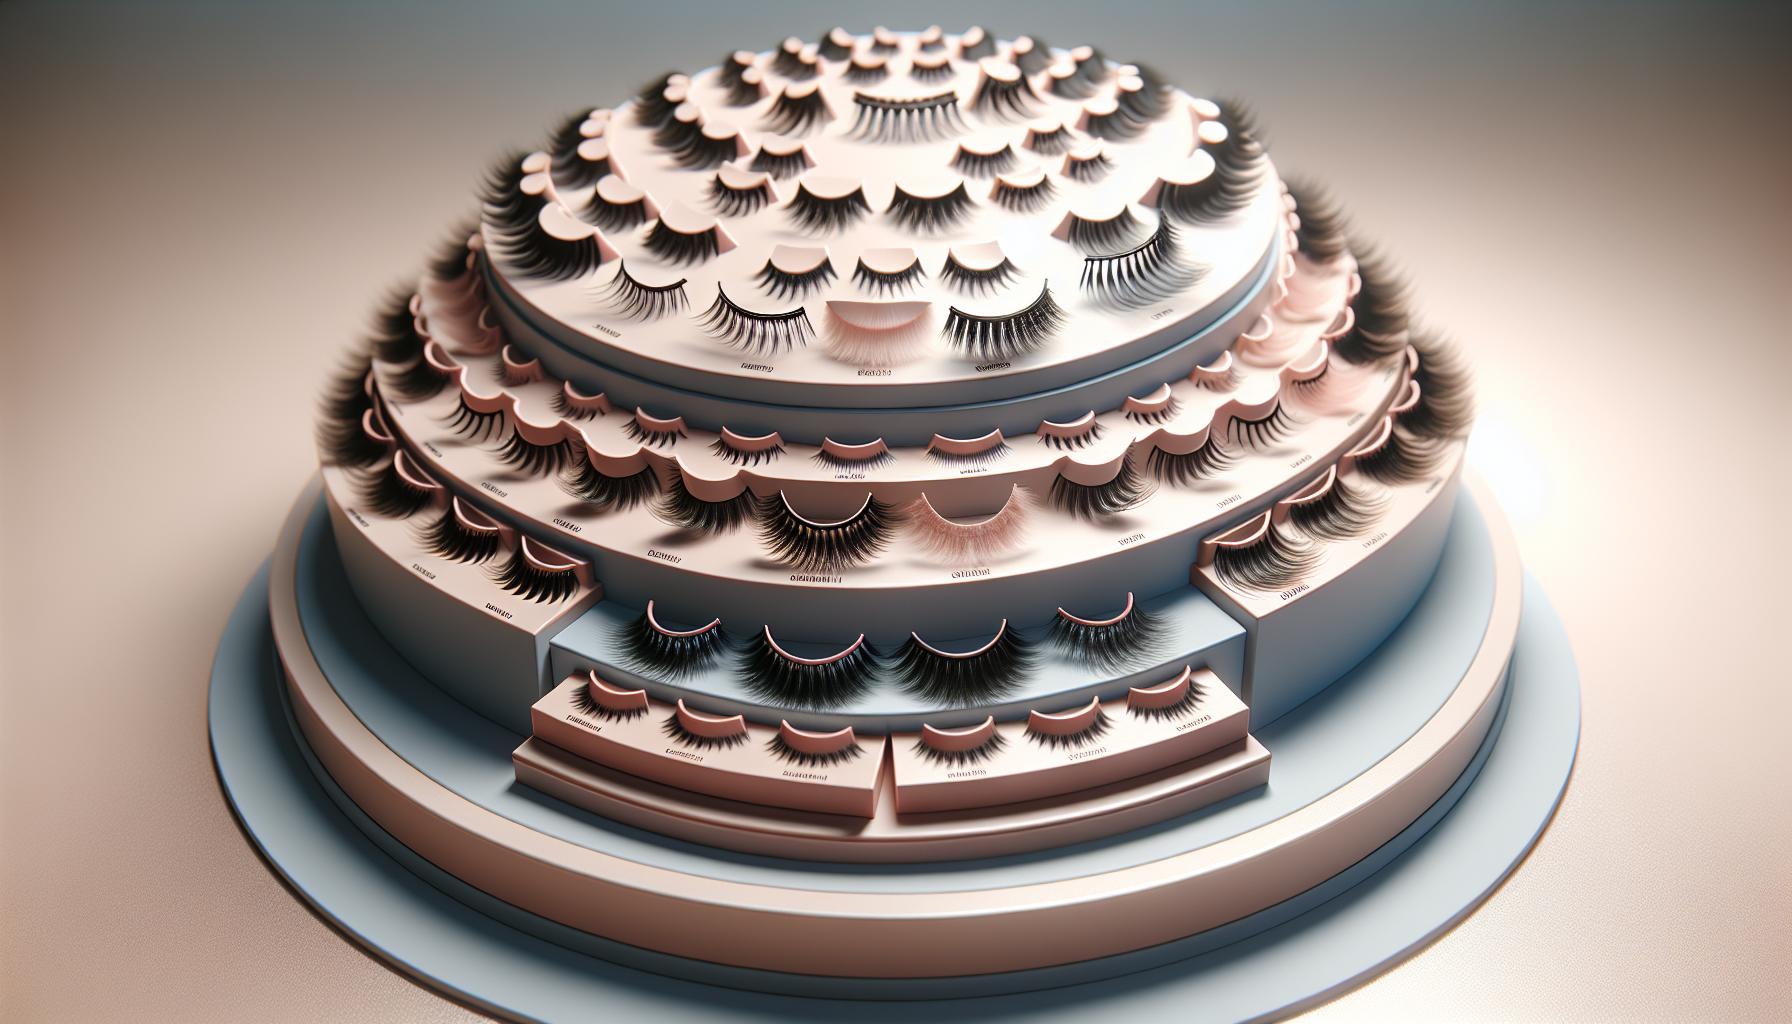
When it’s time to pick the perfect pair of false lashes, considering your eye shape is key. Not all lashes will suit everyone, and the right style can enhance your natural beauty by leaps and bounds.
For starters, here’s a quick guide to help you match your eye shape with the ideal lash type:
| Eye Shape | Recommended Lashes |
|---|---|
| Almond | Wispy, full-length |
| Round | Voluminous, curled |
| Hooded | Long, fluttery |
| Monolid | Layered, fluttery |
| Deep Set | Dramatic, long |
| Close Set | Winged out |
| Wide Set | Fuller in the center |
If you’re unsure about your eye shape, take a moment in front of a mirror to really look at the contour of your eyes. Almond eyes are the most common and are characterized by a slightly pointed outer corner. Round eyes exhibit more of a curve, making them appear larger, while hooded eyes have a crease with a prominent brow bone. Monolids are flat and don’t have much of a crease, if at all.
“The perfect pair of lashes can truly transform your look. It’s not just about the added length or volume, but how they complement your natural eye shape,” says a makeup expert.
After identifying your eye shape, consider the effect you’re aiming for. Do you want a natural, everyday look, or are you going for full-on glamour? Your desired effect, along with your eye shape, will guide you in choosing the right lashes. Remember, it’s all about enhancing your natural beauty and making your eyes pop in the best way possible.
Prepping Your Lashes for Application
Before diving into the actual application, preparing your natural lashes and the false ones is key to achieving a seamless and lasting look. Here’s how to ensure your lashes are ready for their glam upgrade.
First, cleanse your natural lashes thoroughly. Makeup residue or natural oils can hinder the adhesive’s effectiveness, resulting in your lashes not sticking properly. Use a gentle, oil-free makeup remover to clean the area around your eyes. Pat dry with a soft towel—avoid rubbing or pulling on your lashes.
Next, it’s essential to curl your natural lashes. This step helps them blend seamlessly with the false lashes, creating a unified, natural-looking effect. Use an eyelash curler and gently press at the base of your lashes, holding for a few seconds before releasing.
Trimming your false lashes to fit your eye shape is another crucial step. Not all eyes are the same size, and lashes that are too long can feel uncomfortable and look unnatural.
| Step | Description |
|---|---|
| Cleanse | Remove makeup and oils with an oil-free remover. |
| Curl | Curl your natural lashes for blending. |
| Trim | Cut the false lashes to match your eye size. |
Pro Tip: Always measure the false lashes against your eye before trimming. You can always cut more off, but you can’t add length back once it’s gone!
Lastly, apply a thin layer of lash adhesive to the strip. Let it dry slightly, becoming tacky, which usually takes about 30 seconds. This consistency ensures the lashes adhere better to your skin without sliding around.
Applying Lashes Step by Step
Now that your natural lashes are prepped and your false lashes are trimmed perfectly for your eye shape, it’s time to dive into the actual application. Applying false lashes can seem daunting at first, but with these steps, you’ll find it becomes second nature.
Firstly, grab your lash adhesive. Apply a thin line along the band of your false lashes. Remember, less is more. If you use too much glue, it’ll make a mess and take longer to dry. Let the adhesive set for about 30-60 seconds until it’s tacky but not wet. This is crucial for a smooth application.
“Patience is key. Let the glue set until tacky for easier application.”
Next, gently place the lash band as close to your natural lash line as possible, using tweezers for precision. Start from the center of your eye, then adjust the ends. Press down lightly across the length of the lash band, ensuring it’s secure.
Here’s a quick summary of the process:
- Apply Adhesive: Thin line on lash band
- Wait: 30-60 seconds for the glue to become tacky
- Place: Use tweezers for precision
| Step | Tool | Tip |
|---|---|---|
| Apply Glue | Lash Glue | Thin line, let set |
| Placement | Tweezers | Start center, then adjust ends |
| Secure | Fingers | Gently press across the lash band |
After the lashes are in place, use a lash curler to gently merge your natural and false lashes. This step will help create a seamless look, making it appear more natural and less like you’re wearing false lashes at all.
To finish, consider adding a coat of mascara to blend everything together. Opt for a lightweight mascara that won’t weigh down the lashes.
Remember, practice makes perfect. If your first attempt isn’t flawless, don’t worry! Each try will help you improve your technique.
Tips and Tricks for a Seamless Application
Applying false lashes can be a bit daunting at first, but with a few insider tips and tricks, you’ll find the process not only easier but also more enjoyable. Remember, practice makes perfect, so don’t be discouraged if you don’t get it right on the first try.
First and foremost, always check the fit of the false lashes against your natural lash line. If they’re too long, don’t hesitate to trim them slightly from the outer edge. This ensures they complement your eye shape rather than overpower it.
When applying the glue, less is more. A thin Line of Glue is sufficient to hold the lashes in place. Wait about 30 seconds for the glue to become tacky before application. This Tackiness is crucial for a secure fit, as it prevents the lashes from sliding around.
Pro Tip: “To achieve a more natural look, try applying the lash adhesive onto a Clean Eyeliner Brush and then onto the lash band. This technique offers more control during application.”
Integration is key to making your false lashes look as real as possible. Gently pressing the false lashes into your natural lash line and then using an Eyelash Curler to bond them together can make all the difference. Mascara applied afterwards helps to blend the natural and false lashes seamlessly.
The table below illustrates the importance of each step in the lash application process:
| Step | Importance Rating (1-5) |
|---|---|
| Check Fit | 5 |
| Apply Thin Line of Glue | 5 |
| Wait for Tackiness | 4 |
| Press Lashes Together | 5 |
| Apply Mascara | 3 |
Remember, the goal is to enhance your natural beauty, not overshadow it. By following these tips and tricks, you’ll be well on your way to mastering the art of lash application.
Removing and Cleaning Your Lashes
After you’ve enjoyed wearing your false lashes and it’s time to remove them, patience and gentleness are your best friends. Proper removal and cleaning not only extend the life of your lashes but also protect your natural lashes.
Start by gently loosening the glue. You can do this by using a cotton swab dipped in an oil-free makeup remover. Apply it along the lash band to soften the glue, then carefully peel the lashes off from the outer corner inwards. Never pull or tug harshly as this can damage both the false lashes and your own.
Once removed, the next step is cleaning. This is crucial for preventing infection and ensuring your lashes are ready for their next use. Here’s a simple guide for cleaning your lashes:
- Peel off any glue residues from the lash band with your fingers or tweezers. Be gentle to avoid tearing.
- Dip a cotton swab in oil-free makeup remover and gently wipe the lashes from band to tip.
- Rinse the lashes by placing them in a small bowl of warm, soapy water. A gentle soap is preferable to maintain the lashes’ shape and quality.
“Taking care of your false lashes can make them last for weeks,” says a renowned makeup artist.
After rinsing, lay the lashes on a clean towel to dry. Avoid rubbing them, and instead, pat them gently if necessary. Once dry, return them to their case to keep their shape.
| Do | Don’t |
|---|---|
| Use oil-free makeup remover | Pull or tug on the lashes |
| Gently peel off glue residues | Use harsh soaps or chemicals |
| Lay lashes flat to dry | Rub the lashes dry |
Remember, with proper care, your lashes can be reused multiple times, making them a valuable addition to your beauty routine.
Enhancing your Beauty Game with Lashes
Wearing false lashes isn’t just about adding drama to your look; it’s a full-on beauty game changer. When applied correctly, lashes can completely transform your eyes, making them appear bigger, brighter, and more captivating. But, to truly upgrade your look, understanding the types of lashes and what they offer is key.
Types of False Lashes
- Strip lashes: These are the most common and offer a dramatic effect. Perfect for a night out or special occasion.
- Individual lashes: Great for a more natural look, allowing you to add volume where needed.
- Magnetic lashes: These offer a no-glue option but require a bit of practice to perfect.
Choosing the right type depends on the occasion, your comfort level, and the look you’re aiming for. Remember, the goal is to enhance your natural beauty, not overshadow it.
“The right pair of lashes can make your eyes sparkle like never before.” – A makeup artist’s secret
| Type | Application Time | Reusability | Look |
|---|---|---|---|
| Strip Lashes | 5 minutes | 15-20 uses | Dramatic |
| Individual Lashes | 10-15 minutes | 20-25 uses | Natural |
| Magnetic Lashes | 5-10 minutes | 30-40 uses | Customizable |
Maintenance Is Key
Properly caring for your lashes extends their lifespan and ensures they always look their best. Always remove them gently to avoid damaging your natural lashes. Clean them as described previously to get rid of any glue or makeup residue.
Incorporating false lashes into your beauty routine can elevate your look tremendously. Once you’ve mastered the application and care, playing around with different styles can be a lot of fun and truly enhance your makeup game.
Conclusion
While diving into the world of false lashes might seem daunting at first, knowing the right techniques and understanding the type of lashes that work best for you can transform your makeup routine dramatically. From accentuating your eyes to adding that extra bit of glamour for special occasions, mastering the art of wearing lashes opens up a myriad of possibilities.
Remember, practice makes perfect. Initially, you may struggle with getting them to sit just right, but with time, applying your false lashes can become as routine as brushing your teeth.
Here’s a quick recap in numbers to help you keep track:
| Step | Time Required | Difficulty Level |
|---|---|---|
| Checking the fit | 2 minutes | Easy |
| Trimming | 5 minutes | Moderate |
| Applying glue | 1 minute | Easy |
| Waiting to get tacky | 30 seconds | Easy |
| Applying lashes | 2 minutes | Moderate |
| Cleaning | 5 minutes | Easy |
Bolded keywords throughout this guide serve as your go-to reference points for the most critical aspects of the lash application process. Don’t hesitate to come back to these whenever you’re in doubt.
“The key to seamless false lash application lies not just in the technique, but in patience and practice.”
Beyond application, maintenance is crucial. Proper care ensures your lashes can be reused multiple times, making them a cost-effective addition to your beauty arsenal. Whether it’s daily wear lashes or those dramatic voluminous ones for events, the longevity of your lashes heavily depends on how well you care for them post-use.
Stay tuned for more tips and tutorials to keep your lash game strong and your eye makeup impeccable.

