Mastering Eyeshadow: Blending Techniques & Tips for All Skin Tones
Choosing the Right Eyeshadow Shades for Your Eye Color
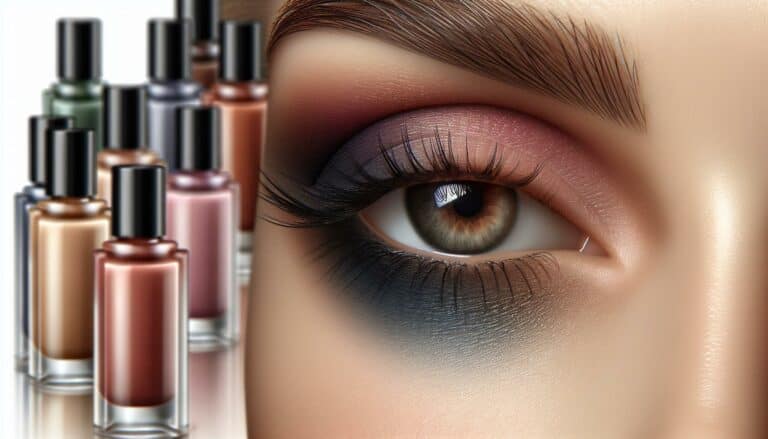
When you’re diving into the vibrant world of eyeshadows, picking shades that complement your eye color can transform your look from just nice to striking and memorable. It’s not just about the color itself, but how it makes your eyes pop and stand out.
Here’s a simple guide to help you:
| Eye Color | Best Eyeshadow Shades |
|---|---|
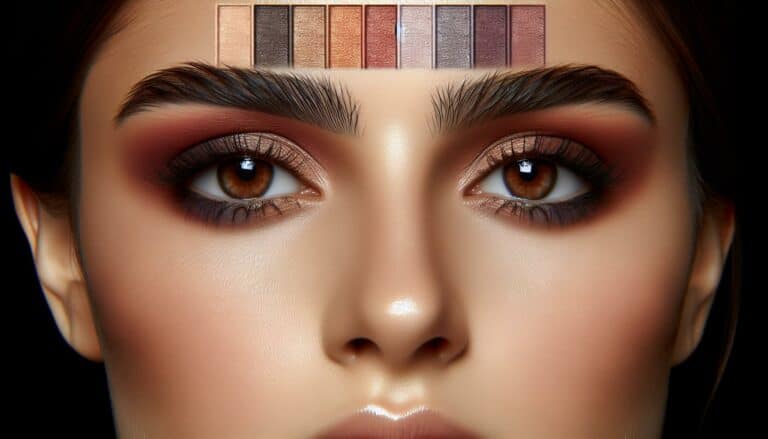
| Brown | Gold, blue, green |
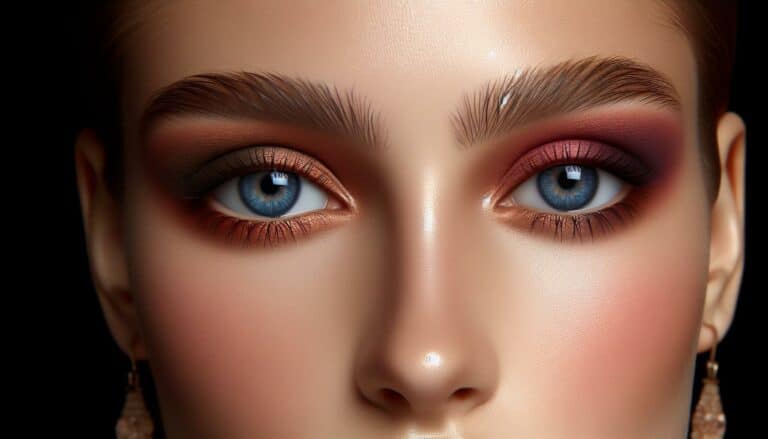
| Blue | Bronze, peach, coral |
| Green | Purple, mauve, bronze |
| Hazel | Green, gold, brown |
Remember, these are merely starting points. Experimentation is key. If you’ve got brown eyes, you’re in luck—almost every color looks fantastic, but golds and blues can make your peepers shine like never before. Blue-eyed beauties, try warm shades like bronze, peach, or coral to contrast and enhance your eye color. If your eyes are green, purple shades can be your best friend, making your eyes look almost magical. For hazel eyes, playing with greens, golds, or browns can emphasize different flecks in your eyes for a mesmerizing effect.
“The right eyeshadow can elevate your eyes to a work of art. Consider your eye color your canvas and the eyeshadow your paint.”
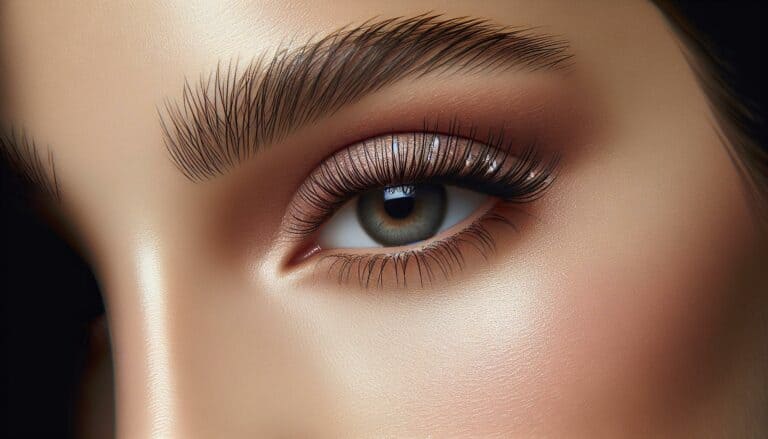
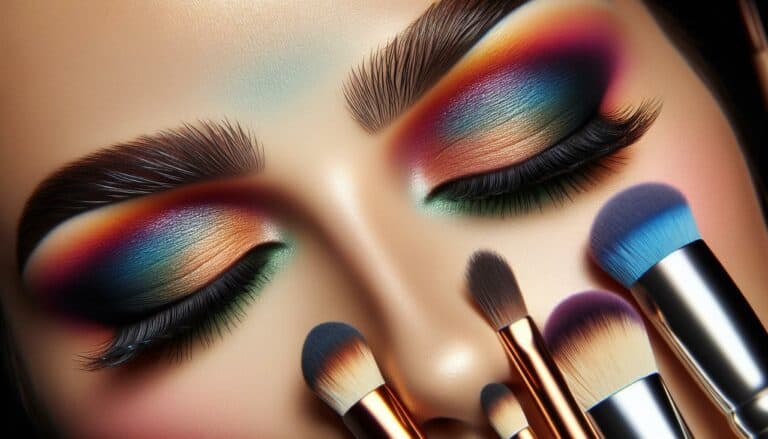
Don’t be afraid to blend colors and finish types (matte, shimmer, glitter) to create your perfect look. Blending darker shades in the crease and lighter, shimmering tones on the lid can add depth and brightness to your eyes. Remember, makeup is an art, and you’re the artist. Your eyes are the canvas, so let your creativity flow freely.
Prepping Your Eyelids for Eyeshadow Application
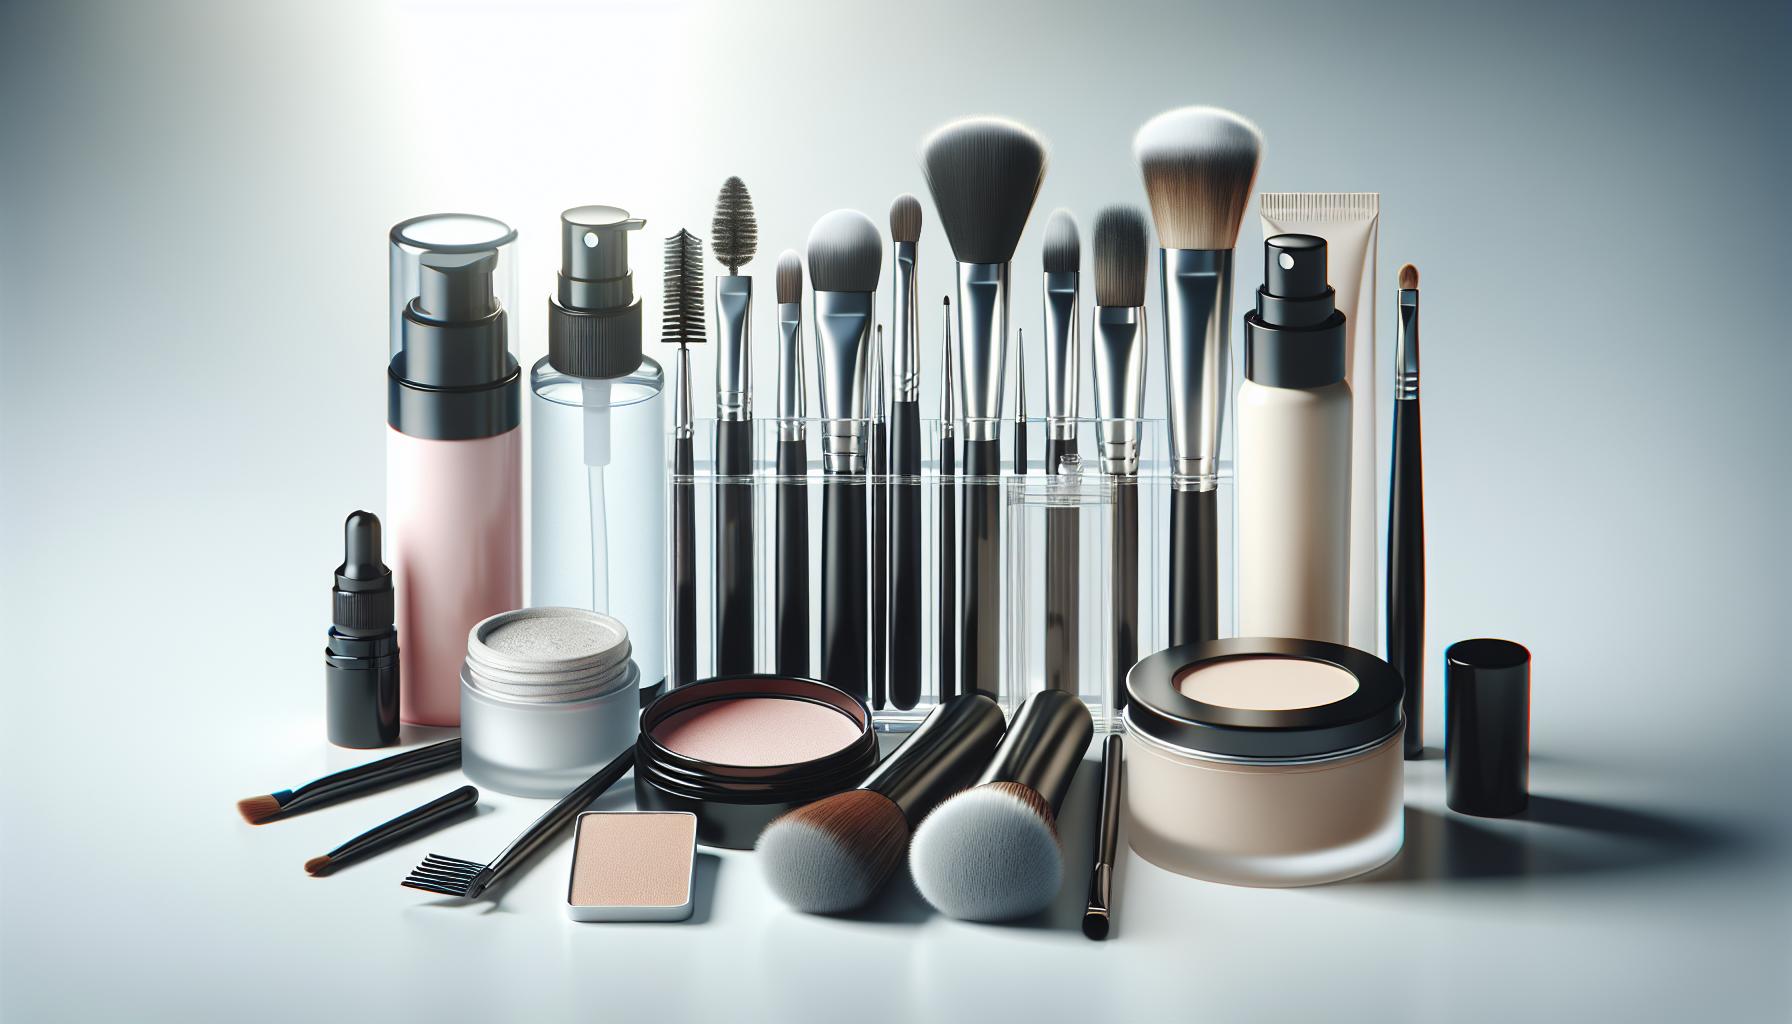
Before diving into the vibrant world of eyeshadows, it’s crucial to ensure your eyelids are primed and ready. Prepping your eyelids is a step you shouldn’t skip if you’re aiming for a flawless and lasting eyeshadow look. Here’s how you can get your lids prepped for whatever eye look you’re going for.
Start With a Clean Base
Make sure your eyelids are clean and oil-free. Use a gentle cleanser or makeup remover to wipe away any oil or residue. This will help your eyeshadow adhere better and stay on longer.
Moisturize
Apply a tiny amount of lightweight, oil-free moisturizer to keep your eyelids hydrated. Wait a few minutes for it to absorb fully before moving to the next step.
Apply Primer
Eyeshadow primer is your best friend when it comes to keeping your eyeshadow in place all day. Dab a small amount onto your lids and blend it out evenly. Not only does it create a smooth canvas, but it also makes the colors more vibrant.
“An eye primer is the secret to vibrant and long-lasting eyeshadow.” – Every Makeup Artist Ever
Set With Powder
Lightly dust translucent powder over the primer to set it. This step is optional but it can help prevent creasing, especially if you have oily eyelids.
| Step | Product Needed | Benefit |
|---|---|---|
| Clean base | Cleanser | Removes oils and residue |
| Moisturize | Oil-free moisturizer | Keeps eyelids hydrated |
| Apply Primer | Eyeshadow Primer | Enhances color & longevity |
| Set with Powder | Translucent Powder | Prevents creasing |
Remember, the key to a stunning eyeshadow look starts with well-prepped eyelids. By following these steps, you’ll create the perfect canvas for your eyeshadow masterpiece.
Basic Eyeshadow Application Techniques
Once your eyelids are well-prepped, it’s time to dive into the fun part: applying the eyeshadow. Knowing a few basic techniques can transform your makeup look from flat to fab with just a little effort.
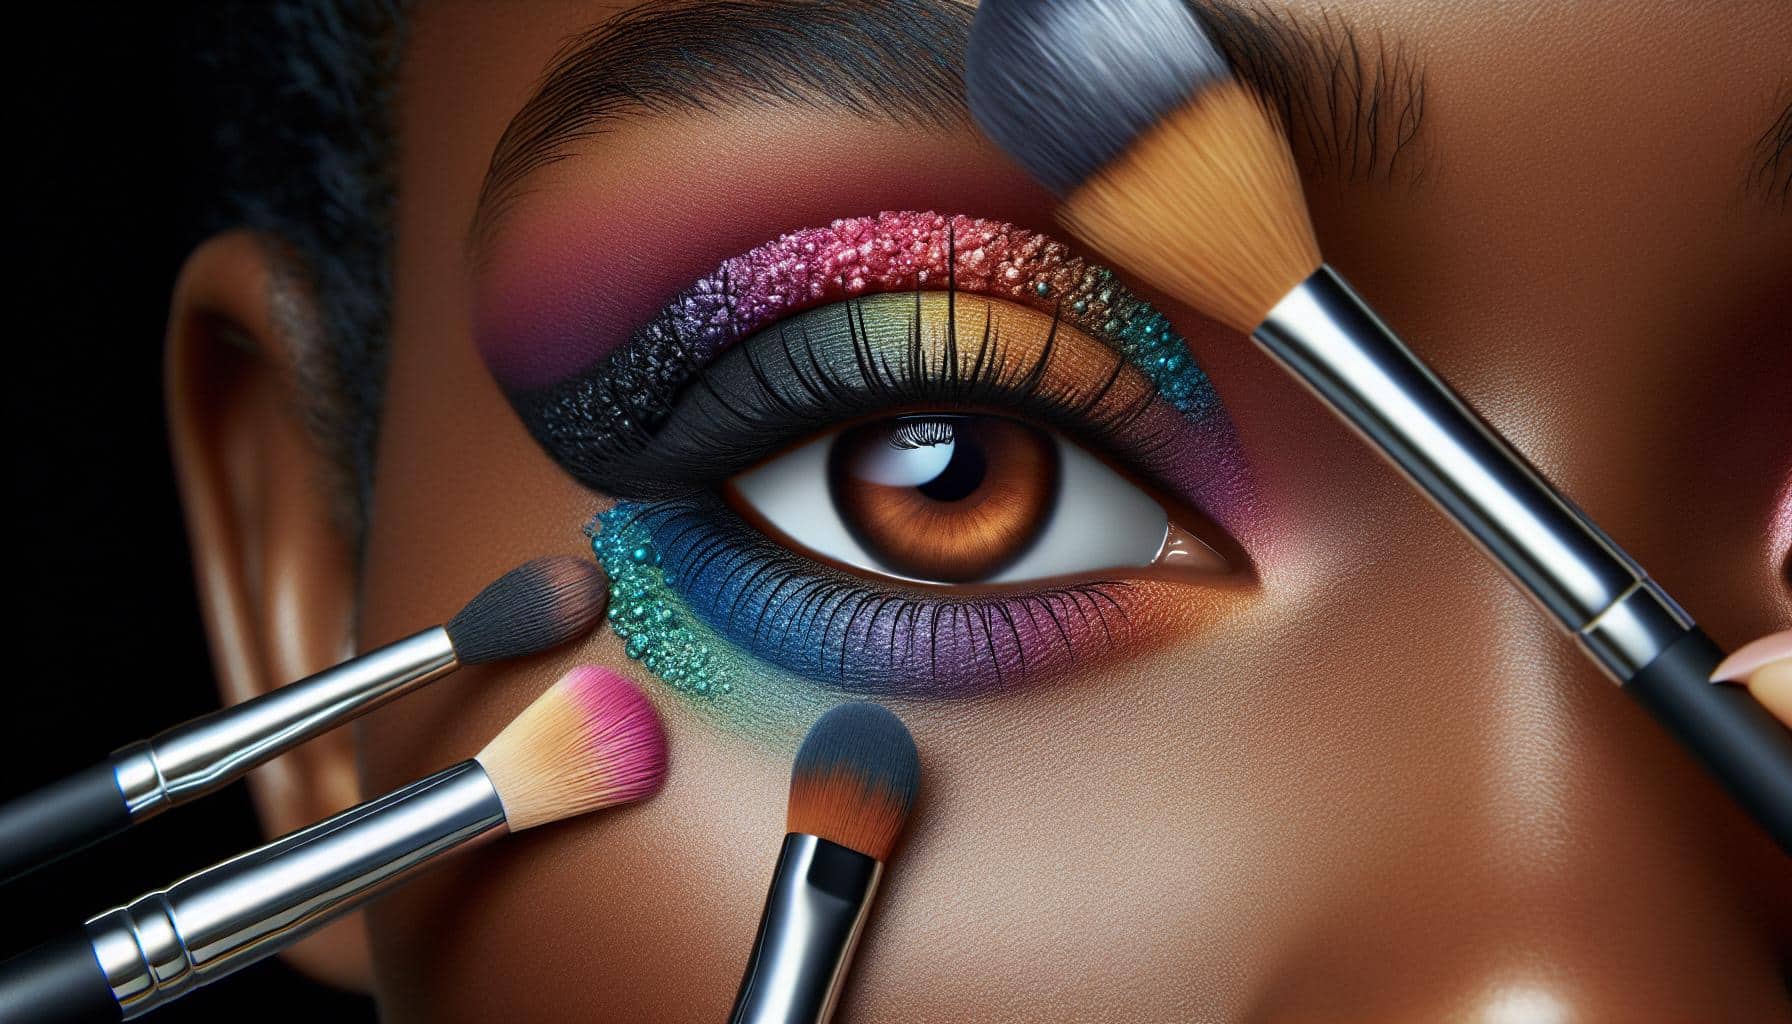
First up, understand the importance of blending. The key to professional-looking eyeshadow is seamless blending. You’ll want to invest in a good set of brushes; having a variety allows for precision and smooth transitions between shades.
Here’s a quick guide to get you started:
- Lid: Apply a base color all over your eyelid.
- Crease: Use a darker shade to define your crease. Blending here is crucial.
- Brow Bone: Highlight this area with a lighter, shimmery color to enhance your eyes.
- Outer V: Darken this area for added depth and dimension.
| Step | Brush Type | Color Type |
|---|---|---|
| Lid | Flat Shader Brush | Base Color |
| Crease | Blending Brush | Darker Shade |
| Brow Bone | Small Shader Brush | Light/Shimmer |
| Outer V | Pencil Brush | Dark Shade |
“The best color in the whole world is the one that looks good on you.” – Coco Chanel
Remember, there’s no one-size-fits-all in makeup. Experiment with different textures and shades to find what works best for you. Matte eyeshadows are great for a subtle look, while shimmer and glitter can add a pop of drama.
Lastly, don’t forget about the lower lash line. A touch of eyeshadow here ties the whole look together. Use a smudge brush for a soft, smoky effect or a pencil brush for more defined application.
Mastering the Art of Blending
Blending is the key to a seamless eyeshadow look. It’s what differentiates a novice from a pro. Getting your blend just right can seem daunting, but with a few tips and the right tools, you’ll be on your way to mastering this essential skill.
First, invest in good quality brushes. You’ll need at least three:
- A fluffy blending brush for softening harsh lines.
- A medium-sized brush for applying color.
- A small, detailed brush for precision work.
Here’s a simple guide to the uses of each brush:
| Brush Type | Purpose |
|---|---|
| Fluffy Blending | Softening and blending harsh edges |
| Medium-Sized | General eyeshadow application |
| Small, Detailed | Precision work and lower lash line |
Next, remember the golden rule of blending: less is more. Start with a small amount of product. It’s easier to add more eyeshadow than to take it away. Use a light hand and build color slowly.
“Blending is not about making everything uniform. It’s about creating a smooth transition between colors.”
Experiment with different motions—circular, windshield wiper, or patting—to see what works best for the look you’re aiming for. And, don’t forget the importance of cleaning your brushes regularly. Residual colors on your brushes can muddy your colors and hinder your blending efforts.
The key to mastering blending is practice. Don’t be discouraged if it doesn’t come naturally at first. Every application is a step closer to achieving those flawless, gradient looks.
Creating Different Eyeshadow Looks for Various Occasions
Eyeshadow isn’t just about adding color to your lids; it’s about expression, mood, and setting the tone for any occasion. Choosing the right look can elevate your style and make your eyes the focal point. Below, you’ll find guidance on selecting eyeshadow styles for various events.
Daily Wear
For your everyday look, simplicity is key. Opt for neutral shades or light colors that enhance your natural beauty without overpowering. A soft matte finish with a slight shimmer in the inner corners can brighten your eyes beautifully. Remember, the goal is to look effortlessly put together.
Office/Professional Settings
In professional settings, subtlety is your best approach. Stick to matte finishes in neutral tones. You can add depth by using a slightly darker shade in your crease but keep it polished and understated. A well-blended eyeshadow can convey competence and confidence.
Night Out
This is your chance to experiment. Bold colors, shimmer, or even glitter can add a playful or dramatic flair to your look. Don’t shy away from trying dark smoky eyes or vibrant hues. The key is to blend well and balance your look with the rest of your makeup to avoid overpowering.
Special Events
For weddings, galas, or any formal event, elegance is crucial. Think of harmonizing with your outfit, opting for eyeshadows with satin finishes or subtle glitter. Warm or cool tones depending on your attire can add sophistication. Remember, blending is paramount.
“Makeup is a way to express yourself. Let your eyeshadow be the voice of your mood and occasion.”
| Occasion | Finish | Shades | Keywords |
|---|---|---|---|
| Daily Wear | Matte/Shimmer | Neutrals/Lights | Simplicity |
| Professional Settings | Matte | Neutrals | Subtlety |
| Night Out | Any | Bold/Dark | Experiment |
| Special Events | Satin/Glitter | Harmonized | Elegance |
Conclusion
Mastering the art of blending can take your eyeshadow game from novice to professional. It’s all about smooth transitions between colors, ensuring there are no harsh lines. Start with a light color as a base and gradually build up with darker shades. Blending brushes are your best friend here. Rotate the brush in small circles to blend the colors seamlessly.
“Blending is not about making it all one color, but about creating a soft graduation of colors.”
Remember, practice makes perfect. Here’s a quick guide on brush types and their uses:
| Brush Type | Best For |
|---|---|
| Flat Shader Brush | Applying color to the lid |
| Blending Brush | Softening edges |
| Precision Crease | Defining the crease |
| Pencil Brush | Detailed application in the lash line |
Tips for Darker Skin Tones: Enhance your beauty by choosing vibrant, pigmented shadows that stand out against your skin. Warmer undertones can bring your look to life.
Ensure Long-lasting Wear
To make sure your eyeshadow stays in place all day, don’t skip on primer. It not only prolongs wear but also makes the pigment pop. For an added lift, finishing sprays can lock in your look, offering resistance against smudging and fading.
Remember, eyeshadow is an extension of your personality. Experimenting with colors and textures can be exciting and expressive. Whether you’re drawn to matte neutrals or sparkly bolds, the key is to have fun and let your eyes do the talking.

