Master Natural Eyeshadow: Tips for Flawless, Subtle Beauty
Choosing the Right Eyeshadow Shades
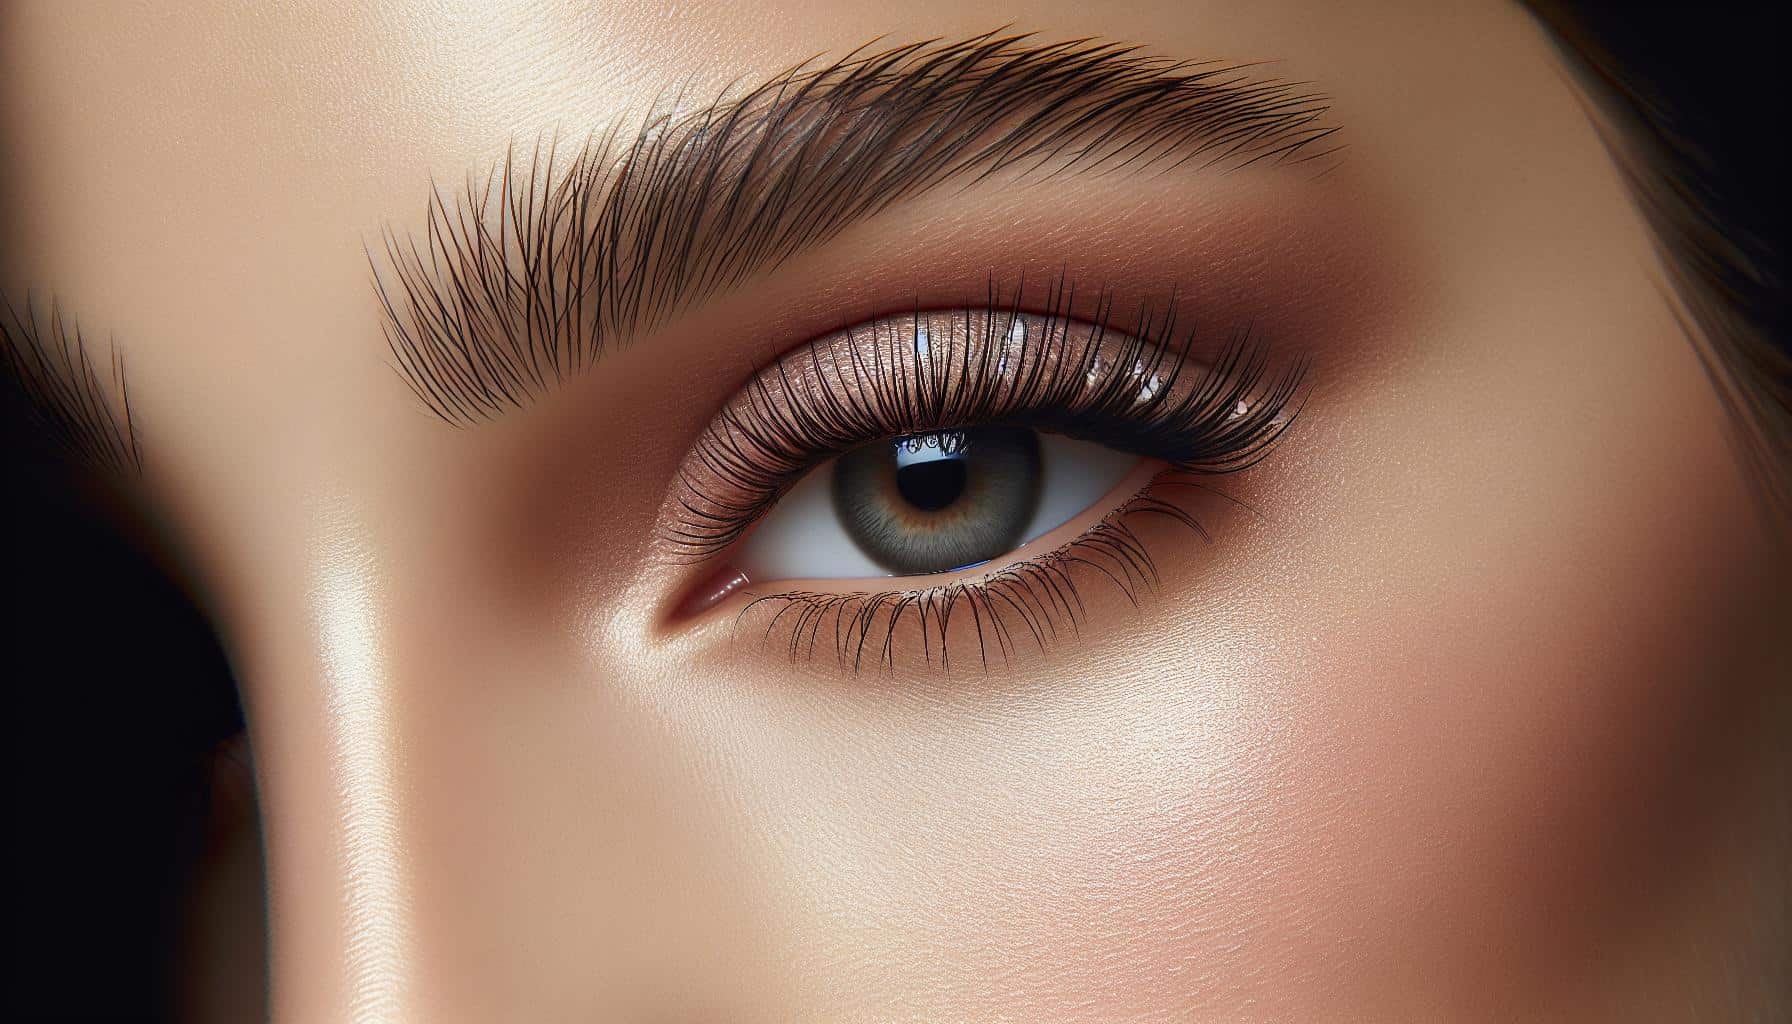
When you’re diving into the world of natural eyeshadow, selecting the right shades is crucial. You want to enhance your natural beauty, not overshadow it.
First off, consider your eye color. Certain shades can make your eyes pop, standing out in the most subtle yet striking way. Here’s a quick guide to get you started:
| Eye Color | Recommended Shades |
|---|---|
| Brown | Warm taupes, Peaches |
| Blue | Soft browns, Sienna |
| Green | Mauves, Light purples |
| Hazel | Golden browns, Greens |
Remember, the goal is to complement, not compete with, your eye color.
Next, think about your skin tone. If you’ve got a cooler undertone, lean towards shades with undertones. Warmer skin tones look fantastic with golden or peachy shades. It’s all about balance and enhancing your natural hues.
“Less is more. In natural eyeshadow, it’s the subtle nuances that create depth and dimension.”
Don’t be afraid to experiment within these ranges. Blend different shades to discover what best accentuates your features. Sometimes, the most unexpected combinations can lead to the perfect look.
Lastly, texture plays a part. Matte shadows offer a soft, natural finish while a hint of shimmer can brighten the eyes effortlessly. However, keep the shimmer minimal to maintain that natural elegance.
Prepping the Eyes
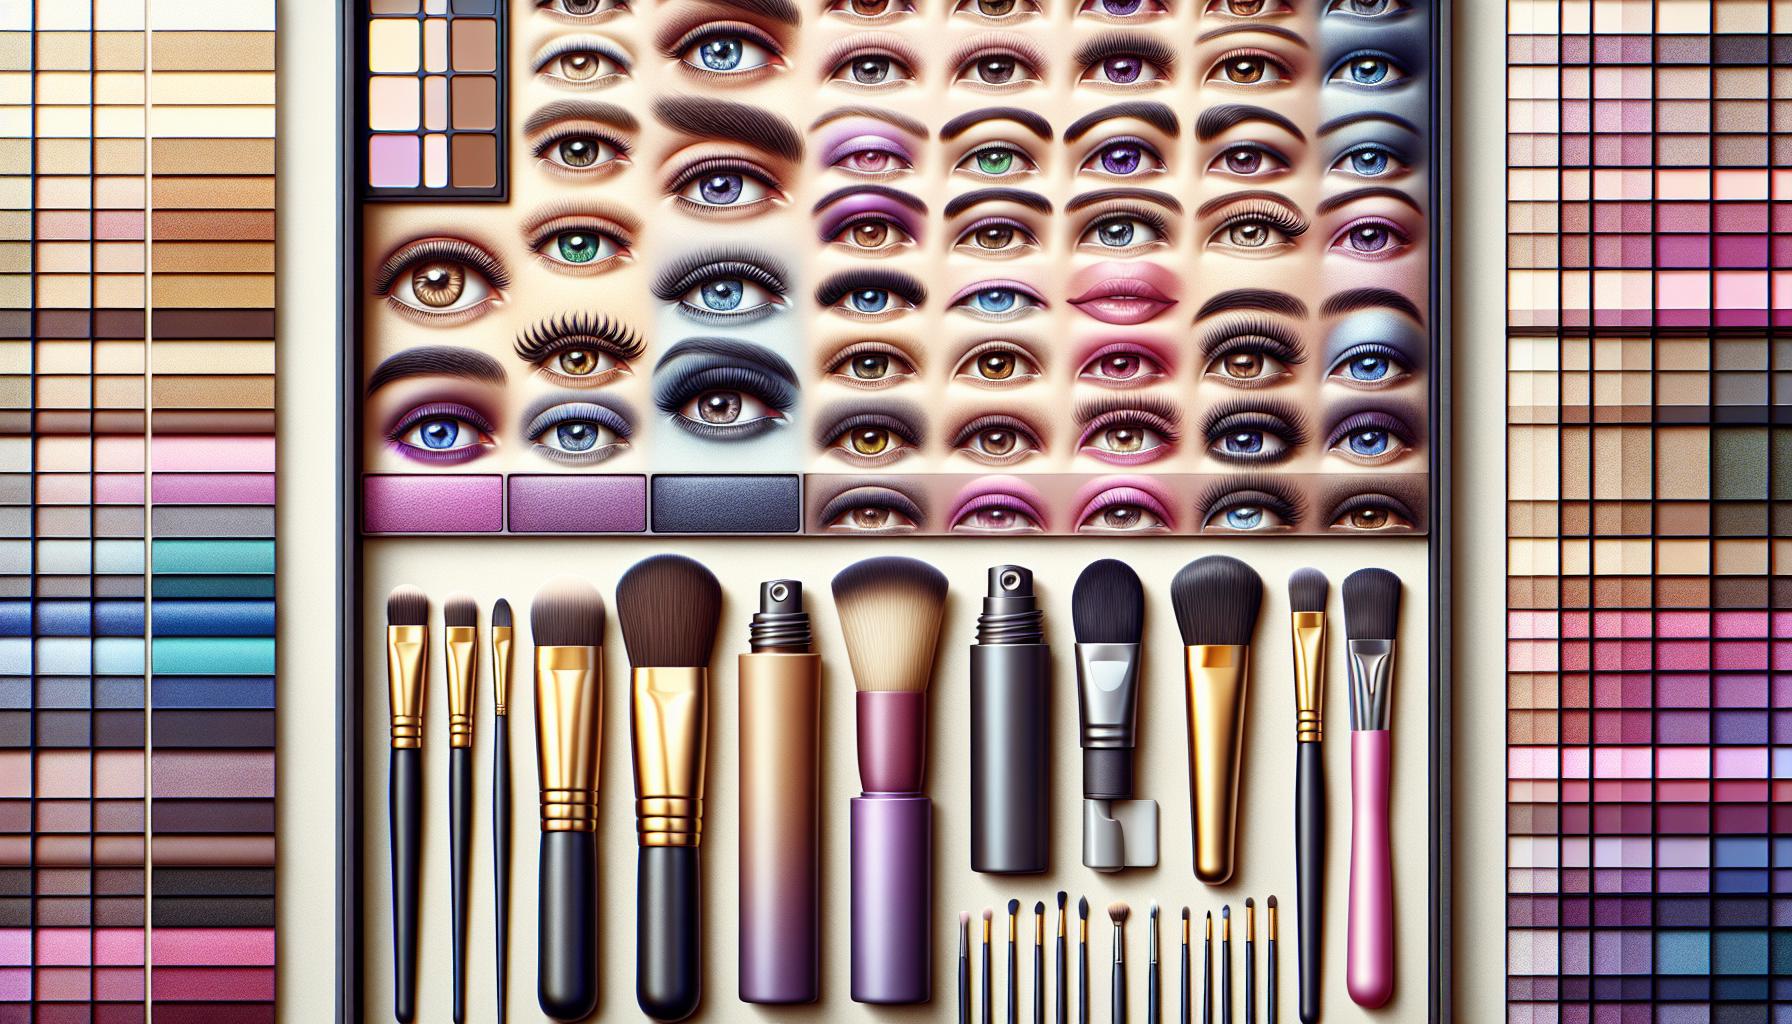
Before diving into the nuances of applying eyeshadow, let’s ensure your canvas is primed and ready. Proper preparation is key to achieving a flawless, natural look. Here’s how you can prep your eyes to ensure your eyeshadow stays put and looks vibrant throughout the day.
Start by cleansing your face. Ensure that your eyelids are free from oils and dirt. A clean base prevents your makeup from sliding off halfway through the day.
Next, hydration is critical. Your eyelids need a bit of moisture to prevent the eyeshadow from looking dry or cakey. Apply a tiny amount of an eye-specific moisturizer and let it absorb for a minute. Remember, a little goes a long way.
Eye primer plays a pivotal role in eyeshadow application. It creates a smooth base, maximizes the pigment, and ensures your eyeshadow lasts all day without creasing. Below is a comparison of eyelid types and recommended primer types.
| Eyelid Type | Recommended Primer Type |
|---|---|
| Oily | Matte-finish Primer |
| Dry | Hydrating Primer |
| Combination | Universal Primer |
“The right primer can make or break your eyeshadow look. It’s the foundation that holds everything together.”
For those with particularly oily lids, consider applying a light layer of setting powder over the primer. This step helps to lock in the primer and provides an extra layer of oil absorption.
After prepping your eyes, let each product settle for a few minutes. Jumping straight into applying your eyeshadow without letting the base products set can lead to patchiness or blending difficulties.
Applying a Base Color
After prepping your eyes, it’s time to dive into the eyeshadow application. Starting with a base color lays the foundation for your natural eyeshadow look. Ideally, you’ll want to choose a shade that closely matches your skin tone or is slightly lighter. This step ensures a uniform canvas and helps the subsequent colors blend seamlessly.
“A great base color evens out the eyelid tone and sets the stage for your eyeshadow art.”
Using a fluffy brush, apply the base color across the entire eyelid, from lash line to brow bone. Gentle, sweeping motions ensure an even application without any harsh lines.
Selecting Your Base Shade
When picking your base shade, it’s essential to consider your skin tone and undertone. Here’s a quick guide:
| Skin Tone | Recommended Base Color |
|---|---|
| Fair | Light beige or peach |
| Medium | Soft taupe or warm peach |
| Olive | Golden beige or soft brown |
| Dark | Warm brown or bronze |
Remember, the goal is to enhance, not overpower, your natural beauty. Your base color should feel almost invisible on the skin, yet provide a clean slate for further color application.
Finally, don’t forget to blend the edges. A well-blended base prevents any demarcation lines, creating a smooth transition to the more expressive colors that follow. Blending also ensures longevity, preventing your eyeshadow from creasing throughout the day.
Adding Depth with Transition Shades
After you’ve applied your base color, it’s time to add some dimension to your eyes with transition shades. Transition shades are the secret to achieving that seamless blend, making your eyeshadow look effortlessly natural.
Choose a transition shade that’s a bit darker than your base color but still in the same color family. This shade will go into your crease to add depth and definition. If you’re unsure about picking the right color, here’s a quick guide based on common eye colors:
| Eye Color | Recommended Transition Shade |
|---|---|
| Blue Eyes | Warm Browns or Taupe |
| Green Eyes | Plum or Warm Peach |
| Brown Eyes | Cool Browns or Gray |
| Hazel Eyes | Golden Browns or Green |
Pro Tip: Always use a fluffy blending brush for your transition shade. It’ll ensure that the product is distributed evenly, avoiding any harsh lines.
Blending is crucial. Start with a small amount of product on your brush and use windshield wiper motions back and forth across the crease. The goal is to have no visible lines where your base color ends and your transition color begins.
Experiment with different shades to find the perfect match for your unique look. Remember, the key to natural eyeshadow is subtlety and blending. Whether you’re aiming for a barely-there daytime look or a more defined evening appearance, mastering the use of transition shades will elevate your eyeshadow game.
Enhancing the Natural Shape of the Eyes
Once you’ve laid down your base and transition shades, it’s time to enhance the natural shape of your eyes. This step accentuates your unique eye shape, bringing depth and dimension to your natural eyeshadow look.
For this purpose, you’ll use a darker shade than your transition color but ensure it complements your overall look. Depending on your eye shape, the application method will vary slightly to best compliment your features.
| Eye Shape | Application Area |
|---|---|
| Almond | Outer corners and crease |
| Round | Crease to elongate |
| Hooded | Above the crease |
| Monolid | Layering over the base |
| Upturned | Lower lash line connection |
| Downturned | Lift at the outer corner |
“Makeup is not a tool meant to make an ugly thing beautiful, it is meant to magnify the beauty that already exists.” – Anonymous
For almond and upturned eyes, focusing on the outer corners creates an elongated effect which is highly flattering. If you have round eyes, applying eyeshadow slightly above the crease can give an illusion of a more defined shape. For those with hooded eyes or monolids, it’s crucial to layer shades in a way that creates depth, since the crease is less visible or non-existent.
Remember, the key to enhancing your natural eye shape lies in blending. Harsh lines can detract from the natural beauty you’re aiming to highlight. Use a clean, fluffy brush to softly blend the edges of your eyeshadow, ensuring there’s a seamless transition between colors. This step is crucial for achieving a natural, effortless look that enhances rather than overwhelms your natural features.
Blending for a Seamless Finish
When you’re aiming for that perfect natural eyeshadow look, blending is your best friend. This step is crucial as it helps eliminate any harsh lines, ensuring your eyeshadow appears as an extension of your natural beauty rather than sitting atop your skin.
For effective blending, invest in a good quality blending brush. The size and shape of the brush can significantly impact the outcome. Here’s a quick guide to help you choose:
| Brush Type | Best For |
|---|---|
| Fluffy, Dome-Shaped | Blending transition shades in the crease |
| Small, Tapered | Detailed blending in smaller areas |
| Flat, Dense | Packing color on the lid before blending |
Remember, the key to blending is to use a light hand and build up gradually. Start with a small amount of eyeshadow on your brush and use windshield wiper motions to blend the color seamlessly into your crease and outward.
“Blending is not about making everything the same color, but about creating a smooth transition between shades.”
Adding a tiny bit of your base color to your blending brush can also help smooth out any transitions further. This little trick ensures that there are no demarcation lines between colors, giving you that flawless, natural look.
It’s also vital to clean your brush between shades to avoid muddying your colors. A clean brush ensures that each color maintains its integrity while blending into the next.
Blending might take some time to master, but the effort is worth it. Each gentle sweep of your brush brings you closer to achieving a natural eyeshadow application that enhances your features subtly and beautifully.
Highlighting the Brow Bone and Inner Corner
Highlighting the brow bone and inner corner of your eyes is like putting the final touches on a masterpiece. It’s a step that may seem small but has a huge impact on brightening and opening up your eyes, creating that sought-after natural glow.
For the brow bone, you’ll want to pick a highlighter shade that is a notch lighter than your base color but still blends seamlessly with your skin tone. This subtle lift can make your eyebrows appear more defined and your eyes more awake.
When it comes to the inner corner, a light, shimmery shade does wonders. It catches the light beautifully, making your eyes look larger and more inviting. The key here is not to go overboard – a little goes a long way.
| Eye Color | Recommended Brow Bone Highlight | Recommended Inner Corner Highlight |
|---|---|---|
| Brown | Soft Beige | Champagne |
| Blue | Pale Pink | Silver |
| Green | Peach | Gold |
Pro Tip: “The best way to apply inner corner highlight is with a small, precise brush. This allows for controlled application and prevents the highlight from spreading too far.”
Blending these highlights is crucial. Use a clean, fluffy brush to blend the edges softly, ensuring there are no harsh lines. This step merges the highlights with your eyeshadow, creating a cohesive and effortless natural look.
Remember, the goal is to enhance your eyes subtly, letting your natural beauty shine through.
Adding a Touch of Eyeliner (Optional)
Once you’ve got your natural eyeshadow perfect, you might want to add a subtle line of eyeliner. This step is completely optional but can define your eyes further, giving them a gentle lift or making your lashes appear fuller.
Picking the Right Eyeliner
Start by selecting an eyeliner that suits your natural look. Brown or dark gray eyeliners are great for a soft, less intense effect compared to the starkness of black. For a truly natural look, consider using an eyeshadow instead of a pencil or liquid liner. Take a thin, angled brush, dampen it slightly, and dip it into the eyeshadow. This method offers a softer line and lets you have more control over the intensity.
| Type | Intensity | Best for |
|---|---|---|
| Eyeshadow | Low | Blending into natural eyeshadow |
| Pencil Liner | Medium | Easy application, soft lines |
| Liquid Liner | High | Sharp, defined lines |
Technique Matters
For the most natural look, keep the line as close to your lash line as possible. Start thin at the inner corner and you can choose to slightly thicken it as you move towards the outer corner. If you’re using pencil or eyeshadow, smudge the line gently to blend it effortlessly with your eyeshadow, keeping the look cohesive and soft.
“A touch of eyeliner can redefine the shape of your eyes without overshadowing the natural beauty of your eyeshadow.”
Remember, the key is subtlety. You’re enhancing your natural beauty, not creating a dramatic evening look. Whether you choose to add eyeliner or not, your natural eyeshadow will beautifully complement your features, making your eyes the centerpiece.
Curling the Lashes and Applying Mascara
Once you’ve mastered the eyeshadow steps, it’s time to curl the lashes and apply mascara. This step can dramatically lift your eyes, making them appear larger and more awake. Begin with a clean eyelash curler. You’ll want to ensure it’s not caked with old mascara, which can stick to and damage your lashes.
Proper Curling Technique
- Warm the curler slightly with a hair dryer for a few seconds. Test it on your hand to ensure it’s warm, but not hot.
- Open the curler and place your lashes in the opening. Get as close to the base of the lashes as possible without pinching your skin.
- Gently squeeze the curler and hold for 10 to 15 seconds. You can pump the curler lightly to intensify the curl.
- Repeat on the other eye.
| Step | Description |
|---|---|
| Warm Curler | Use a hair dryer on low for a few seconds. |
| Position | Place lashes in curler near the base. |
| Squeeze | Gently clamp down for 10-15 seconds. Pump for extra curl. |
| Repeat | Perform the same steps on the opposite eye. |
Choosing the Right Mascara
When selecting a mascara, consider the look you’re going for and your lash type. For a natural eyeshadow look, a lengthening and defining mascara is ideal. Waterproof formulas are great for long wear, but may be harder to remove.
Apply your mascara by wiggling the wand at the base of your lashes, then sweeping up to the tips. This method helps coat each lash and avoids clumps. For a more subtle effect, skip the bottom lashes or use a lighter touch.
Finishing Touches
After meticulously applying and blending your eyeshadow to perfection, a few final touches can elevate your natural look even further. It’s all about enhancing your features subtly but effectively.
Setting Your Eyeshadow
To ensure your eyeshadow stays in place throughout the day, consider using a setting spray. A light mist will help lock in your makeup, preventing smudging or fading. Choose a spray that offers a natural finish to keep in line with your overall look.
Eyebrow Definition
Your eyebrows frame your face and can highlight the effort you’ve put into your eyeshadow. Lightly fill in any sparse areas with a pencil or powder that closely matches your natural brow color. Remember, the goal is to enhance, not overpower.
"Refined eyebrows can subtly elevate your entire makeup look."
Mascara Application
A coat of mascara can work wonders in opening up your eyes. For a natural look, opt for a lengthening mascara over a volumizing one. Here’s a quick table to gear your selection:
| Mascara Type | Benefit |
|---|---|
| Lengthening | Elongates lashes |
| Volumizing | Adds fullness |
| Curling | Lifts and shapes lashes |
| Waterproof | Long-lasting |
Apply the mascara with a light hand, focusing on lifting and separating each lash. For an added natural effect, you can gently wipe the mascara wand on a tissue to remove excess product before applying. This technique ensures your lashes won’t clump together.
These finishing touches not only complete your look but ensure your natural eyeshadow stands out in the most elegant and subtle way.
Conclusion
Achieving a natural eyeshadow look might seem daunting at first, but with the right tools and techniques, you’ll find it’s quite straightforward. Remember, the key to mastering this look is blending. Blend, blend, blend—this cannot be overstated. A seamless transition between shades not only looks more natural but also elevates your entire makeup look.
When selecting eyeshadows, opt for colors that are close to your skin tone or just slightly enhance it. The choice of shades plays a critical role in creating a look that’s both natural and flattering. Here’s a quick guide to help you select the perfect palette:
| Skin Tone | Recommended Shades |
|---|---|
| Fair | Soft pinks, light browns |
| Medium | Rich browns, warm peaches |
| Dark | Deep browns, gold tones |
Mascara is your best friend when it comes to defining your lashes without going overboard. A single coat of a lengthening formula can make your eyes pop while keeping things simple and elegant.
“Less is often more in the realm of natural beauty. A light touch can illuminate your natural features without overpowering them.”
Finally, don’t forget to consider the effect that natural lighting will have on your makeup. What looks perfect indoors might appear different under the sun. Hence, always check your makeup in natural light if possible, making adjustments as needed to ensure your eyeshadow looks flawless no matter where you are.
Equipped with these tips and practices, you’re well on your way to mastering the natural eyeshadow look that enhances your beauty without seeming overdone. Remember, the goal is to accentuate your eyes in the most subtle and beautiful way.

