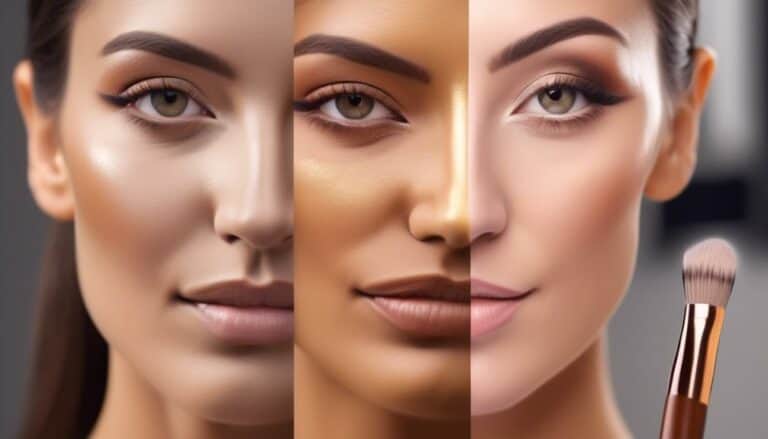
How to Contour Nose
Creating a contoured canvas across your cheeks and capturing the perfect nose shape seems like a skill reserved for professional makeup artists, but it's actually within your grasp.
You've probably wondered how to master the art of nose contouring—transforming your natural nose into a sculpted masterpiece with just a few strategic strokes.
It all starts with selecting the right tools and understanding your unique nose shape.
As we break down the steps from choosing the ideal contour shades to the final blend, you'll see that with a bit of practice, you can enhance your features in a way that feels both natural and flattering.
Stay with us to uncover the secrets behind achieving that perfectly contoured nose, setting the foundation for a makeup look that turns heads for all the right reasons.
Key Takeaways
- The selection of brush types and good lighting are crucial for achieving a perfectly contoured nose.
- Recognizing your nose shape is essential for tailoring your contouring technique.
- Selecting the perfect contour shade, two shades darker than your natural skin tone, is crucial for achieving a natural, sculpted look.
- Blending and highlighting are key techniques to elevate nose contouring and create a professional finish.
Selecting Your Tools

Choosing the right tools is crucial for achieving a perfectly contoured nose. You're part of a community that values looking and feeling their best, and mastering the art of contouring is a step closer to embracing that sense of belonging. The journey begins with understanding the significance of brush types and lighting importance.
For starters, the selection of brush types can make or break your contouring game. You'll need a small, angled brush for precise application and a fluffy brush for blending. The angled brush allows you to apply the contouring product accurately along the sides of your nose, ensuring that it looks natural and not overdone. Meanwhile, the fluffy brush is your best friend for blending harsh lines, creating a seamless transition that looks like a shadow rather than makeup.
Equally important is the role of lighting. Good lighting can be your ally, helping you see the true colors and effects of your contouring efforts. Natural light is always the best choice, as it reveals how your nose will look in the most common scenarios. Remember, the goal is to enhance your natural beauty, making you feel like you belong to the world of flawless makeup application.
Understanding Your Nose Shape
After selecting the right tools, it's essential to recognize your nose shape to tailor your contouring technique effectively. Understanding your nose type isn't just about keeping up with beauty trends; it's about embracing your unique features and enhancing them in a way that feels right for you.
When it comes to shape analysis, there are a few common nose types you might identify with:
- Straight: Your nose is uniformly proportioned from bridge to tip.
- Curved or Roman: There's a noticeable bump or curve along your bridge.
*For straight noses*: Highlighting down the center and slight shading on the sides can enhance its natural symmetry.
*For curved or Roman noses*: Strategic shading around the bump can create the illusion of a straighter nose.
Mastering Contour Shades

Selecting the perfect contour shade is crucial for achieving a natural, sculpted look that complements your skin tone and enhances your nose shape. It's all about feeling confident and part of the beauty community, where everyone has their unique features celebrated.
By understanding the basics of color theory, you'll avoid common contour mistakes that can disrupt the harmony of your overall makeup look.
When picking your contour shade, aim for a color two shades darker than your natural skin tone. This ensures a subtle definition without looking harsh or unnatural. Remember, the goal is to create shadows that mimic the natural contours of your face, bringing out your best features.
Be mindful of your skin's undertones. If you've got cool undertones, go for a contour with a slight grayish hue to avoid looking muddy. Warm undertones? Look for shades with a hint of warmth to maintain that sun-kissed glow.
Avoiding contour mistakes is as simple as blending well and choosing the right shade. With practice and a bit of color theory under your belt, you'll master the art of nose contouring, fostering a sense of belonging in a community that celebrates individual beauty.
Application Technique
Having established the perfect contour shade, let's explore the best techniques for applying it to your nose. Good application isn't just about the right moves; it's also about ensuring your masterpiece lasts all day, blending seamlessly with your skin's natural texture.
- Step 1: Skin Preparation
- *Why it's crucial:*
- Enhances product longevity.
- Ensures smoother application.
Before diving into contouring, make sure your skin is well-hydrated and primed. This step is pivotal, not just for the sake of your skin's health, but to boost the longevity of your contour. A smooth, primed surface allows the product to glide effortlessly, eliminating harsh lines or patchiness.
- Step 2: Application
- *How to do it:*
- Use light strokes to apply the contour along the sides of your nose.
- Blend upwards towards the eye area and downwards to the tip of your nose.
This technique creates an illusion of a slimmer, more defined nose structure. Remember, blending is your best friend. You're aiming for a natural shadow effect that looks like it's part of your face, not sitting on top.
Blending and Highlighting

Mastering the art of blending and highlighting will elevate your nose contouring to a professional level. After meticulously applying your contour lines, it's time to blend. Use a clean, fluffy brush or a beauty sponge with gentle, circular motions to diffuse the harsh lines. This step ensures your contour looks like a natural shadow rather than a noticeable line. Remember, blending is key to achieving that seamless transition. It's all about making sure everything looks like it naturally belongs on your skin.
Next up is highlighting. This is where you really make your nose pop and bring forward your best features. Apply a highlighter along the bridge of your nose and on the tip. This reflects light beautifully, giving the illusion of a slender, more refined nose. But, it's not just about slapping on some highlighter; it's about enhancing your natural beauty and ensuring it blends well with your base and contour.
Don't forget, skin preparation is crucial for flawless application. Ensure your skin is well moisturized before you start contouring. And finally, for the perfect finishing touches, set your contour and highlight with a setting powder or spray. This will lock in your hard work, ensuring your nose looks perfectly contoured all day.
Conclusion
And there you have it, folks! With a few swipes and blends, you've now mastered the art of nose contouring.
Remember, it's not about embracing the nose you were born with, but about sculpting the illusion of what society deems perfect.
Who cares about natural beauty when you can spend hours perfecting shadows and highlights?
So, go forth, blend till your arms ache, and maybe, just maybe, you'll trick someone into thinking you've got a new nose.
Happy contouring!


