How to Make Henna Paste: A Step-by-Step Guide for Vibrant Designs
Gathering the ingredients
Before you dive into the satisfying process of making your own henna paste, it’s crucial to gather all the necessary ingredients. Crafting the perfect blend is part art, part science, and begins with knowing what you need.
Henna powder is the foundation of your paste; its quality directly influences the richness of color and longevity of your tattoos. Opt for fresh, pure henna powder for the best results. Next, you’ll need an acidic liquid like lemon juice or tea to break down the henna plant’s dye molecule, releasing the color.
To enhance the stain and longevity, essential oils with high monoterpene alcohol content, such as lavender or tea tree oil, are ideal. They not only improve the paste’s performance but also leave an aromatic scent.
Finally, sugar helps in keeping the paste moist for longer, adhering better to the skin. This simple ingredient makes a world of difference in the application process.
Here’s a quick checklist:
| Ingredient | Purpose | Examples |
|---|---|---|
| Henna Powder | Base for the paste | Fresh, pure henna powder |
| Acidic Liquid | Releases the dye | Lemon juice, tea |
| Essential Oils | Enhances color and longevity | Lavender, tea tree oil |
| Sugar | Keeps the paste moist and sticky | Granulated sugar |
After gathering your ingredients, you’re halfway through the journey of creating a personal masterpiece. Remember, the quality of these components can make or break the formula. As a wise figure once pointed out, “the beauty of henna lies not just in the patterns it creates, but in the craftsmanship behind the paste.” With the right ingredients in hand, you’re set to embark on crafting a paste that not only wears well but also tells a story.
Choosing the right henna powder

When you’re ready to embark on your henna journey, selecting the right henna powder is crucial. This foundation will determine the richness of your designs and the length of time they adorn your skin. Not all henna powders are created equal, and understanding the differences is key to achieving the best results.
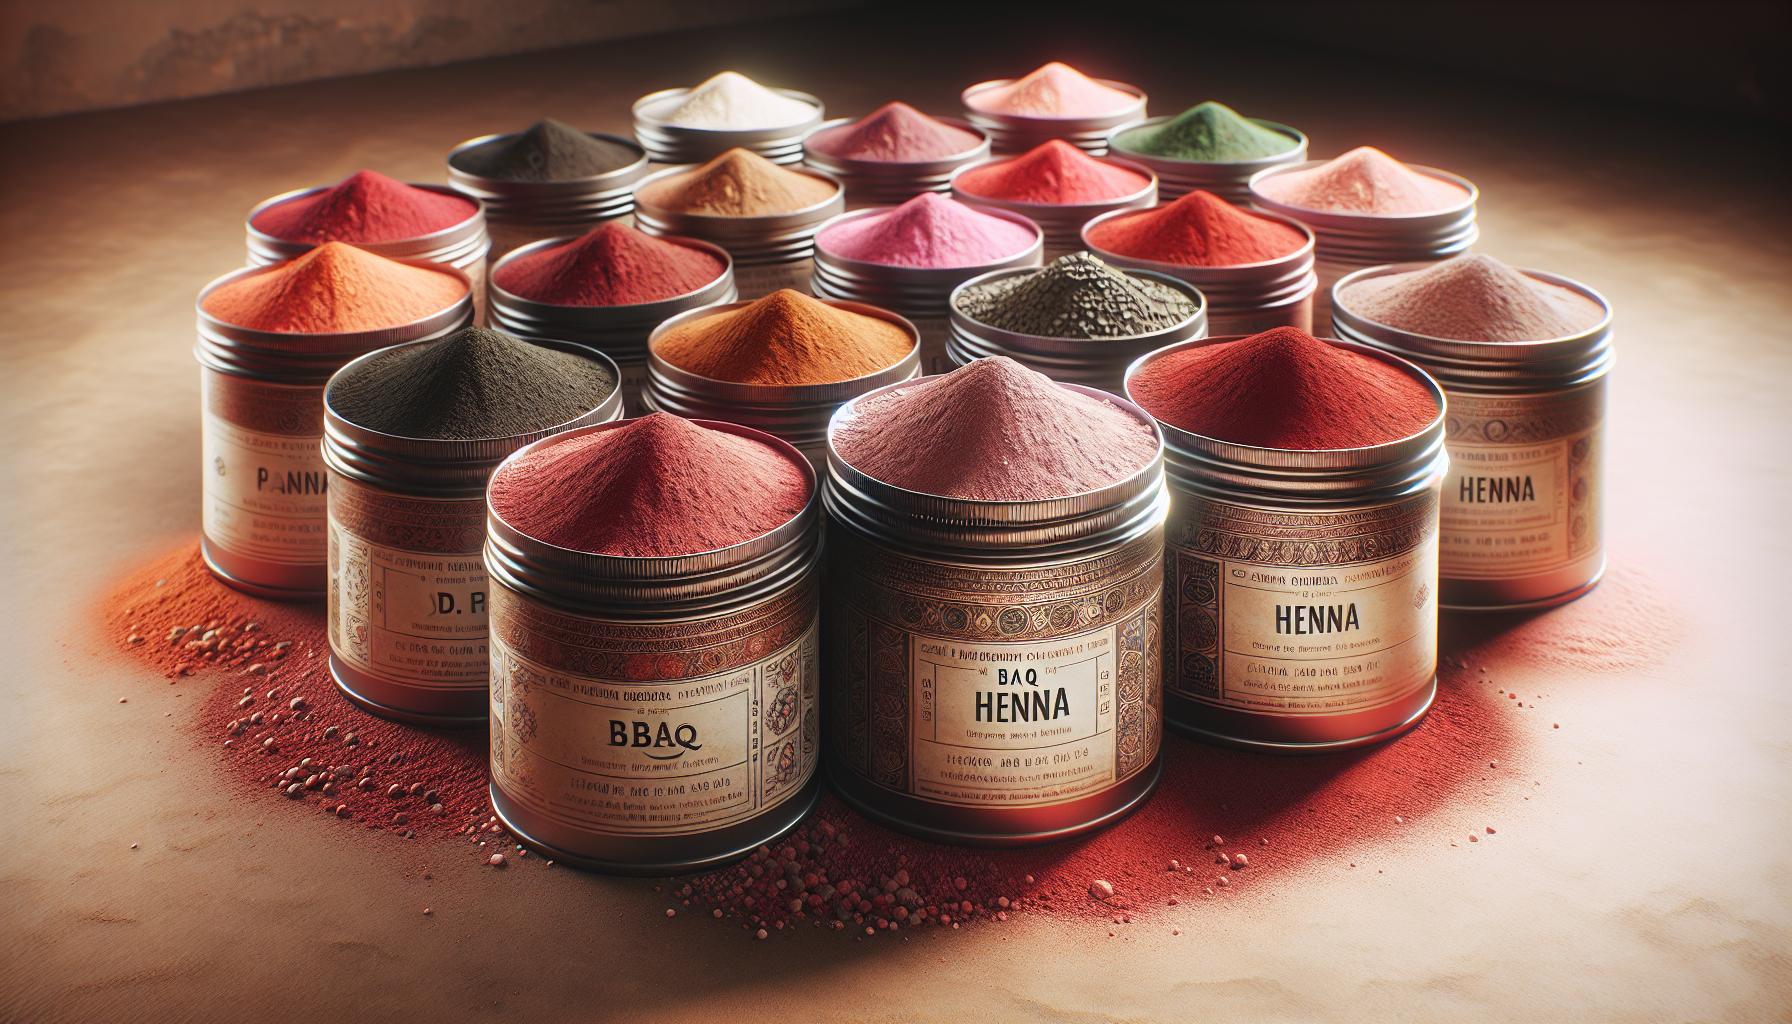
Henna comes in various forms, but for body art, you’ll want to ensure you’re using body art quality (BAQ) henna. This is the purest form of henna, free of additives, metallic salts, or other impurities that can affect the quality of your designs and the health of your skin.
- Freshness: Fresh henna powder means better dye release.
- Purity: Look for 100% natural with no added chemicals.
- Fineness: Finer sifted henna makes smoother paste.
Here’s a quick look at how different henna powders stack up:
| Type of Henna | Freshness | Purity | Fineness |
|---|---|---|---|
| BAQ Henna | High | 100% | Very Fine |
| Commercial Henna | Moderate | Varies | Coarse |
Rajasthani and Moroccan henna are particularly prized for their superior quality and dye content.
Keep in mind, the region where the henna is harvested can also influence its color and staining properties. Rajasthani henna, for example, is known for yielding rich, dark stains, ideal for intricate bridal mehndi. Moroccan henna, while similar in quality, may produce a slightly different shade.
Ultimately, your choice in henna powder should be informed by your desired outcome. If it’s a deeper, longer-lasting color you’re after, invest in high-quality BAQ henna. Remember, the quality of your henna powder will not only impact the final look but also how the story of your design is told on the skin.
Mixing the henna paste
Once you’ve chosen the right BAQ henna powder, it’s time to mix your paste. This process is crucial as it determines the paste’s consistency, which in turn affects the precision and quality of your designs.
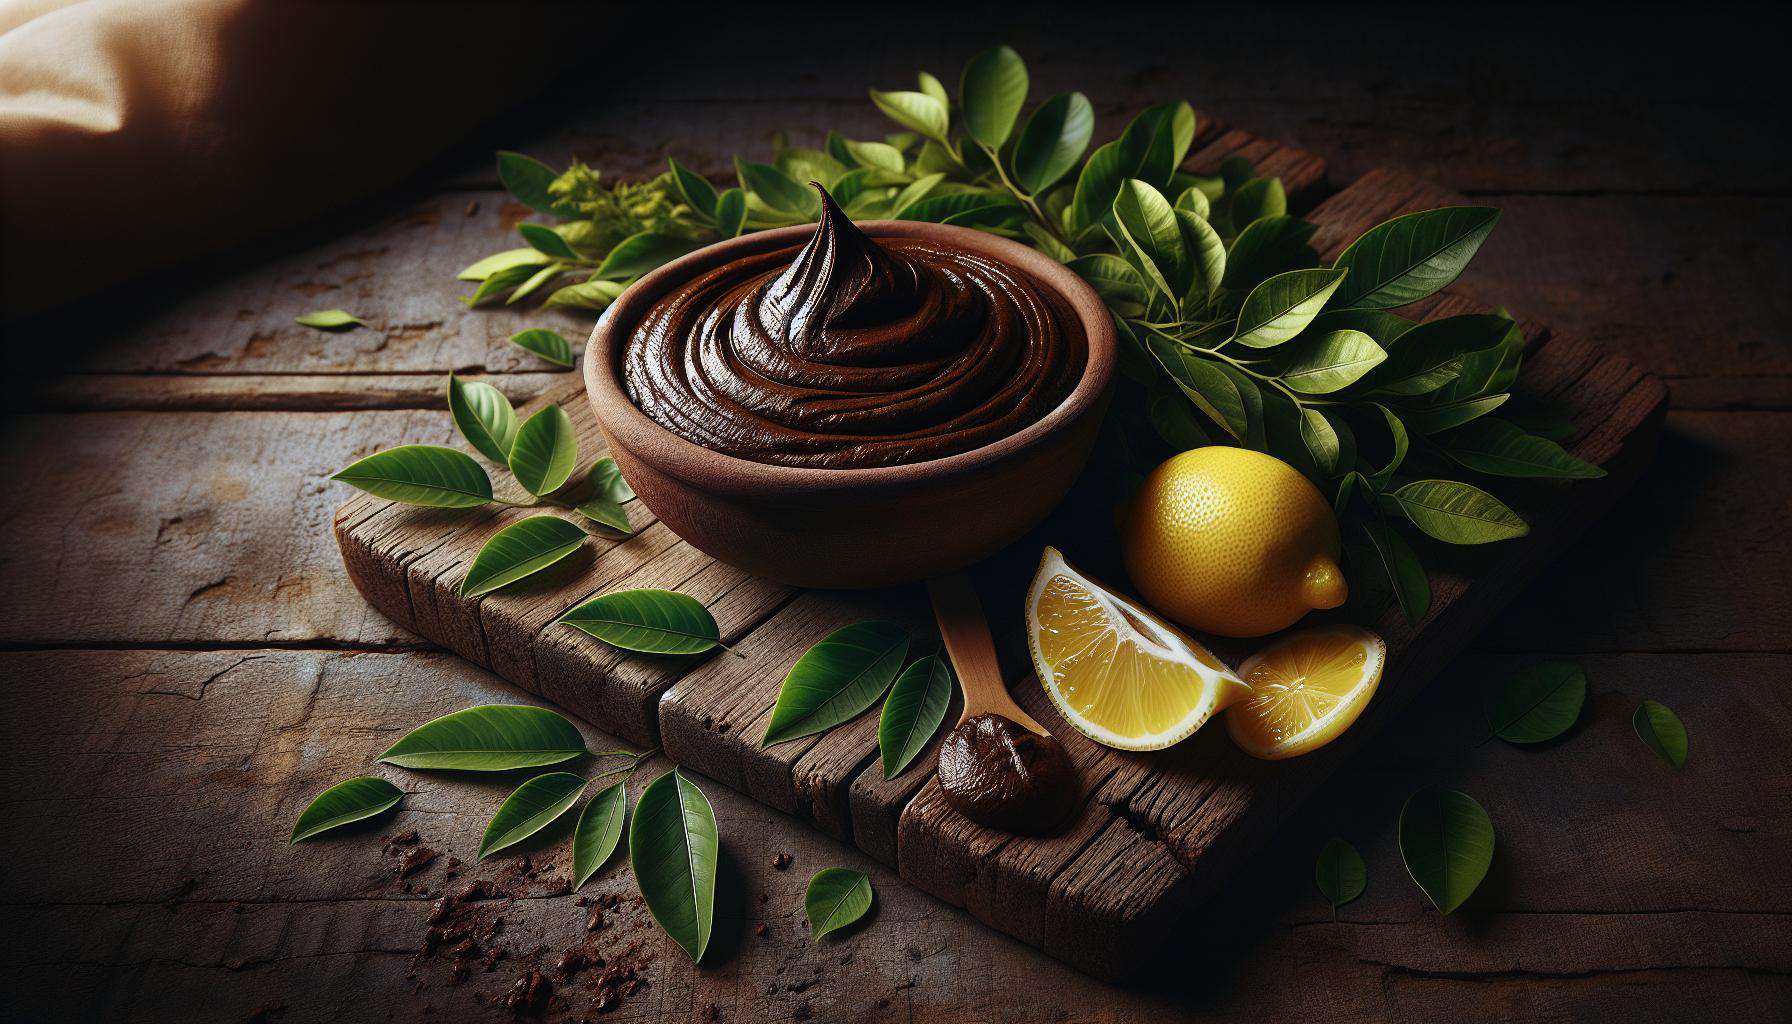
Start by sifting your henna powder to remove any lumps or coarse particles. This ensures a smooth paste that’s easier to apply. Then, in a mixing bowl, gradually add lukewarm water to the powder. Stir continuously to avoid lumps until the mixture resembles the consistency of yogurt.
Here’s a basic recipe to get you started:
| Ingredient | Quantity |
|---|---|
| Henna powder | 1 Cup |
| Lukewarm water | 1/4 Cup |
| Lemon juice | 2 Tablespoons |
| Essential oil | 5 Drops |
Note: “The quality of your henna paste can make or break your design. Always opt for fresh ingredients.”
After mixing, let the paste rest for at least 4-6 hours. This waiting period allows the dye to release, a vital step for achieving dark, long-lasting stains. For an enhanced dye release, you can add a few drops of lemon juice and a dab of sugar. The acid from the lemon juice helps in the dye release, while sugar keeps the paste moist and ensures it adheres well to the skin.
Remember, achieving the perfect consistency might take a bit of practice. If the paste is too thick, it won’t flow smoothly from the applicator. If it’s too runny, it’ll be difficult to create precise designs. Adjust the ratios based on your preferences and the ambient temperature and humidity where you’re working.
Adding essential oils for fragrance
After letting the henna paste rest for the necessary time, it’s time to enhance your paste with a touch of fragrance. Essential oils not only add a pleasant scent but also can improve the stain quality of your henna designs. However, it’s crucial to choose the right oils that are safe for skin use.
Choose Your Oils
When selecting essential oils, opt for ones that are body-safe and have terpenes, compounds that can help in achieving a darker stain. Some popular choices include:
- Lavender
- Tea Tree
- Eucalyptus
- Cajeput
Remember, everyone’s skin reacts differently, so it’s important to do a patch test if you’re trying a new oil for the first time.
How Much to Add
The amount of essential oil you’ll need can vary, but here’s a basic guideline to start with:
| Oil Type | Amount per 100g of Henna Paste |
|---|---|
| Lavender | 1.5 teaspoons |
| Tea Tree | 1 teaspoon |
| Eucalyptus | 1.5 teaspoons |
| Cajeput | 1 teaspoon |
Adjust these quantities based on your preference for fragrance strength and skin sensitivity.
“Adding essential oils not only personalizes your henna paste but can significantly enhance the stain’s quality. It’s a simple step that makes a world of difference.”
Mixing It In
Once you’ve chosen your oil(s), gently stir them into your henna paste until evenly distributed. The mixture should be smooth and fragrant. This is also an excellent time to make any final adjustments to the paste’s consistency, adding a bit more lemon juice or sugar if needed.
By infusing your henna paste with essential oils, you’re not only creating a more aromatic experience but also potentially benefiting from the natural properties these oils offer. Remember, the key is to start with small amounts and adjust based on your needs and preferences.
Testing and adjusting the paste consistency
Once you’ve mixed your henna paste, testing and adjusting its consistency is crucial for achieving optimal results. A perfect henna paste should be neither too thick nor too thin. This balance ensures smooth application and a fine quality stain.
To test the consistency, scoop a small amount of henna paste with a spoon or applicator tip and observe how it flows. If it drips quickly and seems runny, it’s too thin. On the other hand, if it barely moves or maintains its shape, it’s too thick. Your goal is a paste that flows gently and smoothly, akin to toothpaste or thick yogurt.
If adjustments are needed, use the following guide:
| Issue | Solution |
|---|---|
| Paste too thick | Add lemon juice or water, one teaspoon at a time. |
| Paste too thin | Add small amounts of henna powder until desired thickness is achieved. |
Remember: Always add liquids or powders in small increments to avoid over-adjusting.
After making adjustments, let the paste sit for a few minutes. This waiting period allows the ingredients to fully incorporate and gives you a clearer picture of the final consistency. If necessary, adjust again following the same steps until you’re satisfied with the consistency. This process not only ensures your henna application is mess-free but also enhances the beauty and clarity of the designs you create.
Applying the henna paste
Once you’ve tested and adjusted the henna paste to achieve the perfect consistency, it’s time to move onto the exciting part: applying it to your skin. Remember, patience and practice are key to mastering this art form.
Before you start, ensure that your skin is clean and free of oils or lotions, as they can affect the stain of the henna. Simply washing the area with soap and water will do the trick. After drying, you’re ready to begin.
If you’re using a henna cone, snip the tip with scissors. Start with a tiny cut – you can always enlarge it if you find the paste is not dispensing easily. Practice on paper before moving to your skin if this is your first time.
Here’s a quick guide to get you started:
- Design Placement: Decide where you want your henna design. Popular spots include hands, feet, and arms.
- Application: Gently squeeze the cone to release the paste and start applying it to your skin, tracing the design you’ve chosen.
- Thickness: Apply a generous amount of paste; it should be thick enough that it stands above your skin slightly. This ensures a darker stain.
| Key Consideration | Recommendation |
|---|---|
| Skin Preparation | Clean with soap and water |
| Initial Cone Cut Size | 1-2mm |
| Testing Surface | Paper |
| Design Thickness | Stand above the skin slightly |
| Drying Time | 4-6 hours, or overnight for a deeper stain |
Allow the henna paste to dry on your skin, which can take between 4-6 hours; many prefer leaving it on overnight for a deeper stain. Wrapping the design can help protect it while it dries.
As you get accustomed to applying henna, feel free to experiment with different designs and techniques. The more you practice, the more intricate and detailed your designs can become.
Allowing the paste to dry
Once you’ve meticulously applied your henna design, the next step is ensuring it dries properly. This step is crucial for achieving a vibrant and long-lasting stain. The drying process is a test of patience, but it’s absolutely worth the wait.
After applying the henna, try to keep the area exposed to air. Avoid covering it with clothing or wrapping, as this can smear the design. Aim to keep the henna paste on your skin for 4-6 hours. However, for deeper, darker results, consider leaving it overnight. Your environment can impact drying times. Warmer, drier climates tend to speed up the process, while more humid conditions might prolong it.
Here’s a quick reference table for ideal drying times based on design complexity:
| Design Complexity | Minimum Drying Time | Recommended for Best Results |
|---|---|---|
| Simple | 4 hours | 6 hours |
| Moderate | 5 hours | 7 hours |
| Intricate | 6 hours | 8 hours or overnight |
As the paste dries, you’ll notice it begin to crack and flake off. Resist the temptation to pick or wash it off early. If you’re looking for ways to darken the stain, consider applying a mixture of lemon juice and sugar with a cotton ball. This mixture acts as a sealant, keeping the paste moist for a longer period and potentially deepening the stain.
Pro Tip: “The key to a darker henna stain lies not just in the quality of your paste, but in the patience of allowing it to dry thoroughly. Remember, good things come to those who wait.”
By following these guidelines, you’re positioned to achieve a beautifully vibrant henna design. Whether you’re adorning your skin for a special occasion or exploring the art of henna, your dedication to proper drying and care will be clearly reflected in the results.
Removing the dried henna paste
After you’ve patiently waited for your henna design to dry and followed the proper aftercare to ensure the best stain, it’s time to remove the dried paste. This step is crucial as how and when you remove the paste can significantly affect the final color and longevity of your design.
Typically, the paste dries and flakes off on its own in about 12 to 24 hours after application. If you’re dealing with a more intricate design, you might notice some areas dry faster than others. Patience is key here; avoid using water to remove the paste as it can lighten the stain.
Instead, opt for gently scraping off the dried paste using a spoon or a dull knife. Be gentle to avoid scraping your skin. Some also suggest using olive oil or coconut oil to moisten the paste, making it easier to remove without water.
After removal, it’s vital to keep the area dry for as long as possible, ideally the next 12 to 24 hours, to allow the stain to darken properly. Below is a quick guide on ideal waiting times before getting the area wet:
| Design Complexity | Minimum Dry Time | Recommended Dry Time before Wetting |
|---|---|---|
| Simple | 12 hours | 18 hours |
| Moderate | 15 hours | 24 hours |
| Intricate | 24 hours | 48 hours |
Remember, the longer you keep the area dry after removing the paste, the better the stain will develop.
“Patience is the secret to beautiful henna. Let the color set in its own time for the deepest and most lasting stain.”
To further protect the design, consider applying a thin layer of natural oil like coconut or olive oil to the stained skin. This can act as a barrier against water and further deepen the stain.
Caring for your henna design
After you’ve successfully applied your henna and removed the paste, it’s time to focus on care to ensure your design lasts as long as possible. Moisturizing and protecting your henna stain are crucial steps you can’t overlook.
First off, let’s talk hydration. Keeping the skin moisturized not only helps with the longevity of the stain but also makes sure your skin remains healthy. Opt for natural moisturizers like coconut oil or shea butter. These oils not only hydrate the skin but also have properties that can enhance the stain’s darkness over time.
"Hydration is key to both skin health and enhancing the longevity and color of your henna design."
However, while moisturizing is essential, remember to wait at least 24 hours after removing the paste before your first application. This waiting period allows the stain to reach its peak color.
Protection Measures
Your henna design is at its most vulnerable in the first few days. Here’s how you can protect it:
- Avoid Chlorine: Swimming pools can significantly lighten your design.
- Wear Gloves: If you must deal with water or harsh chemicals, wear gloves to protect the stain.
- Loose Clothing: Tight or abrasive clothing can cause the stain to fade more quickly than it should.
| Do’s | Don’ts |
|---|---|
| Moisturize daily | Bathe the area long |
| Protect from sun | Rub the design |
| Use natural oils | Apply lotions with chemicals |
By following these simple care instructions, you’re not just protecting your henna design, you’re ensuring that you’ll enjoy its beauty for as long as possible. Remember, the key to a lasting and vibrant henna tattoo lies as much in the care as it does in the application.
Conclusion
Crafting your henna paste isn’t just an art; it’s a simple process that allows for personal touch and creativity. Gathering the right ingredients is crucial for a successful mix. You’ll need:
- Henna powder
- Lemon juice
- Sugar
- Essential oil (eucalyptus, lavender, or tea tree)
Here’s a quick glance at proportions to keep in mind:
| Ingredient | Quantity |
|---|---|
| Henna Powder | 1 cup |
| Lemon Juice | ¼ cup |
| Sugar | 2 teaspoons |
| Essential Oil | 5-10 drops |
- Sift the henna powder into a bowl to break up clumps.
- Slowly add lemon juice while stirring until you get a thick paste.
- Stir in sugar and essential oil until fully combined.
- Cover the bowl with plastic wrap and let it rest for 24 hours at room temperature. The rest period allows the dye to release.
Pro Tip: “The quality of your henna design lies in the patience of letting your paste rest. A well-rested paste ensures a vibrant and lasting stain.”
After 24 hours, if the paste seems too thick, you can add a bit more lemon juice to adjust the consistency. Your henna paste is now ready to use! Before applying your design, do a small skin patch test to ensure you’re not allergic to any of the ingredients.
Remember, homemade henna paste not only ensures a natural, chemical-free design but also allows you to adjust the fragrance and consistency to your liking.


