Where to Apply Bronzer and Highlighter
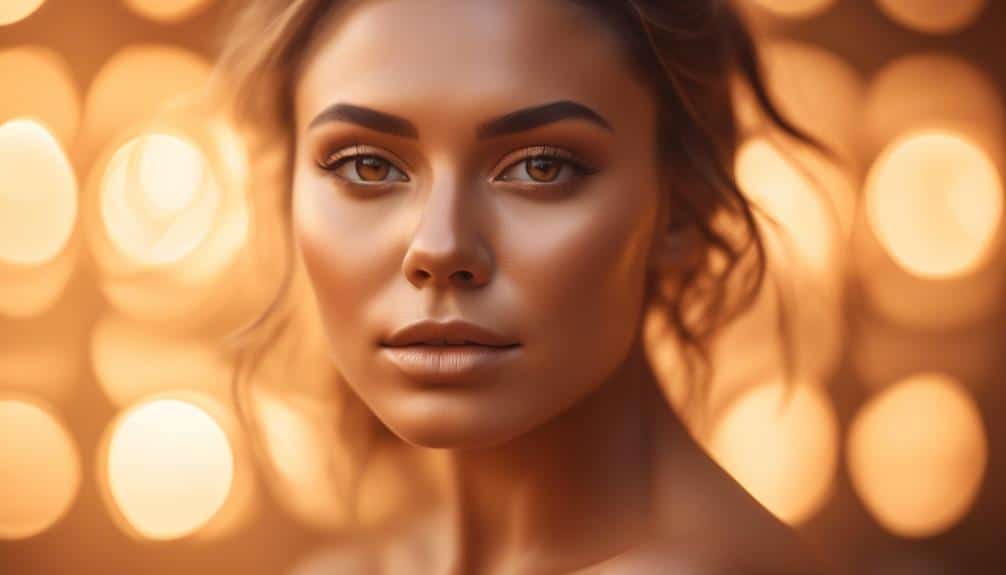
In the dance of light and shadow that graces your face, knowing where to cast a sun-kissed illusion with bronzer and where to catch the light with highlighter is an art form. You're about to embark on a journey that'll transform your makeup routine, highlighting your features in ways you've perhaps overlooked.
Imagine bronzer as the subtle contour that sculpts your face, its application sweeping just below your cheekbones, around the perimeter of your forehead, and along your jawline, crafting a warmth that mimics a day spent under the sun.
Now, envision the highlighter as your moment to shine, dabbed on the high points where light naturally hits – the tops of your cheekbones, the bridge of your nose, and just above your cupid's bow. These strategic placements not only elevate your natural beauty but also create a harmonious balance that's both captivating and refined.
As we venture further, you'll uncover the secrets to blending these luminous allies seamlessly into your skin, ensuring a flawless finish that's both enchanting and impeccably polished.
Key Takeaways
- Choose bronzer shades that are one or two shades darker than your skin tone for a natural look.
- Use a fluffy brush to lightly dust bronzer on areas where shadows naturally occur, such as the forehead, cheekbones, and jawline.
- Blend thoroughly with circular motions to avoid harsh lines and create a seamless finish.
- Highlighter placement varies based on face shape, such as accentuating the tops of the cheekbones for heart-shaped faces or highlighting above and below the eyebrow for oval faces.
Preparing Your Skin

Before diving into the transformative world of bronzer and highlighter, ensure your canvas, your skin, is meticulously cleansed, hydrated, and primed, setting the stage for a flawless makeup masterpiece.
The secret to an enviable glow begins not just with the colors you'll sweep across your cheeks but with the tender loving care you devote to preparing your skin. It's about belonging to a community that values the art of makeup as much as the ritual of skin care.
Choosing the right cleanser is crucial. It's not merely about removing dirt; it's about selecting a formula that respects your skin's natural balance, ensuring it's neither stripped dry nor left feeling oily. This step is your foundation, a gesture of respect towards your skin, setting the tone for everything that follows.
Skin hydration follows, an act of nourishing your skin, making it plump and ready to hold makeup in place like a dream. Whether it's a light moisturizer for oily skin types or a richer cream for those dryer areas, hydration is your invisible shield, locking in moisture, ensuring your bronzer and highlighter meld with your skin seamlessly, reflecting light, and enhancing contours with every brushstroke.
Applying Bronzer Correctly
Applying Bronzer Correctly
Having prepared your skin to perfection, it's time to master the art of applying bronzer, a crucial step in achieving that sun-kissed radiance without stepping outside.
Selecting the right bronzer shades is paramount; they should mimic a natural tan, enhancing your skin's warm undertones.
Begin with contour mapping to define your features subtly. Here's a simple guide:
- Choose Your Shade – Opt for bronzer shades one or two shades darker than your skin tone.
- Contour Mapping – Identify areas where shadows naturally occur, like under your cheekbones, along the jawline, and at the hairline.
- Application – Using a fluffy brush, lightly dust bronzer where the sun naturally hits your face: the forehead, cheekbones, and jawline.
- Blend – Ensure there are no harsh lines by blending thoroughly with circular motions.
- Final Touch – For a cohesive look, sweep a small amount across the nose and chin, where the sun would naturally tan your skin.
Embrace this ritual as your secret to wielding a bronzer brush like a magic wand, bestowing upon yourself a glow that whispers of summer adventures and golden hours.
Highlighter Application Tips

Highlighter Application Tips
- To illuminate your features and elevate your glow, mastering the art of highlighter application is key.
- Each face shape glimmers uniquely under the spotlight, and knowing where to apply highlighter can truly make your features pop.
- For instance, if you've got a heart-shaped face, accentuating the tops of your cheekbones can balance your features, while oval faces might highlight above and below the eyebrow to enhance their natural contour.
Diving into the world of highlighters, you'll discover a spectrum of product types, each with its own charm.
- Powder highlighters offer a subtle, buildable sheen, perfect for those new to the glow game or aiming for a daytime look.
- Cream or liquid highlighters, on the other hand, provide a more intense luminosity, ideal for a night out or when you're looking to make a statement.
Regardless of the product you choose, blending is your best friend.
- Use a fan brush or a damp beauty sponge to meld the highlighter seamlessly with your skin, ensuring there are no harsh lines.
- This technique allows the light to catch you in all the right places, crafting an ethereal glow that feels as though it's coming from within.
Blending Techniques
Now that you've selected the perfect highlighter to illuminate your features, mastering blending techniques will ensure your glow looks naturally radiant and flawlessly integrated with your skin. The art of blending transcends mere makeup application; it's about crafting an aura of effortless beauty that beckons a sense of belonging.
Here's how you can avoid common contouring mistakes and choose the right brush selection for a seamless finish:
- Brush Selection
- *For Highlighter*: Opt for a fan or tapered brush to delicately sweep the highlighter onto your cheekbones, ensuring a soft, diffused look.
- *For Bronzer*: A fluffy, angled brush is ideal for bronzer, allowing for precise application under your cheekbones and along the jawline.
- *Blending Brush*: Regardless of the product, a clean, fluffy blending brush is crucial to soften and merge colors seamlessly into the skin.
Finishing Touches
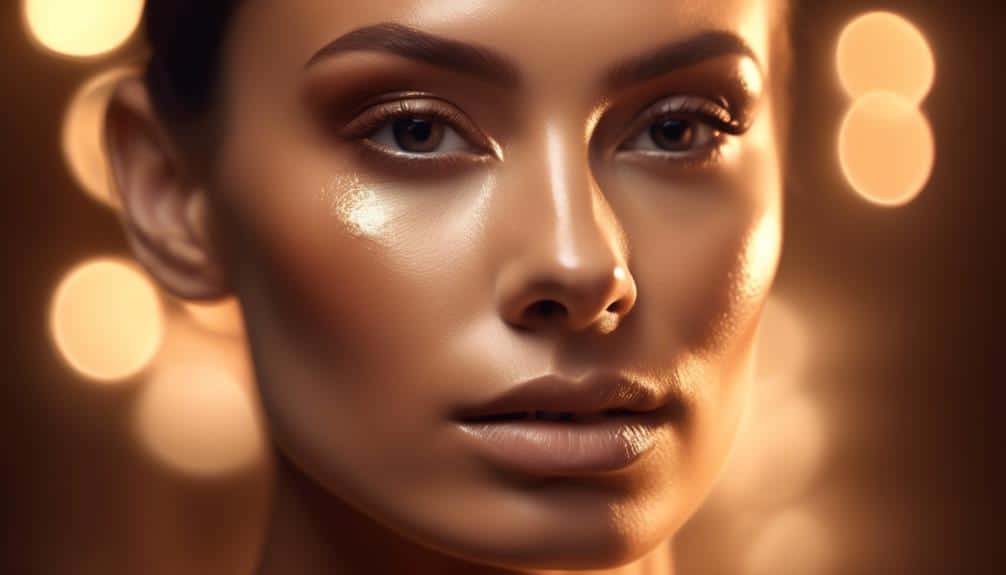
With your bronzer and highlighter expertly blended, it's time to add the finishing touches that will elevate your look from radiant to extraordinary.
Now, let's seal in your masterpiece.
A gentle mist of makeup setting spray not only melds your makeup seamlessly but also ensures it stays put, glowing as vibrantly in the evening as it did when you first applied it. Imagine your makeup as a stunning painting, with the setting spray as the protective varnish that keeps every detail intact.
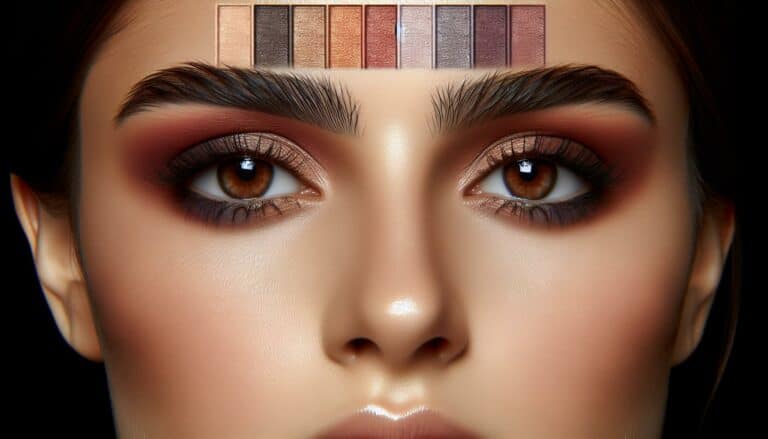
Next, let's draw attention to your lips, the final touch that frames your smile and adds harmony to your face. Choosing the right lip color is like picking the perfect accessory; it can transform your entire look. Whether you opt for a bold red that commands attention, a soft pink that whispers sweet elegance, or a nude that speaks in subtle tones of natural beauty.
Make sure it complements your skin's undertone and the colors you've used on your cheeks and eyes. Apply it with love, knowing you're not just putting on makeup; you're crafting an expression of your unique self, ready to share it with the world.
Conclusion
Now that you've mastered the art of bronzer and highlighter, remember, beauty isn't just skin deep, but a little glow never hurt!
The key is to blend, blend, blend, ensuring your makeup looks as natural as the dawn's first light. With these techniques, you'll not just walk into a room, you'll radiate.
So, go ahead, let your inner light shine through with each stroke of bronzer and highlight. After all, as they say, 'All that glitters isn't gold,' but in your case, it just might be.

