DIY Salt Scrub Guide: Customize Your Skincare Routine
Gather your ingredients
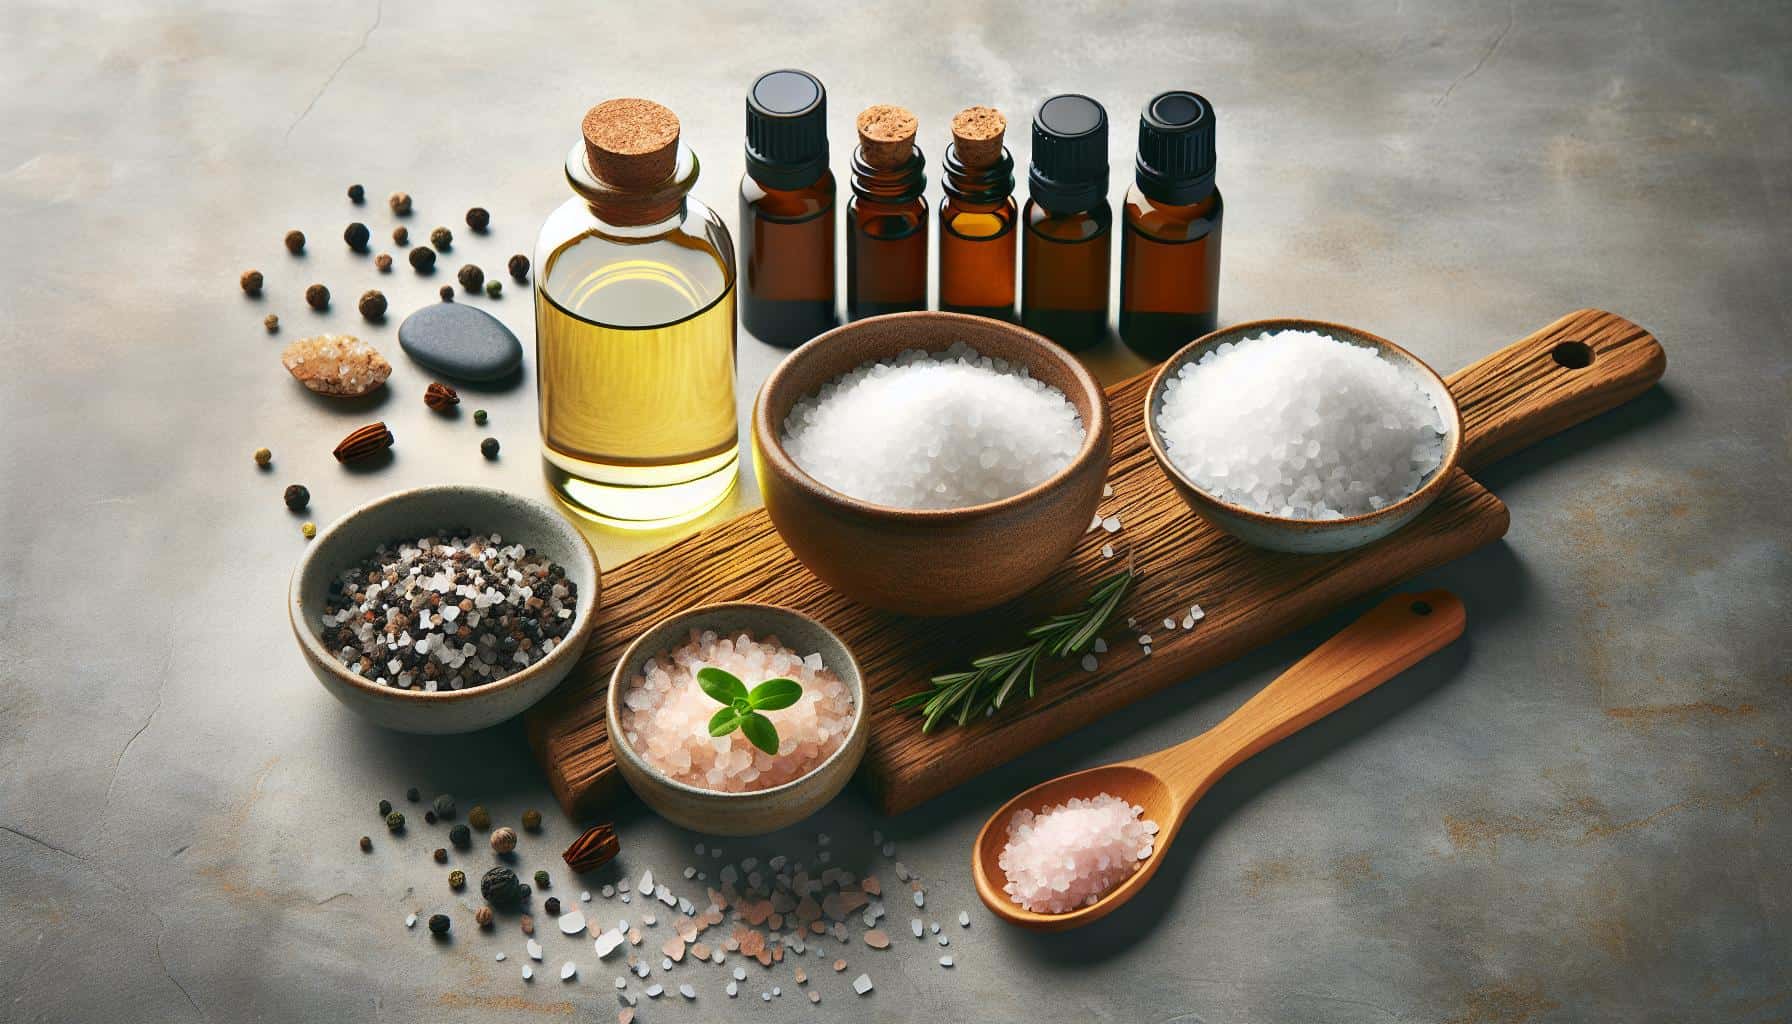
Before diving into the creation of your homemade salt scrub, gathering your ingredients is essential. You’ll need a few key items to start, many of which you might already have in your kitchen or bathroom cabinet.
- Salt: This is the base of your scrub. You can choose between Epsom salt, sea salt, or Himalayan pink salt, depending on your skin sensitivity and preference.
- Carrier Oil: To moisturize and bind your scrub together, you’ll need a carrier oil. Options include coconut oil, almond oil, or grapeseed oil.
- Essential Oils: For fragrance and additional skin benefits, add a few drops of essential oils. Lavender for relaxation, tea tree for its antibacterial properties, or peppermint for a refreshing zing are popular choices.
To ensure you’ve got everything you need, check out the table below:
| Ingredient | Purpose | Options |
|---|---|---|
| Salt | Exfoliant | Epsom, Sea Salt, Himalayan Pink |
| Carrier Oil | Moisturizer and binder | Coconut, Almond, Grapeseed |
| Essential Oils | Fragrance and skin benefits | Lavender, Tea Tree, Peppermint |
“Remember, the quality of your ingredients can greatly affect the overall efficacy and experience of using your salt scrub.”
After gathering these essentials, feel free to personalize your scrub with additions like honey for more moisture, coffee grounds for an extra kick of exfoliation, or even dried herbs and flower petals for aesthetic and therapeutic qualities. Each addition not only enhances your scrub’s appeal but can also target specific skincare needs.
Choose the right type of salt

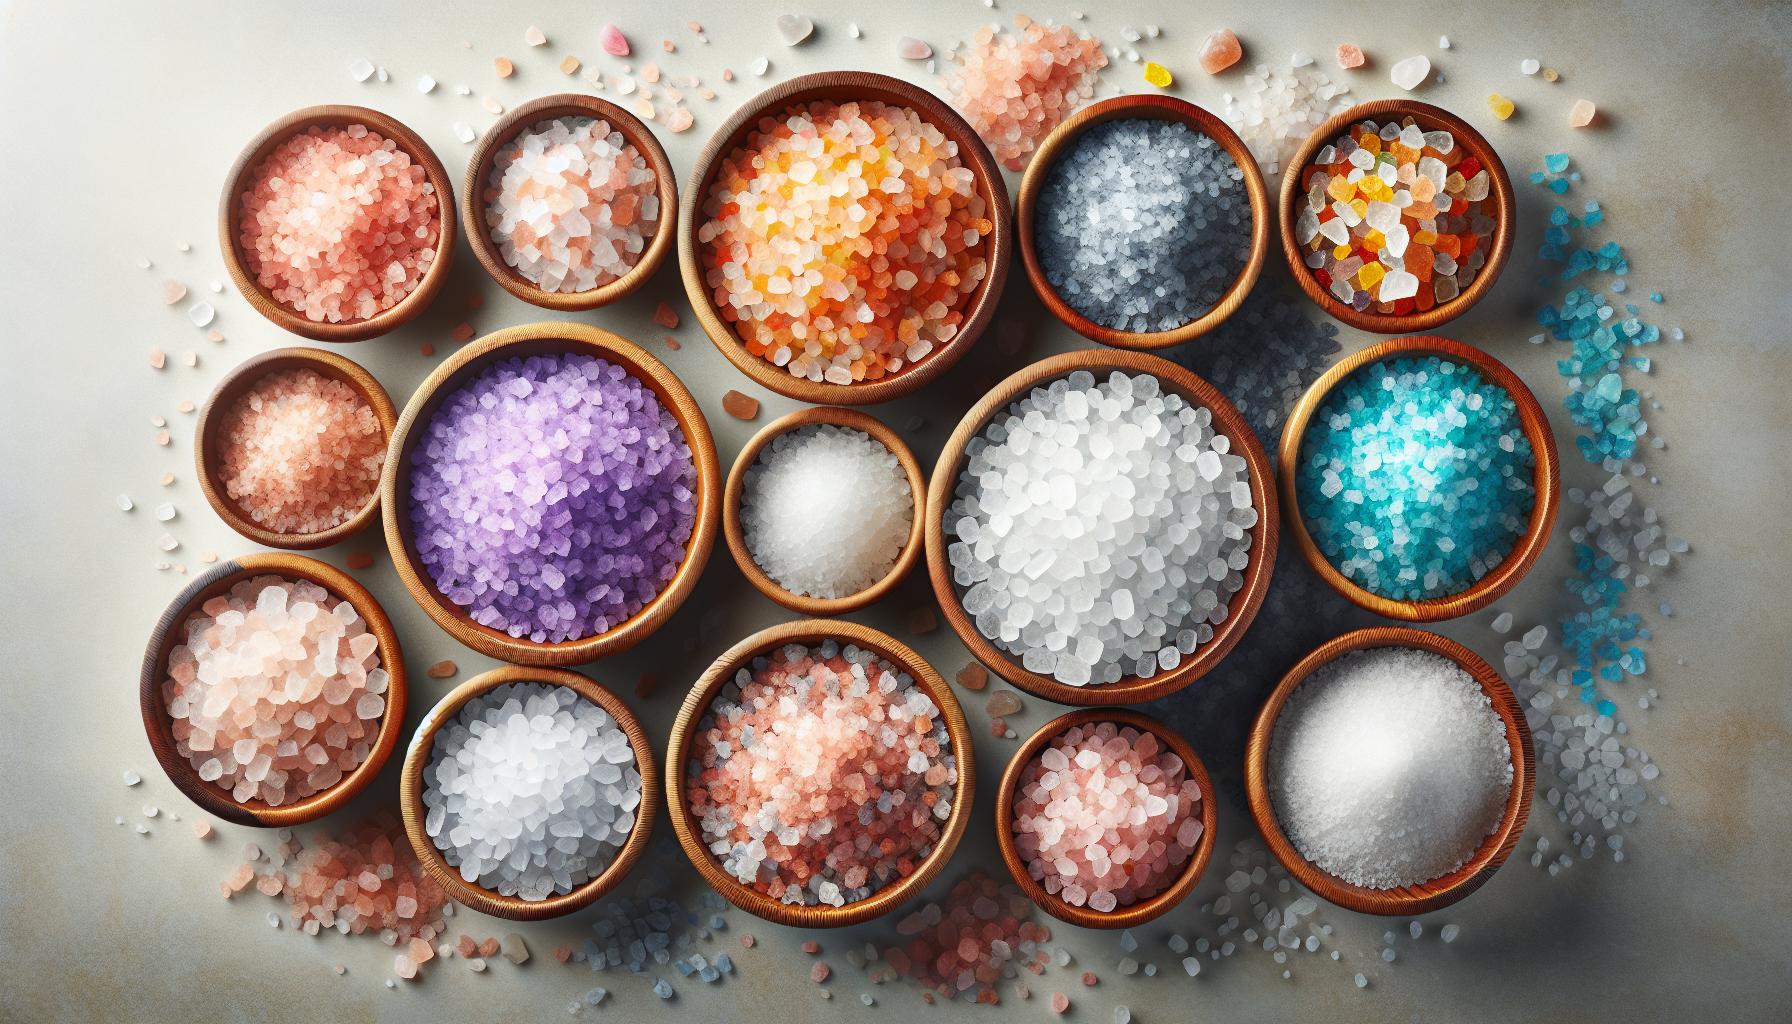
When crafting your homemade salt scrub, the type of salt you choose is pivotal. Each salt variant brings its unique grain size and mineral content, directly impacting your scrub’s texture and beneficial properties.
| Salt Type | Grain Size | Key Benefits |
|---|---|---|
| Epsom Salt | Medium | Soothes muscle aches, exfoliates skin |
| Sea Salt | Coarse | Natural purifier, rich in minerals |
| Himalayan Pink Salt | Fine to Coarse | Detoxifies, contains 84 trace minerals |
Epsom salt, widely recognized for its muscle-soothing properties, is excellent if you’re looking to create a scrub that not only beautifies the skin but also relaxes the body. Its medium grain size ensures a gentle yet effective exfoliation.
In contrast, sea salt, with its coarse grains, provides a vigorous exfoliation, perfect for areas that require more attention like elbows and feet. Its natural purifying qualities make it a staple for detoxifying scrubs.
Lastly, the visually appealing Himalayan pink salt offers a range of grain sizes, allowing for customization based on your preference for scrub intensity. It’s renowned for its detoxification properties and rich mineral content, boasting 84 trace minerals.
“Selecting the right type of salt is the foundation of a personalized scrub that caters to your specific skincare needs.”
By carefully considering the properties of each salt type, you can tailor your homemade salt scrub to your personal needs, ensuring a delightful and effective skincare regimen. Remember, experimenting with different salt types and grain sizes can lead to discovering your perfect scrub formulation.
Select your preferred oils and fragrances
Once you’ve chosen the perfect type of salt for your scrub, it’s time to dive into the world of oils and fragrances. The right combination can turn your homemade salt scrub into a luxurious spa-like experience. You’ll want to select an oil that not only moisturizes your skin but also compliments the texture of the salt you’ve chosen.
For your base oil, you’ve got a variety of options. Here are some popular choices:
| Oil Type | Properties |
|---|---|
| Coconut Oil | Deeply moisturizing, anti-fungal |
| Jojoba Oil | Mimics skin’s natural oils |
| Almond Oil | Lightweight, vitamins-rich |
| Olive Oil | Antioxidant, heavier moisture |
Choosing the right fragrance is equally important as it can enhance your mood and improve your overall scrubbing experience. Essential oils are a great way to add a natural scent. Here’s a quick guide:
- Lavender: Promotes relaxation
- Peppermint: Energizing and cooling
- Sweet Orange: Uplifts and refreshes
- Tea Tree: Antibacterial, good for skin issues
Pro Tip: Combine different essential oils to create your signature scent. Just remember to keep the total percentage of essential oils under 2% of your total scrub mixture to avoid skin irritation.
It’s crucial to do a patch test on a small area of your skin before using the scrub all over your body, especially if you’re incorporating new oils and fragrances. Your skin’s reaction can vary dramatically depending on the composition and concentration of the ingredients.
By carefully selecting your oils and fragrances, you’re ensuring that your homemade salt scrub not only feels great on your skin but also provides therapeutic benefits that make your self-care routine even more special.
Mix the ingredients together
Now that you’ve selected your oils and fragrances, it’s time to mix the ingredients together. This step is where your salt scrub starts to take shape, becoming a luxurious homemade skincare product.
Start by measuring your ingredients. The typical ratio you’ll want to follow is:
| Ingredient | Amount |
|---|---|
| Salt | 1 cup |
| Oil | 1/2 cup |
| Essential Oil | 10-15 drops |
Remember, the type of salt and oil you chose will influence the texture and benefits of your scrub.
After measuring, pour the salt into a mixing bowl. Then, add the oil. Mix these two together until the salt is evenly coated. Next, add your chosen essential oils. This is where you can get creative, combining scents for a truly personal touch.
“The trick is to mix continuously until you achieve a moist, sandy texture that’s not too oily.”
Once everything is mixed, take a moment to test the texture. It should feel gritty but not too harsh, and it should clump together when squeezed. If it’s too dry, add a bit more oil; if overly oily, add more salt.
This process isn’t just about mixing; it’s about customizing a scrub that suits your skin type and preferences. Experiment with different salts, oils, and fragrances until you find the perfect combination. Each ingredient plays a crucial role, from the exfoliating properties of the salt to the nourishing benefits of the oils and the therapeutic effects of the essential oils.
Use and store your salt scrub
Once you’ve crafted your perfect salt scrub, knowing how to use and store it properly will ensure you get the most out of your homemade skincare product.
To use your scrub, simply scoop a small amount into your hand and gently massage it onto wet skin in a circular motion. This process helps to slough off dead skin cells, leaving your skin feeling refreshed and rejuvenated. Rinse off with warm water, and pat your skin dry with a towel. For the best results, use your scrub 2-3 times a week.
When it comes to storage, the key is keeping your scrub moisture-free to prevent any bacteria growth. Store your salt scrub in an airtight container, and make sure your hands are dry before dipping into it. Alternatively, using a spoon or spatula to get the scrub out can help keep it clean.
Here’s a quick overview of the optimal usage frequency and storage tips:
| Usage Frequency | Storage Tips |
|---|---|
| 2-3 times a week | Keep in an airtight container |
| Store in a cool, dry place | |
| Use a dry spoon/spatula to scoop scrub |
Remember, essential oils in your scrub can degrade if exposed to too much light or heat, so finding a cool, dark place for storage is ideal.
“Your homemade salt scrub is a jar of self-care. Handle with love and enjoy the natural glow it brings to your skin.”
Experimenting with the frequency of use and observing how your skin responds will help you tailor your skincare routine to what works best for you. Feel free to adjust the amount of scrub used during each application or how often you incorporate it into your routine. This personalization is what makes homemade skincare so rewarding.
Conclusion
When you decide to make your own salt scrub, you’re not just preparing a skincare product; you’re crafting a personal spa experience. The benefits are numerous and significant. For starters, you know exactly what’s going into your scrub. There are no hidden chemicals or preservatives that could harm your skin in the long run.
| Ingredient | Benefit |
|---|---|
| Sea Salt | Exfoliates and rejuvenates skin |
| Essential Oils | Aromatherapy and skin conditioning |
| Carrier Oil | Moisturizes and softens skin |
Incorporating these natural ingredients ensures that your skin receives the purest form of treatment, enabling a healthier glow. Moreover, the act of creating your own scrub allows for customization. Whether it’s the texture, the scent, or the moisturizing properties, you can adjust the components to precisely fit your skin’s needs. This DIY project doesn’t just end with a product; it’s a journey towards understanding and catering to your unique skincare requirements.
“The beauty of DIY skincare lies in the ability to tailor each product to your personal preferences and needs.”
Remember, the journey doesn’t end here. Once you’ve mastered the art of making salt scrubs, you can explore further by adding different essential oils to address various skin concerns or even by gifting these homemade treasures to your loved ones. The possibilities are endless, and the satisfaction of using a product you made with your own hands is incomparable. Keep experimenting, and let your creativity lead the way in your skincare routine.


