Ultimate Guide: How to Use Green Concealer for Perfect Skin
Choosing the right shade of green concealer
When venturing into the realm of green concealers, finding your perfect match is crucial. Your skin tone plays a pivotal role in this decision.
For Fair Skin
If you’ve got fair skin, opt for a lighter, minty green. This shade won’t overpower your skin’s natural hue but will effectively neutralize any redness.
For Medium Skin
For those with a medium skin tone, a true green or a slightly deeper shade works wonders. It blends seamlessly, providing coverage without leaving a noticeable color behind.
For Dark Skin
For darker skin tones, a darker green with a hint of yellow can help correct redness while complementing your skin’s undertones.
Remember, the key is blending. After applying your green concealer, always top it off with a concealer that matches your skin tone. This ensures a natural, flawless finish.
“It’s not just about concealing, it’s about correcting with confidence.” – Your Beauty Guide
Here’s a quick guide to help you remember:
| Skin Tone | Shade of Green Concealer |
|---|---|
| Fair | Lighter, Minty Green |
| Medium | True Green/Darker Green |
| Dark | Dark Green with a Hint of Yellow |
With these points in mind, you’re now equipped to venture into the world of green concealers. Remember, practising blending and application techniques will also enhance your overall experience.
Prepping your skin before applying green concealer

Before diving into the world of color correction, there’s something crucial you need to do: prep your skin. This step ensures that your concealer goes on smoothly and stays put, giving you the flawless look you’re aiming for.
Cleanse and Moisturize
Start with a clean canvas. Gently cleanse your face to remove any dirt, oil, or makeup residue. After cleansing, apply a light moisturizer to hydrate your skin. Hydrated skin means a better base for makeup application, allowing products like green concealer to blend more seamlessly.
Prime Your Face
Using a primer is like setting the stage for your makeup. It smooths out the skin’s texture, providing an even base for application. Plus, it helps your makeup last longer.
Remember: “A good primer can dramatically improve the outcome of your makeup.” – Every makeup artist ever
Importance of Sunscreen
Never skip sunscreen, even if you’re planning on wearing makeup. It protects your skin from harmful UV rays, preventing premature aging and other damage. Apply sunscreen after moisturizing but before applying primer.
| Step | Product Type | Purpose |
|---|---|---|
| 1 | Cleanser | Remove dirt and oils |
| 2 | Moisturizer | Hydrate |
| 3 | Sunscreen | Protect |
| 4 | Primer | Smooth and prep for makeup |
By following these steps, your skin will be perfectly prepped for green concealer and any other makeup products you plan to use. Ensuring your skin is well-prepped not only enhances the performance of green concealer but also contributes to the overall health and appearance of your skin beneath the makeup.
Applying green concealer to red blemishes
After you’ve meticulously prepped your skin, it’s time to tackle those pesky red blemishes with your green concealer. The right application technique can make all the difference in achieving a natural, flawless look.
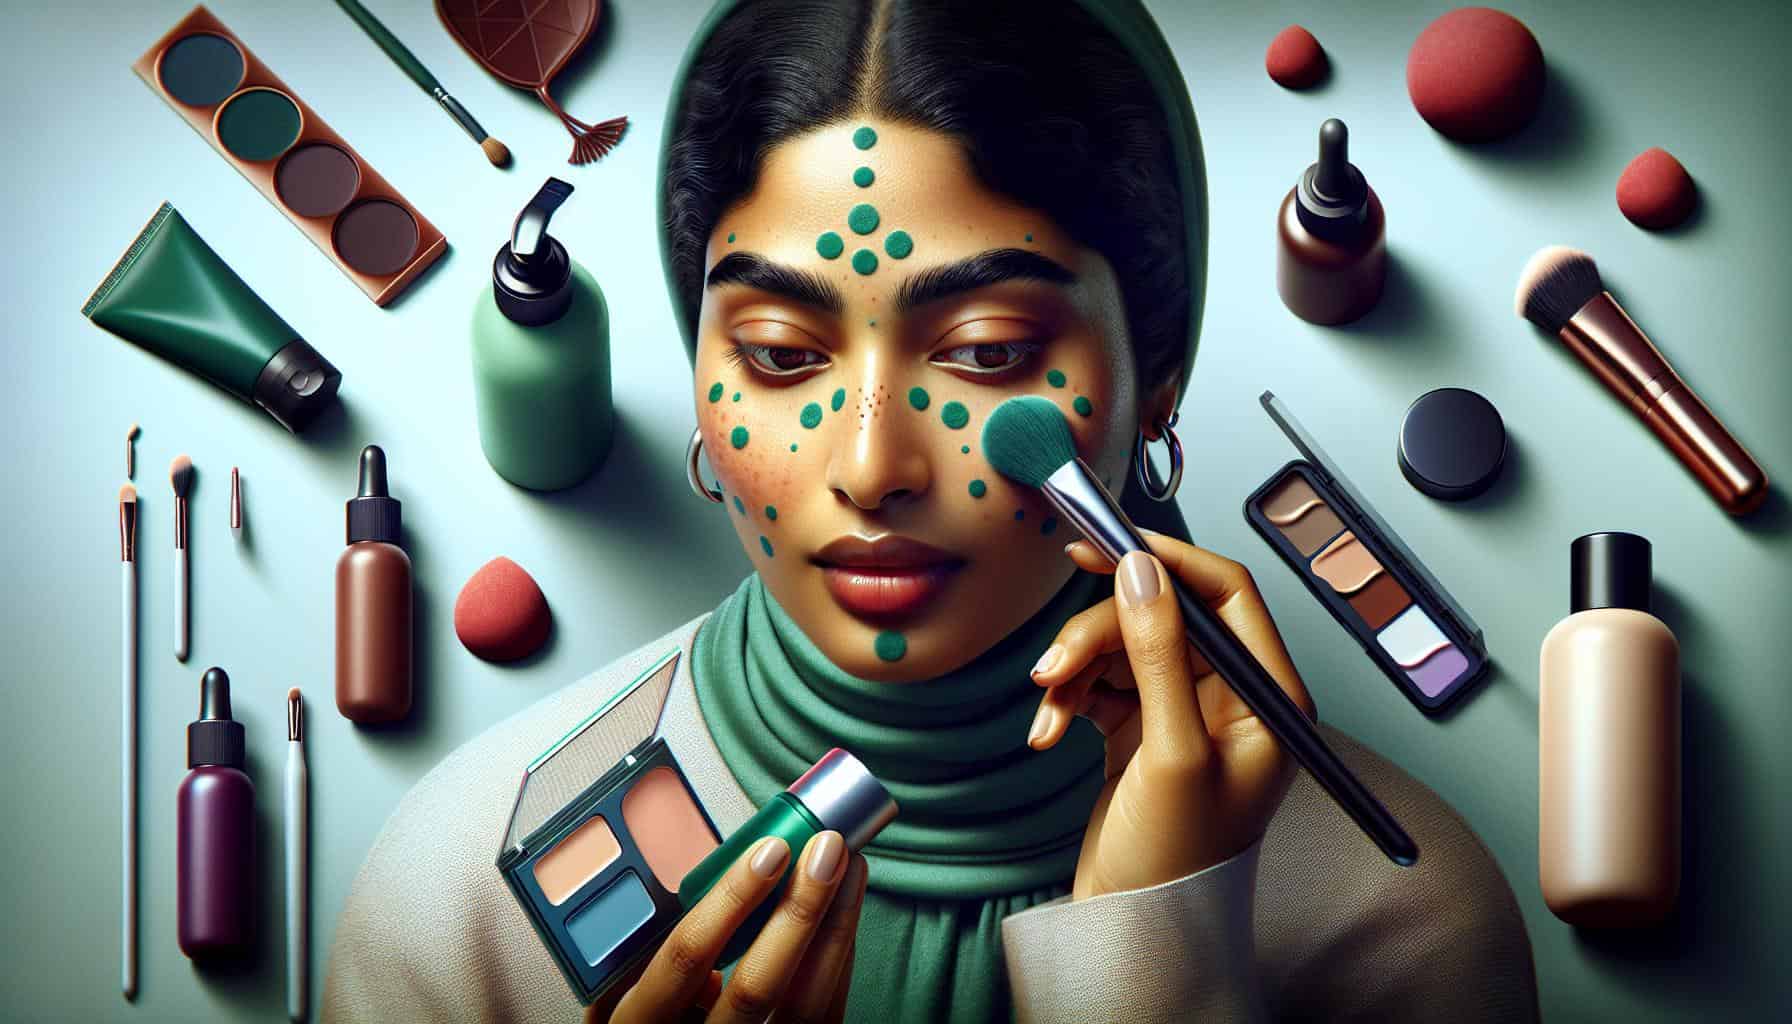
Step 1: Dot the green concealer directly onto any red areas, including pimples, scars, or any other marks. It’s crucial to start with a small amount; you can always add more if needed.
Step 2: Using a clean concealer brush or your fingertip, gently blend the concealer into your skin with a patting motion. Avoid dragging or smearing as this can remove the concealer from the blemish or cause uneven coverage.
| Tool | Best for |
|---|---|
| Fingertip | Warmth helps blending |
| Concealer Brush | Precise application |
| Beauty Blender | Even, light coverage |
In cases of larger areas of redness, lightly sweep the concealer across the affected zone and blend out the edges for a seamless finish.
Step 3: Once you’re satisfied with the coverage, set the concealer with a translucent powder. This step ensures your green concealer stays in place and doesn’t shift throughout the day.
Pro Tip: “Always match the green concealer’s intensity with your redness level. For darker red spots, go slightly heavier on the concealer and vice versa.”
Don’t forget to cover the green concealer with your usual foundation or concealer matching your skin tone. This layer is what will truly integrate the color correction into a natural-looking complexion.
Remember, the goal is to neutralize the redness, not to completely cover it so much that you lose your skin’s natural tone and texture. With practice, you’ll find the right balance for your skin.
Blending green concealer for a natural finish
Blending your green concealer properly is crucial for achieving a natural look that doesn’t draw attention to the areas you’re trying to conceal. Start by applying the concealer only to the red areas of your skin, using a light hand. Less is definitely more in this case.
Once you’ve dotted the green concealer on your blemishes or red areas, the next step is blending it seamlessly into your skin. The tools you choose for blending can make a big difference in the finish you achieve.
| Tool | Use Case | Finish |
|---|---|---|
| Fingertip | Small blemishes, quick touch-ups | Natural |
| Concealer Brush | Larger areas, precise application | Even, smooth |
| Beauty Blender | All-over blending, buildable coverage | Airbrushed, soft |
Pro Tip: Always blend by dabbing or patting gently instead of rubbing. This technique helps to distribute the product evenly without wiping it away, ensuring that the green pigment neutralizes the redness effectively.
Remember: The goal of blending is to make the concealer invisible, leaving no green traces behind.
For a truly natural finish, take the time to assess your work in different lighting conditions. Natural daylight is the most unforgiving, so it’s a great benchmark for seeing how well you’ve blended.
Lastly, blending isn’t just about the concealer itself. It’s also about making sure it integrates well with your overall makeup routine. After applying and blending the green concealer, gently layer your regular foundation or concealer on top, matching your skin tone. This step ensures that no green hues peek through, leaving you with a flawless complexion.
Other tips and tricks for using green concealer
When diving into the world of green concealers, it’s not just about the application process. There are additional tips and tricks to make your experience smoother and the outcome more stunning.
Optimize Your Concealer’s Performance
To get the most out of your green concealer, consider these factors:
- Temperature: Believe it or not, the temperature of your concealer affects its consistency and application. For a creamier texture, warm it up by rubbing it between your fingers before applying.
- Layering: To achieve the perfect coverage, sometimes layering is necessary. Start with a light layer of green concealer, set it with powder, and then apply your skin-toned concealer or foundation.
“Makeup is art, and your face is the canvas. Green concealer is your tool for creating the perfect base.”
The Importance of Blending
Blending is paramount when using green concealer. Here’s a quick guide to ensure flawless blending:
| Technique | Description |
|---|---|
| Dabbing | Use a sponge or fingertip to dab the product gently. |
| Circular Motion | With a brush, blend in small circles for an even application. |
| Patting | To set the product, gently pat with a fluffy brush or sponge. |
Remember, the goal is to make the green undetectable under your foundation, creating a seamless complexion.
Setting Your Work
After applying and blending your concealer, it’s crucial to set it properly. A translucent powder works wonders in locking everything in place, ensuring longevity and preventing creasing throughout the day.
Removal Tips
At the end of the day, removing your makeup correctly is as essential as the application. Opt for a gentle makeup remover or micellar water to prevent irritation and keep your skin looking healthy.
Conclusion
So, you’ve mastered the basics of green concealer application, blending, and setting. By now, you’re well on your way to neutralizing those pesky red blemishes, ensuring your skin looks flawless and even-toned.
“Perfect makeup begins with perfect skin. Green concealer is your ally in achieving that seamless, blemish-free look.”
Remember, the success of green concealer isn’t just about the product itself but how you use it. Here’s a quick recap of the most critical steps:
- Prep your skin properly: Cleanse, moisturize, apply primer, and don’t forget sunscreen.
- Apply green concealer on targeted areas and blend well.
- Set with translucent powder for lasting coverage.
For those visual learners, here’s a little breakdown of the steps mentioned above:
| Step | Tool | Action |
|---|---|---|
| 1. Prep your skin | Cleanser, Moisturizer, Primer, Sunscreen | Cleanse, moisturize, prime, protect |
| 2. Apply concealer | Green Concealer | Dot and blend |
| 3. Set | Translucent Powder | Dust over concealer |
Blending is your best friend when it comes to concealer. Remember, you don’t want to rub the product away; instead, focus on dabbing or patting gently for the perfect blend. Always assess your blending in both natural and artificial light to ensure there’s no noticeable demarcation.
A little extra tip: don’t shy away from experimenting with different tools. While fingers might work best for some, others might find a beauty blender or a concealer brush to do the trick. Find what works for you and stick to it.
As you continue to perfect your technique, remember that practice makes perfect. Each skin type and tone might require slight adjustments. Stay adaptable, and don’t be afraid to tweak your approach as you learn what best suits your skin.


