Prepping Your Skin
Before diving into the transformative world of Maybelline’s Instant Age Rewind Concealer, getting your skin ready is a step you can’t overlook. Proper skin preparation not only enhances the concealer’s effectiveness but also ensures a smoother, more natural finish.
Start with a clean slate. Washing your face with a gentle cleanser removes dirt, oil, and dead skin cells. This keeps the concealer from clumping or looking cakey. After cleansing, moisturizing is key. A lightweight, hydrating moisturizer keeps your skin supple and ready for makeup application. It’s crucial for avoiding dry, flaky spots where concealer might settle.
Don’t forget about Priming. A good primer does wonders by creating a smooth base for your concealer, ensuring it stays in place all day. It also can help minimize the look of pores and fine lines, making your skin appear flawless.
Here’s a quick guide on how prepping makes a difference:
| Step | Benefit |
|---|---|
| Cleansing | Removes impurities, prepping the skin for makeup |
| Moisturizing | Hydrates skin, preventing cakey appearance |
| Priming | Creates a smooth base, enhances concealer’s longevity |
“Prepping your skin is like laying the foundation for a masterpiece. Don’t skip it.” – A renowned makeup artist
By giving your skin the attention it needs before applying Maybelline’s Instant Age Rewind Concealer, you’re setting the stage for a flawless and youthful look.
Choosing the Right Shade

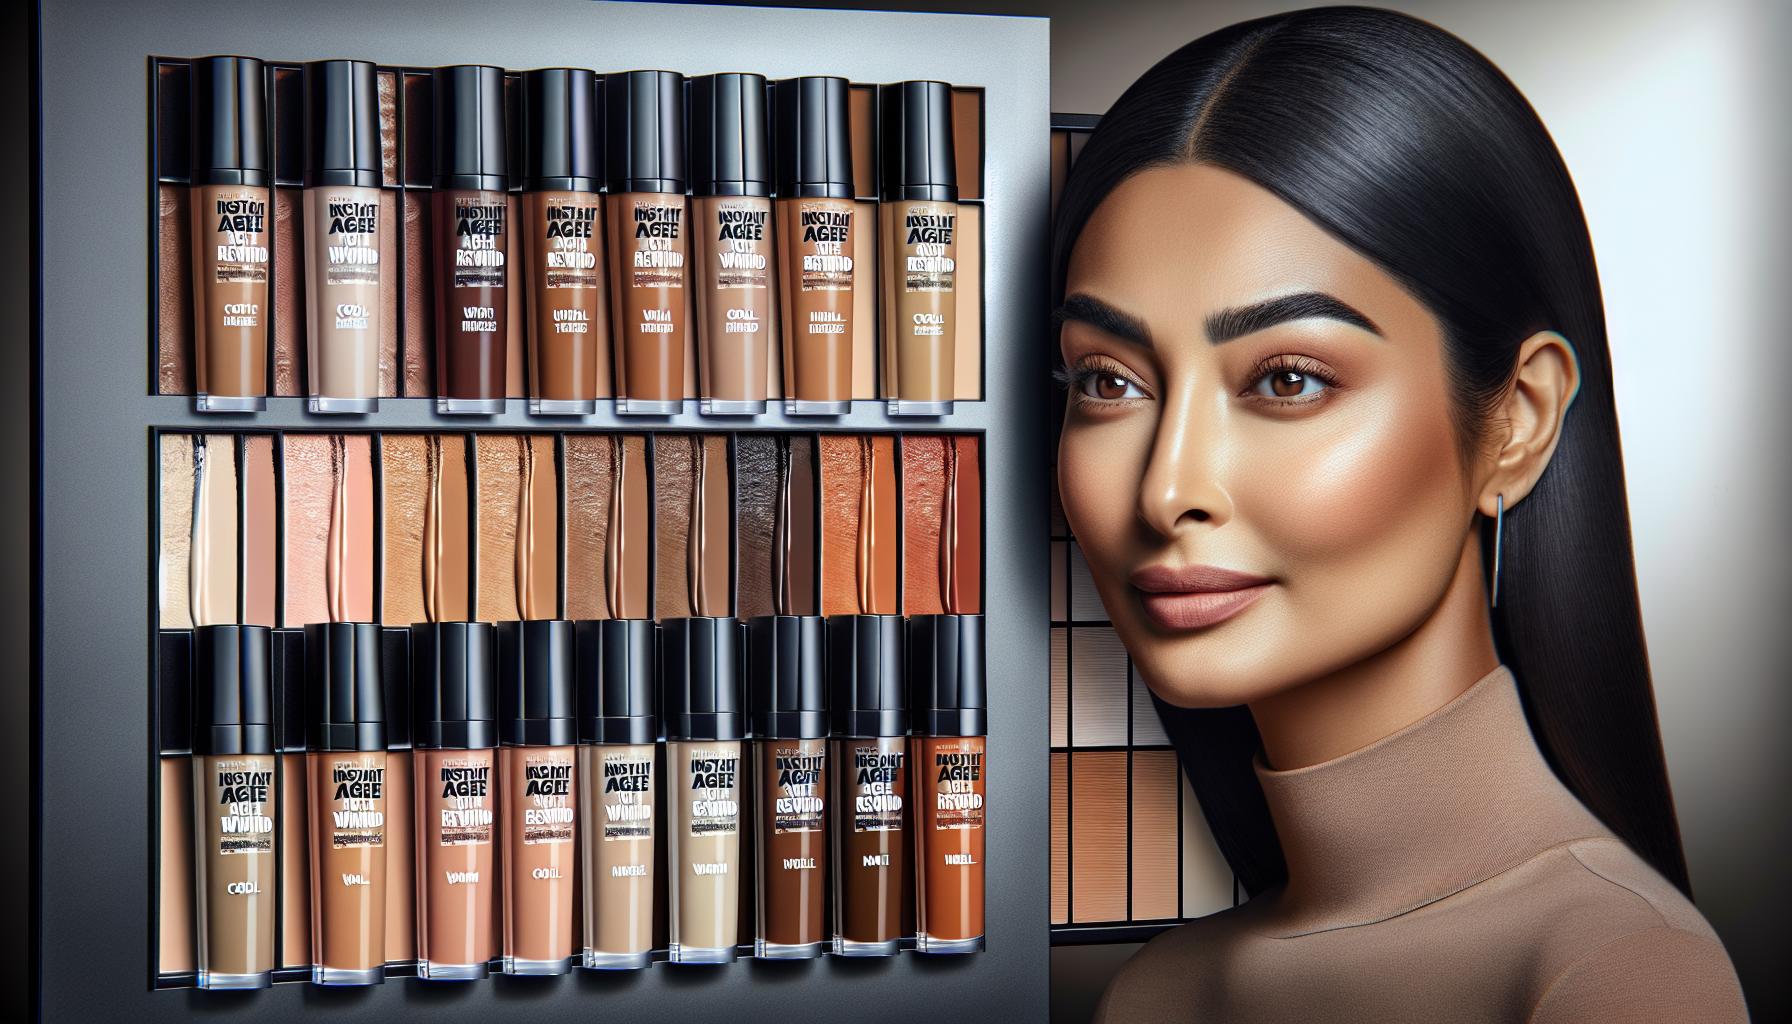
Finding the perfect shade of Maybelline Instant Age Rewind Concealer for your skin tone is essential for achieving that impeccable, youthful glow. The trick lies in understanding your skin’s undertone and selecting a shade that complements it beautifully.
Maybelline offers a wide range of shades, catering to various skin tones and undertones. To simplify, undertones are categorized into three main types: cool, warm, and neutral. Here’s a quick guide to help you identify yours:
- Cool: Your veins appear blue or purple. Silver jewelry complements your skin better than gold.
- Warm: Your veins have a greenish hue. Gold jewelry lights up your complexion more than silver.
- Neutral: It’s a mix. Both silver and gold jewelry look great on you.
Once you’ve determined your undertone, selecting the right concealer shade becomes much easier.
“The right shade not only conceals but also enhances your natural skin tone.”
Shade Selection Chart
To aid in your selection, here’s a simple breakdown of suitable concealer shades based on your skin tone and undertone:
| Skin Tone | Undertone | Maybelline Concealer Shade |
|---|---|---|
| Fair | Cool | Ivory |
| Fair | Warm | Light |
| Medium | Cool | Sand |
| Medium | Warm | Medium |
| Dark | Cool | Honey |
| Dark | Warm | Tan |
| Deep | Neutral | Caramel |
Remember, the goal is to choose a shade that’s as close to your natural skin tone as possible, perhaps one shade lighter if you’re specifically targeting under-eye circles. Testing the concealer on your jawline can offer a good indication of how well it will blend with your complexion. Adventure into experimenting with different shades may also uncover a perfect match that you hadn’t anticipated.
Applying the Concealer
After you’ve prepped your skin properly, it’s time to move on to the core focus: applying the Maybelline Instant Age Rewind Concealer. This product stands out for its easy-to-use applicator, designed to deliver the perfect amount of concealer without tugging or pulling delicate skin.
“Start with a clean applicator for each use to ensure smooth application and to prevent bacteria from affecting your skin.”
Here’s a quick breakdown of the steps:
- Initiate the Application: Twist the collar of the applicator until a small amount of concealer is visible on the sponge. This might take several twists the first time you use it.
- Target Areas: Dab the concealer onto any dark circles under the eyes, spots, or areas of discoloration. The soft sponge tip should make this process gentle and precise.
- Blend: Use your ring finger or a damp beauty sponge to blend the concealer into your skin. The warmth of your finger can help in seamlessly blending the product, but a sponge is perfect for a more airbrushed finish.
It’s crucial to consider the amount of concealer you use. Here’s a simple guide to help you determine the right quantity:
| Skin Concern | Recommended Amount |
|---|---|
| Dark Circles | 2-3 Dots |
| Blemishes | 1-2 Dots |
| Discoloration | 2-4 Swipes |
Remember, blending is key. Blending thoroughly ensures there are no harsh lines and that the concealer merges flawlessly with your foundation or skin tone. You can build up coverage slowly, allowing the product to set for a few seconds before adding more if needed.
By following these steps, you’ll achieve a natural, youthful look that brightens and revitalizes your complexion. Whether covering up for a special occasion or daily wear, the Instant Age Rewind Concealer offers a versatile solution for a radiant finish.
Blending Techniques
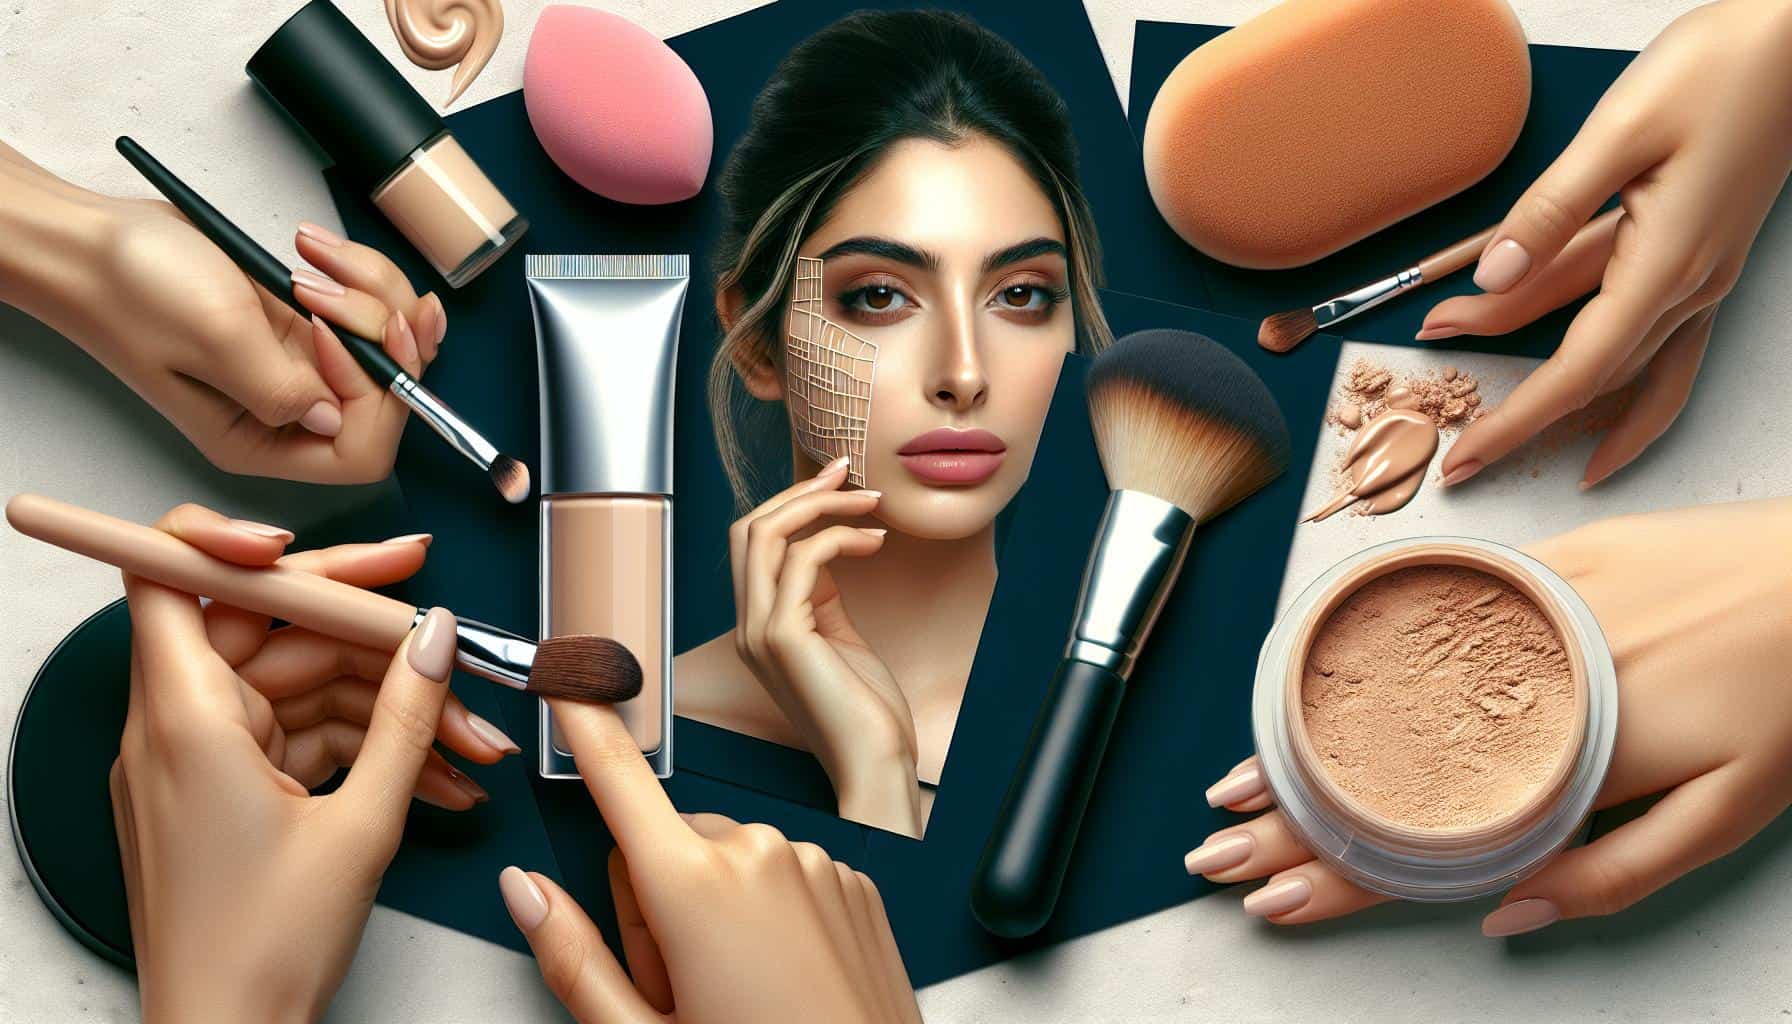
After applying Maybelline’s Instant Age Rewind Concealer, blending is your next crucial step. Proper blending ensures a flawless finish, making your skin appear naturally radiant and youthful.
Use the Right Tool
Depending on your preference and skin type, there are a couple of tools you can use for blending:
- Fingers: Your body heat helps the product melt into your skin, offering a natural finish.
- Beauty Sponge: Dampen the sponge for a sheer, dewy application.
Here’s a quick comparison to help you decide:
| Blending Tool | Finish | Best For |
|---|---|---|
| Fingers | Natural | Dry or Sensitive Skin |
| Beauty Sponge | Sheer/Dewy | All Skin Types, Blemishes |
- Dab: Gently dab the concealer with your chosen tool. Avoid dragging the skin.
- Pat: Especially under the eyes, use a patting motion for a crease-free application.
- Blend Edges: Make sure to blend the edges into your foundation or skin for an invisible transition.
Pro Tip: “To achieve the best coverage and most natural look, always start with less product and build up as needed.”
Blending is the key to concealing imperfections while keeping your makeup undetectable. By blending correctly, your concealer not only hides blemishes but also brightens and refreshes your complexion. Remember, practice makes perfect. Over time, you’ll find the best technique that works for your specific skin needs and preferences.
Setting the Concealer
After you’ve blended your Maybelline Instant Age Rewind Concealer to perfection, setting it is your next essential step. This ensures your concealer won’t crease or shift, keeping your complexion flawless throughout the day.
To start, choose a setting powder that matches your skin tone for a natural look or opt for a translucent variety to avoid adding extra color. Using a fluffy brush, lightly apply the setting powder over the concealer. The key here is to use a dabbing motion rather than sweeping, as you don’t want to disturb the perfectly blended concealer underneath.
Pro Tip: “Always remember to tap off excess powder from your brush to avoid a cakey finish.”
For areas prone to creasing, such as under the eyes, consider baking your concealer. Apply a generous amount of translucent setting powder and let it sit for 5-10 minutes. The heat from your skin will meld the concealer and powder together for an ultra-set finish. Afterward, gently brush away any excess powder.
Here are some recommended tools and products for setting your concealer:
| Tool/Product | Use Case |
|---|---|
| Fluffy Brush | For a light, natural set |
| Beauty Sponge | For baking and precision |
| Translucent Powder | To avoid adding extra color |
| Colored Setting Powder | For matching skin tone |
Baking is optional but can help if you’re attending an event where you need your makeup to last for hours without touch-ups. Remember, while setting your concealer is important, it’s equally crucial not to overdo it with powder, especially if you have dry skin. Light, strategic application is the key to a luminous, youthful finish that lasts all day.
Conclusion
After setting your Maybelline Instant Age Rewind Concealer with the appropriate tools and techniques, maintaining your flawless look throughout the day is crucial. Here are some quick tips to ensure durability and prevent your makeup from fading or creasing.
- Always hydrate your skin before makeup application to create a smooth canvas.
- Choose a primer that works well with your skin type. This can significantly enhance the longevity of your concealer.
Remember, touch-ups might be necessary, especially if you have a long day ahead. Carrying a mini version of your concealer and a small compact powder can be a lifesaver for quick fixes.
“Makeup is not a mask that covers up your beauty; it’s a weapon that helps you express who you are from the inside.” – Michelle Phan
For those curious about how well this product holds up over time, consider this:
| Timeframe | Appearance |
|---|---|
| Morning | Fresh and flawless |
| Midday | Minor touch-ups might be needed |
| Evening | Could require slight refresh |
- Blending is essential for a natural look.
- Setting your concealer prevents creasing.
- Minor touch-ups ensure your makeup remains fresh.
Experimenting with different methods and products is part of the fun in makeup application. As you get more comfortable with these steps, you’ll find what best suits your lifestyle and skin.


