Flawless Finish: How to Use Powder Foundation Like a Pro
Understanding Powder Foundation
Before diving into the nitty-gritty of application techniques, it’s crucial to get familiar with powder foundation and its benefits. Unlike liquid foundations, powder-based ones provide a matte finish, ideal for controlling excess oily skin. They’re also remarkably easy to apply, making them perfect for makeup beginners or those on the go.
- Oil Control: Powder foundations absorb excess oil, reducing shine throughout the day.
- Convenience: Easy to apply and perfect for quick touch-ups.
- Buildable Coverage: From light to full coverage, you can build it as needed without the cakey feel.
“Powder foundation can be a game-changer in your makeup routine, especially if you’re looking for a product that’s both low maintenance and versatile.” – Makeup Pro Tips
When selecting a powder foundation, keep your skin type in mind. Here’s a quick guide:
| Skin Type | Recommendation |
|---|---|
| Oily | Matte-finish powder |
| Dry | Hydrating, luminous powder |
| Combination | Balanced finish powder |
Remember, the right tool can make a difference. For a natural look, use a fluffy brush. For more coverage, consider a sponge applicator. The goal is to enhance your natural beauty by applying a foundation that complements your skin’s needs, not overshadow it. As you explore the variety of powder foundations available, you’ll discover the best fit for your unique complexion, ensuring that your makeup not only looks but also feels good on your skin.
Choosing the Right Shade

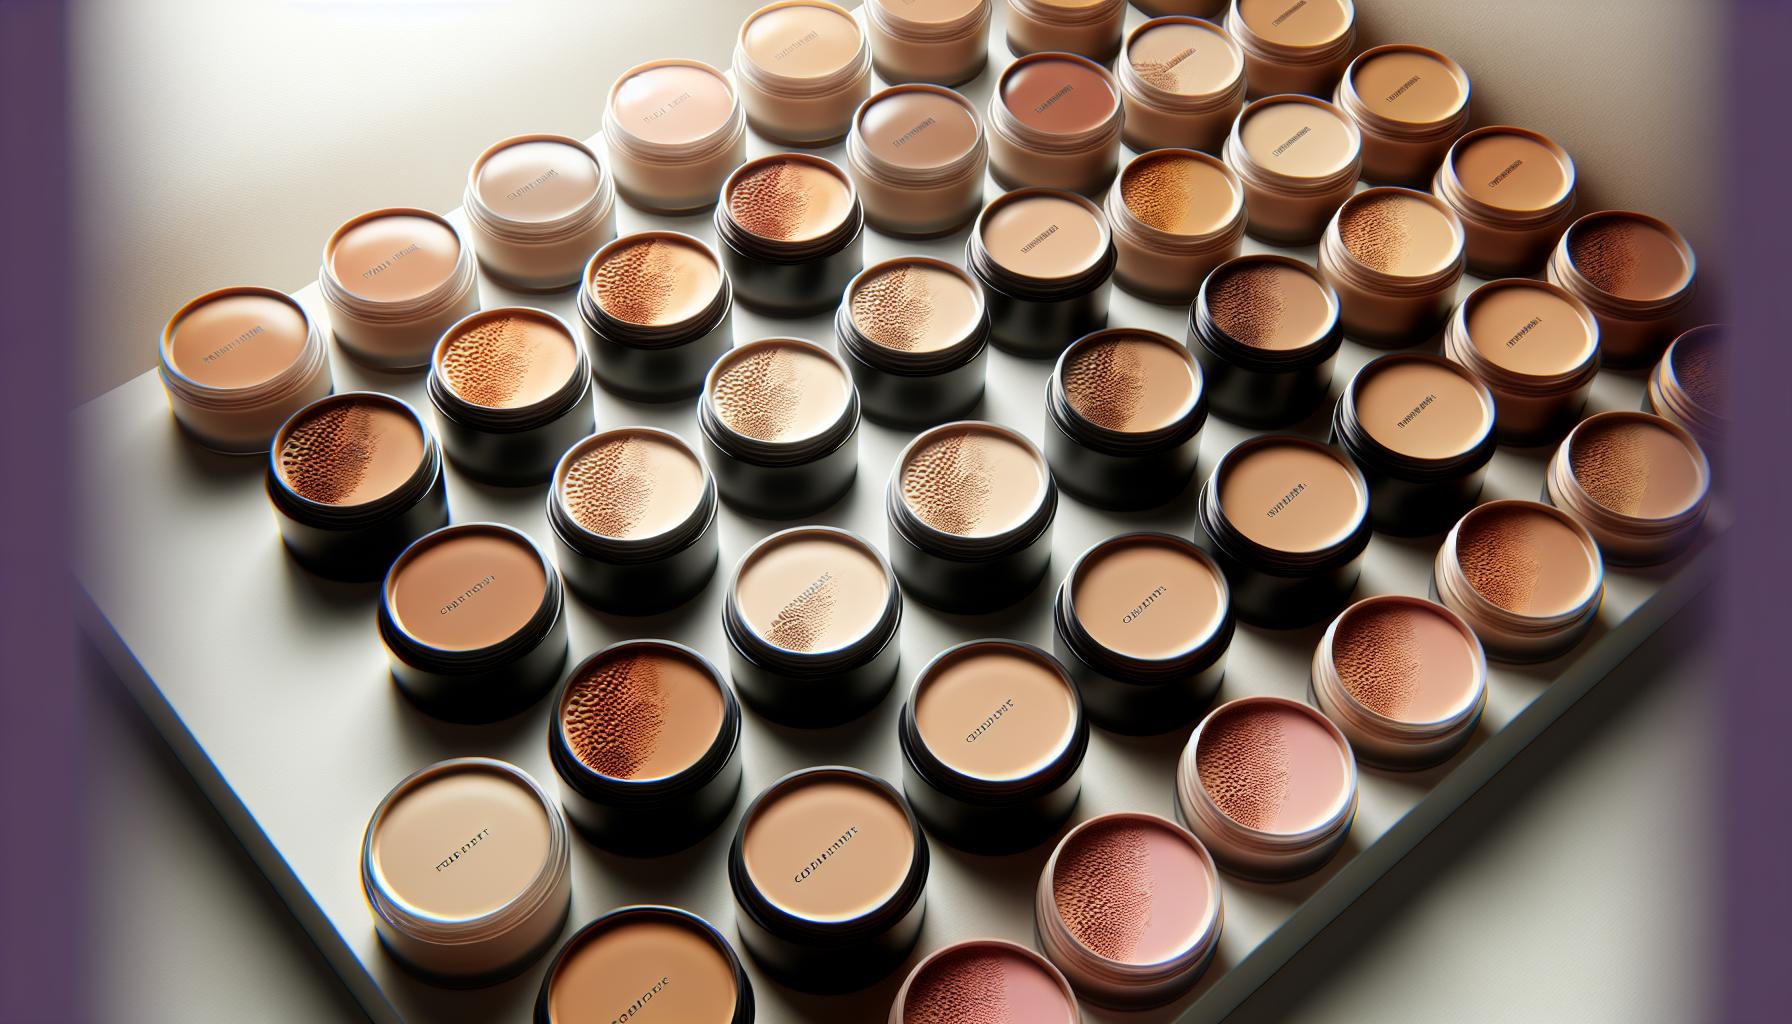
When diving into the world of powder foundation, one of the most crucial steps is Choosing the Right Shade for your skin tone. This ensures a natural, seamless finish that enhances your complexion without creating harsh lines or color mismatches.
Understand Your Skin’s Undertone
First up, you need to determine your skin’s undertone. Generally, skin undertones fall into three categories: cool, warm, or neutral. Here’s a simple guide:
- Cool: Your skin has hints of blue, pink, or red.
- Warm: Your complexion leans towards peach, yellow, or golden tones.
- Neutral: A mix of cool and warm characteristics.
Knowing your undertone can significantly narrow down your choices and lead you to the perfect match.
Test in Natural Lighting
“Always test foundation on your jawline in natural light for the truest match.” – Makeup Pro Tip
When testing shades, apply a small amount to your jawline, and check the color in natural light. This area allows you to see how well the foundation blends with both your face and neck.
The Perfect Match Chart
To help, here’s a basic chart mapping skin tones to potential powder foundation shades:
| Skin Tone | Undertone | Suggested Shades |
|---|---|---|
| Light | Cool | Ivory, Porcelain |
| Light | Warm | Beige, Soft Peach |
| Medium | Neutral | Nude, Medium Beige |
| Dark | Cool | Almond, Walnut |
| Dark | Warm | Golden, Honey |
Matching your skin tone and undertone with the right powder foundation shade is pivotal for a flawless look.
Prepping Your Skin
Before diving into the world of powder foundation, it’s crucial to prepare your skin to ensure a smooth, flawless finish. Just like a painter primes a canvas before painting, you should prep your skin before applying any makeup.
Step 1: Cleanse and Exfoliate
Start by using a gentle cleanser to remove any dirt, oil, or makeup residue on your skin. Follow up with an exfoliator to slough off dead skin cells. This leaves your skin smooth and ready for makeup application. Remember, exfoliating should be done 2-3 times a week, not daily, to avoid irritation.
Step 2: Moisturize
After cleansing and exfoliating, apply a lightweight moisturizer to hydrate your skin. Hydrated skin ensures that the powder foundation doesn’t cling to dry patches. Give the moisturizer a few minutes to absorb into the skin before moving on.
Step 3: Prime
Using a primer is optional but highly recommended. A primer fills in pores and fine lines, creating a smooth canvas for your foundation. It also helps your makeup last longer throughout the day. Apply a thin layer and let it set for a minute.
“The best makeup application starts with well-prepped skin.” – Makeup Pro Tip
| Skin Prep Step | Purpose |
|---|---|
| Cleanse | Removes impurities and preps skin |
| Exfoliate | Clears away dead skin cells |
| Moisturize | Hydrates and smoothens skin |
| Prime | Creates a smooth base for makeup |
Following these steps ensures that your skin is in the perfect condition for a flawless powder foundation application.
Tools for Application
Choosing the right tools is essential for flawless powder foundation application. While you might think that any old makeup brush or sponge will do, the truth is, the tools you use can make a huge difference in how your foundation looks on your skin.
Essential Tools for Powder Foundation
- Powder Brush: A large, fluffy brush that provides a light, natural coverage. Ideal for a quick application.
- Kabuki Brush: Known for its dense bristles, it offers more coverage and is perfect for buffing the powder into the skin.
- Sponge: A beauty sponge can be used damp for a sheer finish or dry for fuller coverage.
Here’s a quick breakdown of the primary tools used in powder foundation application:
| Tool | Best For | Coverage |
|---|---|---|
| Powder Brush | Quick Application | Light |
| Kabuki Brush | Buffing | Medium/Full |
| Sponge | Adjustable Application | Sheer to Full |
When it comes to applying powder foundation, the technique you use will vary based on the tool you choose. For instance, if you’re aiming for a light coverage, swirling a Powder Brush in circular motions will give you a natural look. For those who prefer more coverage, pressing the powder in with a Kabuki Brush or a Sponge will ensure that the foundation fills in fine lines and pores, giving a smoother appearance.
Remember, the key is to start with less product and build gradually, ensuring that you achieve the desired coverage without overdoing it.
Applying Powder Foundation
Once you’ve identified the perfect tool for your powder foundation application, it’s time to focus on the technique. Effective application is not just about what you use but how you use it.
Preparing Your Skin
Before diving into the powder foundation application, ensure your skin is well-prepared. Start with a clean, moisturized face. If your skin is dry, the powder might settle into fine lines or appear flaky. A primer can be a game-changer here, creating a smooth canvas for your makeup.
Step-by-Step Application
- Lightly Dip or Swirl your brush or sponge into the powder. Tap off the excess to avoid a cakey appearance.
- Apply in Thin Layers, starting from the center of your face and working outward. This technique helps in achieving an even skin tone without over-application.
“Less is more when it comes to powder foundation. It’s easier to build it up than to take it down.” – Makeup Expert Jane Doe
- Build Coverage Gradually. For areas that require more coverage, gently press the powder onto the skin instead of swiping.
| Area | Tool | Technique |
|---|---|---|
| T-zone | Powder Brush | Light Swirling |
| Under Eyes | Small Kabuki | Gentle Pressing |
| Cheeks and Jawline | Kabuki Brush | Soft Buffing |
Finishing Touches
Seal your foundation with a light finishing powder if you desire an extra matte look or need your makeup to last longer in humid conditions. Remember to blend well around the hairline and jaw to avoid harsh lines, ensuring a flawless transition.
Setting and Finishing Techniques
Once you’ve applied your powder foundation to achieve the desired coverage, it’s crucial to set it properly to ensure it stays put throughout the day. Setting your foundation helps to lock it in place, while finishing touches can enhance its appearance, making your skin look seamless and polished.
Setting Your Foundation
After application, lightly dust a translucent setting powder over your face using a large, fluffy brush. This will not only set your foundation but also provide a matte finish, reducing any unwanted shine. For those with dry skin, consider a hydrating mist to set your makeup; it’ll lock everything in place without emphasizing dry patches.
“Setting your powder foundation is the key to unlocking its longevity and performance.”
Finishing with a Flawless Touch
Adding a finishing touch with a highlighter or bronzer can really elevate your look. Use a smaller brush to apply bronzer on the perimeters of your face for a sunkissed glow, and add highlighter to the high points of your face like the cheekbones and brow bones for an instant lift. Both should be applied sparingly to maintain the natural look of your foundation.
| Tool | Use |
|---|---|
| Translucent Powder | Sets foundation, mattifies |
| Hydrating Mist | Sets makeup, hydrates |
| Highlighter | Adds glow to high points |
| Bronzer | Creates depth, warmth |
Remember, the goal of setting and finishing is to enhance the beauty of your foundation, keeping it looking fresh and flawless as the day goes on.
Touch-Ups on the Go
When you’re out and about, keeping your powder foundation looking flawless can be a challenge. But with a few key items in your bag, you’ll manage any touch-ups like a pro.
First off, it’s crucial to carry a compact powder foundation for quick fixes. These often come with a mirror and applicator, making them perfect for on-the-go use. If you notice areas that have become shiny or where the foundation has faded, a light application can refresh your look instantly.
For those who deal with oilier skin, blotting papers are a must-have. They remove excess oil without disturbing your makeup, providing a clean base if you need to reapply powder.
Here’s a quick guide on what to carry for touch-ups:
| Essential Items | Purpose |
|---|---|
| Compact Powder | For quick foundation refreshes |
| Blotting Papers | To remove excess oil without smudging |
| Mini Brush/Sponge | For precise application and blending |
Remember, less is more when applying touch-ups. You’re aiming to refresh your makeup, not reapply it entirely. A gentle tap on areas that need attention is often enough.
“A small touch-up can breathe new life into your makeup, keeping you looking fresh all day.” – Makeup Pro Tips
When using blotting papers, gently press onto oily areas; avoid rubbing, as this can disrupt your makeup. After blotting, if you feel a touch-up is necessary, use a mini brush or sponge for a precise and seamless application. This ensures your powder foundation blends well with the existing makeup, maintaining a natural and polished look.
Advantages of Powder Foundation
When you’re exploring different types of foundation, it’s crucial to understand the unique benefits that powder foundation offers. Unlike its liquid counterparts, powder foundation is celebrated for its versatility and ease of use. Here’s a closer look at why you might consider making it your go-to choice.
First and foremost, powder foundation is incredibly user-friendly. Whether you’re a makeup newbie or a seasoned pro, you’ll find that applying powder foundation is straightforward and forgiving. It’s perfect for those mornings when you’re pressed for time but still want to look put-together.
“Powder foundation is a game-changer for anyone seeking a quick and easy makeup routine.”
Furthermore, for those with oily skin, powder foundation can be a lifesaver. Its ability to matte down shine and control oil throughout the day can’t be overstated.
Here’s a quick snapshot of powder foundation’s key advantages:
| Advantage | Description |
|---|---|
| Easy Application | Simple to apply and blend, making it ideal for beginners. |
| Oil Control | Excellent for oily skin types, helping to reduce shine. |
| Long-Lasting | Stays in place for hours, minimizing the need for touch-ups. |
| Versatile | Works well alone or as a finishing touch over liquid foundation. |
Beyond its practical benefits, powder foundation also offers a lightweight feel that many find preferable, especially in warm weather. It allows the skin to breathe more than heavier liquid foundations, minimizing the risk of clogged pores and breakouts.
Conclusion
When it comes to applying powder foundation, you’ve got several techniques at your disposal to make sure you get that flawless finish.
First off, choose the right tool for the job. You can use a fluffy brush for a light, natural look, or a sponge for more coverage. The choice is yours, but remember the tool can make all the difference.
| Tool | Coverage | Finish |
|---|---|---|
| Fluffy Brush | Light | Natural |
| Sponge | More | Full |
Next, always start with a moisturized face. Powder foundation sticks better to hydrated skin, reducing the chance of it looking patchy. Let your moisturizer sink in for a few minutes before you begin.
“The key to a seamless powder foundation application is ensuring your skin is well-prepared and moisturized.” – Makeup Expert
When applying, build coverage gradually. It’s easier to add more than to take away. Begin with a small amount and layer until you’re satisfied with the look.
Remember, the main advantage of powder foundation is its versatility. You can easily adjust your coverage from light to full depending on your needs for the day.
Lastly, set your foundation if necessary. While powder foundations inherently last longer and control shine better, a setting spray can add extra staying power, especially for very long days or in humid conditions.
By keeping these tips in mind, your powder foundation routine can be both easy and effective, ensuring your makeup looks great all day long.


