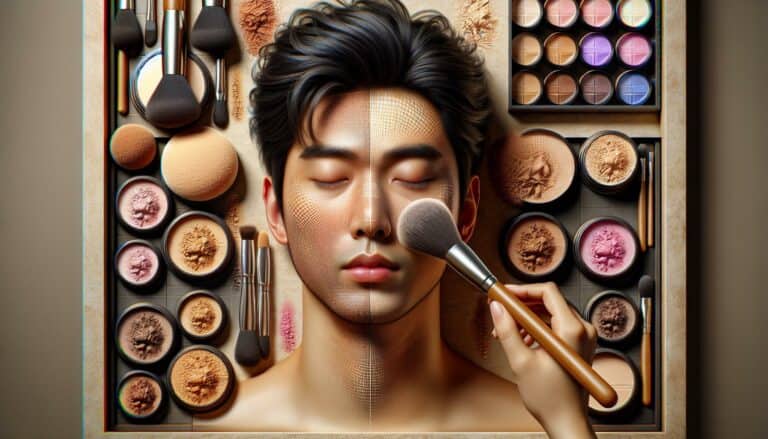
Ultimate Guide: Where to Apply Illuminator for a Radiant Glow
What is illuminator?
Before diving into where to apply illuminator, let’s address the what. Illuminator, often confused with highlighter, is a makeup product designed to give your skin a natural, dewy finish. Unlike highlighters that provide a shimmer or glint, illuminators are all about creating a subtle glow, mimicking a “lit from within” look.
Illuminators come in various forms: liquid, cream, and powder. Each type has its unique application and effect on the skin. Here’s a quick breakdown:
| Form | Application | Effect |
|---|---|---|
| Liquid | Blendable | Most Natural |
| Cream | Buildable | Dewy |
| Powder | Easy to apply | Subtle Sheen |
Understanding the differences among these forms can help you choose the right product for your skin type and desired look. Liquid and cream illuminators are ideal for dry skin, offering a moisturizing glow, while powder suits oilier skin types with a light, airy finish.
Applying illuminator correctly can enhance your features and give your complexion an effortless, healthy radiance. Next, we’ll guide you through the strategic spots on your face where a dab of illuminator can make a significant impact.
Difference between illuminator and highlighter
When diving into the world of makeup, you’ll often hear about illuminators and highlighters. Though they might seem interchangeable, they serve distinct purposes to enhance your look. Understanding their differences is key to achieving that perfect glow.
Illuminators are designed to give you a subtle, natural shine, creating a glow that seems to come from within. They’re less about shimmer and more about adding a touch of radiance across your skin. Highlighters, on the other hand, are all about reflection. They contain particles that catch the light, drawing attention to the high points of your face like your cheekbones, brow bone, and cupid’s bow.
Here’s a quick breakdown to highlight the main differences:
| Feature | Illuminator | Highlighter |
|---|---|---|
| Finish | Dewy, subtle glow | Shimmery, noticeable glow |
| Purpose | Creates an overall radiance | Draws attention to specific features |
| Application | Can be applied broadly (face, neck, etc.) | Applied to targeted areas |
| Ideal for | Achieving a healthy, hydrated look | Accentuating features |
Pro Tip: “The secret to perfect makeup is knowing when and where to use illuminator and highlighter. It’s not just about adding shine, but strategically placing it to enhance your natural beauty.”
Choosing the right product depends on the occasion and desired effect. For everyday wear, an illuminator can provide that sought-after healthy glow, while highlighters are great for evenings or when you want to make a statement with your makeup. Remember, blending is your best friend when applying either product to ensure a seamless transition between your makeup and your natural skin.
Why use illuminator?
When diving into the world of makeup, you’ll quickly realize that illuminators are more than just a fleeting trend. Their purpose extends far beyond simple aesthetics.
“Illuminators bring light to the face, creating a natural glow that no other product can mimic.”
This glow is central to achieving a youthful and radiant complexion. But why exactly should you incorporate illuminators into your makeup routine? The answer lies in the unique benefits they offer.
Illuminators are designed to reflect light, making your skin appear more vibrant and healthy. Unlike highlighters, which are all about shine and drama, illuminators subtly enhance your natural beauty without overshadowing it. This makes them perfect for everyday wear, as well as for special occasions when you’re aiming for a more sophisticated look.
Here’s a quick breakdown of the main reasons to use illuminator:
| Benefit | Description |
|---|---|
| Enhances Glow | Adds a soft, radiant glow to the skin, emulating natural healthiness. |
| Promotes Youthfulness | Reflecting light can help minimize the appearance of fine lines. |
| Versatility | Can be used on any skin type or tone, making it a universal product. |
| Customizability | Mix with foundation or apply alone to achieve the desired level of glow. |
By strategically applying illuminator to areas where light naturally hits your face, such as the cheekbones, bridge of the nose, and brow bones, you can accentuate your features in a subtle and natural way. Whether you’re after a soft, dewy look for a day at the office or a radiant glow for an evening out, illuminators can be your go-to tool for enhancing your natural beauty.
Where to apply illuminator on your face
Unlocking the secret spots to apply illuminator on your face can transform your makeup routine, giving you that coveted glow. When applied correctly, illuminator enhances your natural beauty by mimicking where light naturally falls on your face. Here’s a simple guide to ensure you’re spotlighting the right areas.
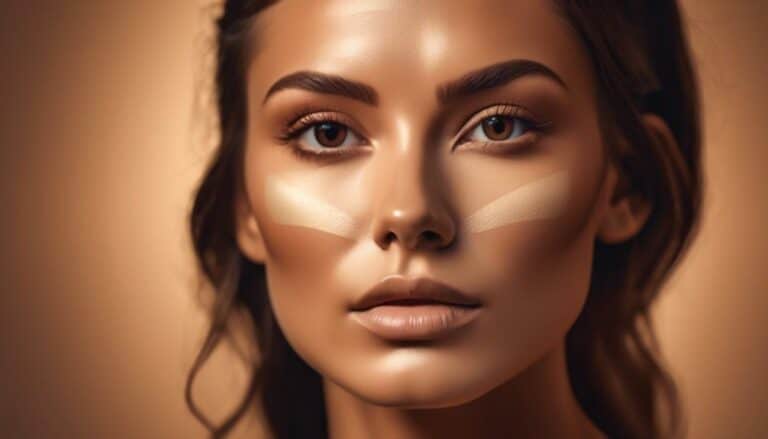
First up, let’s talk cheekbones. This is your illuminator’s home ground. Swipe along the high points of your cheekbones to create that radiant, lifted effect. Don’t forget to blend slightly upwards towards your temples for a seamless glow.
Next, the brow bone area. A subtle dab just below your eyebrows not only defines them but also illuminates your eyes, making them pop. This technique works like a charm in opening up the eye area.
Another less common yet impactful spot is the bridge of your nose. A light, careful application here creates the illusion of a straighter, more refined nose. However, it’s crucial to tread lightly to avoid the dreaded shiny nose syndrome.
For those wanting to add a touch of glow to their lips, applying a bit of illuminator on the Cupid’s bow accentuates your lips, making them appear fuller and more defined.
Lastly, don’t overlook your forehead’s center and chin. A light touch on these areas brings balance to your glow, connecting all dots for that all-around luminosity.
“Highlighting the right areas can elevate your look from natural to sun-kissed goddess in no time.” – Makeup Pro Tips
- Cheekbones
- Brow bone
- Bridge of nose
- Cupid’s bow
- Center of the forehead
- Chin
| Area | Effect |
|---|---|
| Cheekbones | Adds lift and radiance |
| Brow Bone | Defines brows, illuminates eyes |
| Nose Bridge | Creates illusion of a refined nose |
| Cupid’s Bow | Makes lips appear fuller |
| Forehead & Chin | Balances and ties the look together for all-around glow |
Incorporating these techniques into your makeup routine will ensure you’re not just applying illuminator, but strategically using it to enhance your best features. Remember, less is more, and blending is key to achieving that natural, dewy look.
High points of the face
When you’re looking to add that perfect glow with an illuminator, focusing on the high points of your face is key. These are areas that naturally catch light, enhancing your features effortlessly.
“Applying illuminator to the high points of the face brings a natural radiance that seems to emanate from within.”
Here’s a quick guide on where to concentrate your efforts:
- Cheekbones: This is the number one spot for a reason. It lifts and sculpts your face.
- Brow Bone: Highlighting here defines your eyebrows and makes your eyes pop.
- Bridge of the Nose: A small dab adds dimension and a touch of refinement.
- Cupid’s Bow: For that fuller, more defined lip.
- Center of the Forehead & Chin: Balances the illumination, tying the whole look together.
| High Point | Effect |
|---|---|
| Cheekbones | Lifts and sculpts the face |
| Brow Bone | Defines eyebrows, illuminates eyes |
| Bridge of the Nose | Adds dimension |
| Cupid’s Bow | Makes lips appear fuller |
| Forehead & Chin | Balances and ties the look together |
By focusing on these areas, you ensure that your face catches the light in the most flattering way. Whether you’re aiming for a subtle day-time shimmer or a more dramatic evening look, understanding how and where to apply illuminator can make all the difference. Always remember to blend well for that seamless, natural glow.
Brow bone
Moving up to the Brow bone, this area often doesn’t get as much attention as it deserves in your makeup routine. However, applying an illuminator here can truly transform your eye makeup by defining your eyebrows and providing an instant eye lift. When light hits the brow bone, it illuminates your eyes, making them appear larger and more awake.
For a subtle glow, opt for a cream or powder illuminator that complements your skin tone. Lightly dab it right beneath your eyebrow, following its natural arch, and blend well. This blending is crucial to avoid harsh lines and ensure the illuminator integrates seamlessly with your skin.
Here is a quick guide on choosing the right illuminator shade for your skin tone:
| Skin Tone | Illuminator Shade |
|---|---|
| Fair | Pearl or Champagne |
| Medium | Rose gold or Gold |
| Dark | Bronze or Rich Gold |
- Use a small, tapered brush for precise application.
- A little goes a long way. Aim for a subtle shimmer.
- If you’re using powder illuminator, tap off excess product before applying.
“The right amount of illuminator on your brow bone can elevate your look from natural to glamorous in just a few swipes.”
Incorporating illuminator into this area of your makeup routine harmonizes with the facial high points you’ve already highlighted, flowing naturally into a striking yet sophisticated look. Whether you’re aiming for a bold or subtle finish, remember that mastering the art of illuminator begins with understanding your face’s unique structure and how light plays into your beauty.
Cupid’s bow
Highlighting the Cupid’s bow plays a pivotal role in accentuating your lips and giving them a fuller, more defined look. When you apply illuminator to this area, it not only brings attention to the shape of your upper lip but also creates an illusion of depth and volume.
To achieve this, you’ll want to use a precise application technique. Start by taking a small amount of illuminator on a tapered brush or even your fingertip. Lightly dab it on the peak of your Cupid’s bow, which is the curve found on the upper lip’s edge. Be careful not to over-apply; you’re aiming for a subtle sheen rather than an overtly shiny look.
Here are a few benefits of highlighting your Cupid’s bow:
| Benefit | Description |
|---|---|
| Enhances Lip Fullness | Creates the illusion of plumper lips. |
| Defines Lip Shape | Accentuates the natural shape of your lips. |
| Adds Dimension | Gives depth to your lip color and overall makeup look. |
Remember, the key is blending. After applying, gently blend the edges to ensure there’s no harsh line of demarcation between your skin and the illuminator. This step will make the highlight appear more natural and seamless.
“A touch of light on the Cupid’s bow can elevate your lip game to new heights.”
By incorporating this simple yet effective technique into your makeup routine, you’ll notice how it not only enhances the beauty of your lips but also contributes to a more polished and complete makeup look. Whether you’re aiming for a bold statement lip or a soft, natural enhancement, targeting the Cupid’s bow with illuminator can make all the difference.
Inner corners of the eyes
Adding illuminator to the inner corners of your eyes is a game-changer for waking up your entire face. This simple, yet effective technique can make your eyes appear larger, more awake, and vibrantly expressive.
When applying illuminator to this area, use a small, precise brush or the tip of your finger for targeted application. A little goes a long way, so start with a small amount and add more if necessary. The key is to blend well, so there aren’t any harsh lines or obvious spots of brightness.
“Highlighting the inner corners of your eyes adds a pop of brightness, instantly making you look more awake and refreshed.”
But why does this trick work so well? The science behind it involves bouncing light away from the darker areas of your eyes that can make you look tired. Here’s a quick look at the benefits:
| Benefit | Description |
|---|---|
| Enhances Eye Size and Shape | Creates the illusion of larger, more open eyes |
| Adds Liveliness to Your Look | Brings a youthful glow and freshness |
| Complements Eyeshadow | Enhances and defines your eyeshadow look |
Remember, the type of illuminator used matters too. For the inner corners, a liquid or cream-based formula often works best for a seamless blend. Opt for shades that closely match your skin tone or are slightly lighter for the most natural and flattering effect.
Bridge of the nose
When diving into the world of illuminators, one cannot overlook the Bridge of the nose. This central feature acts as a pivotal point for light reflection, playing a key role in the symmetry and brightness of your face. By carefully applying illuminator down the bridge of your nose, you create a subtle, yet impactful, effect that can make your nose appear more refined and your overall facial structure more defined.
“Highlighting the bridge of the nose adds dimension and draws attention to the center of the face, creating a balanced look.”
Why Focus on the Bridge?
The bridge of the nose is naturally a high point on the face, where light tends to hit directly. Accentuating this area with illuminator enhances this natural light, giving your face a more structured appearance. However, it’s crucial to use a light hand during application to avoid an overly shiny or greasy look.
- Start at the point just between your eyes and gently blend upwards towards your forehead.
- Use a thin, tapered brush for precision.
- Opt for a matte or subtly shimmery illuminator to avoid the overly shiny effect.
For an optimal application, consider the following illuminator types based on your skin tone:
| Skin Tone | Illuminator Type |
|---|---|
| Fair | Pearl or Champagne |
| Medium | Rose Gold or Gold |
| Deep | Bronze or Copper |
Remember, the goal is to enhance, not overpower. Blending is your best friend in achieving a naturally lit look that accentuates the best features of your face.
Cheekbones
Highlighting your Cheekbones with illuminator not only adds definition to your face but also brings a youthful glow that can’t be replicated by any other product. When applied correctly, illuminator on the cheekbones can accentuate your features and give you that sought-after natural luminescence.
To start, find your cheekbone with your fingers. You’ll want to apply the illuminator in a light sweeping motion directly on the highest point of your cheekbones. This is where the light naturally hits your face, thus it’s the perfect spot for that radiant shine. Blending upward towards the temples will lift and sculpt the appearance of your face, creating an illusion of higher cheekbones.
Different skin tones require different shades of illuminator for that perfect glow. Here’s a quick guide:
| Skin Tone | Suggested Illuminator Shade |
|---|---|
| Fair | Pearl or Champagne |
| Medium | Gold or Rose Gold |
| Dark | Bronze or Gold |
Remember, the key is to blend, blend, blend. Harsh lines or spots of illuminator can disrupt the natural glow you’re aiming for and make your makeup look unnatural.
“Less is more when it comes to applying illuminator. Aim for a subtle shimmer rather than an over-the-top sparkle.”
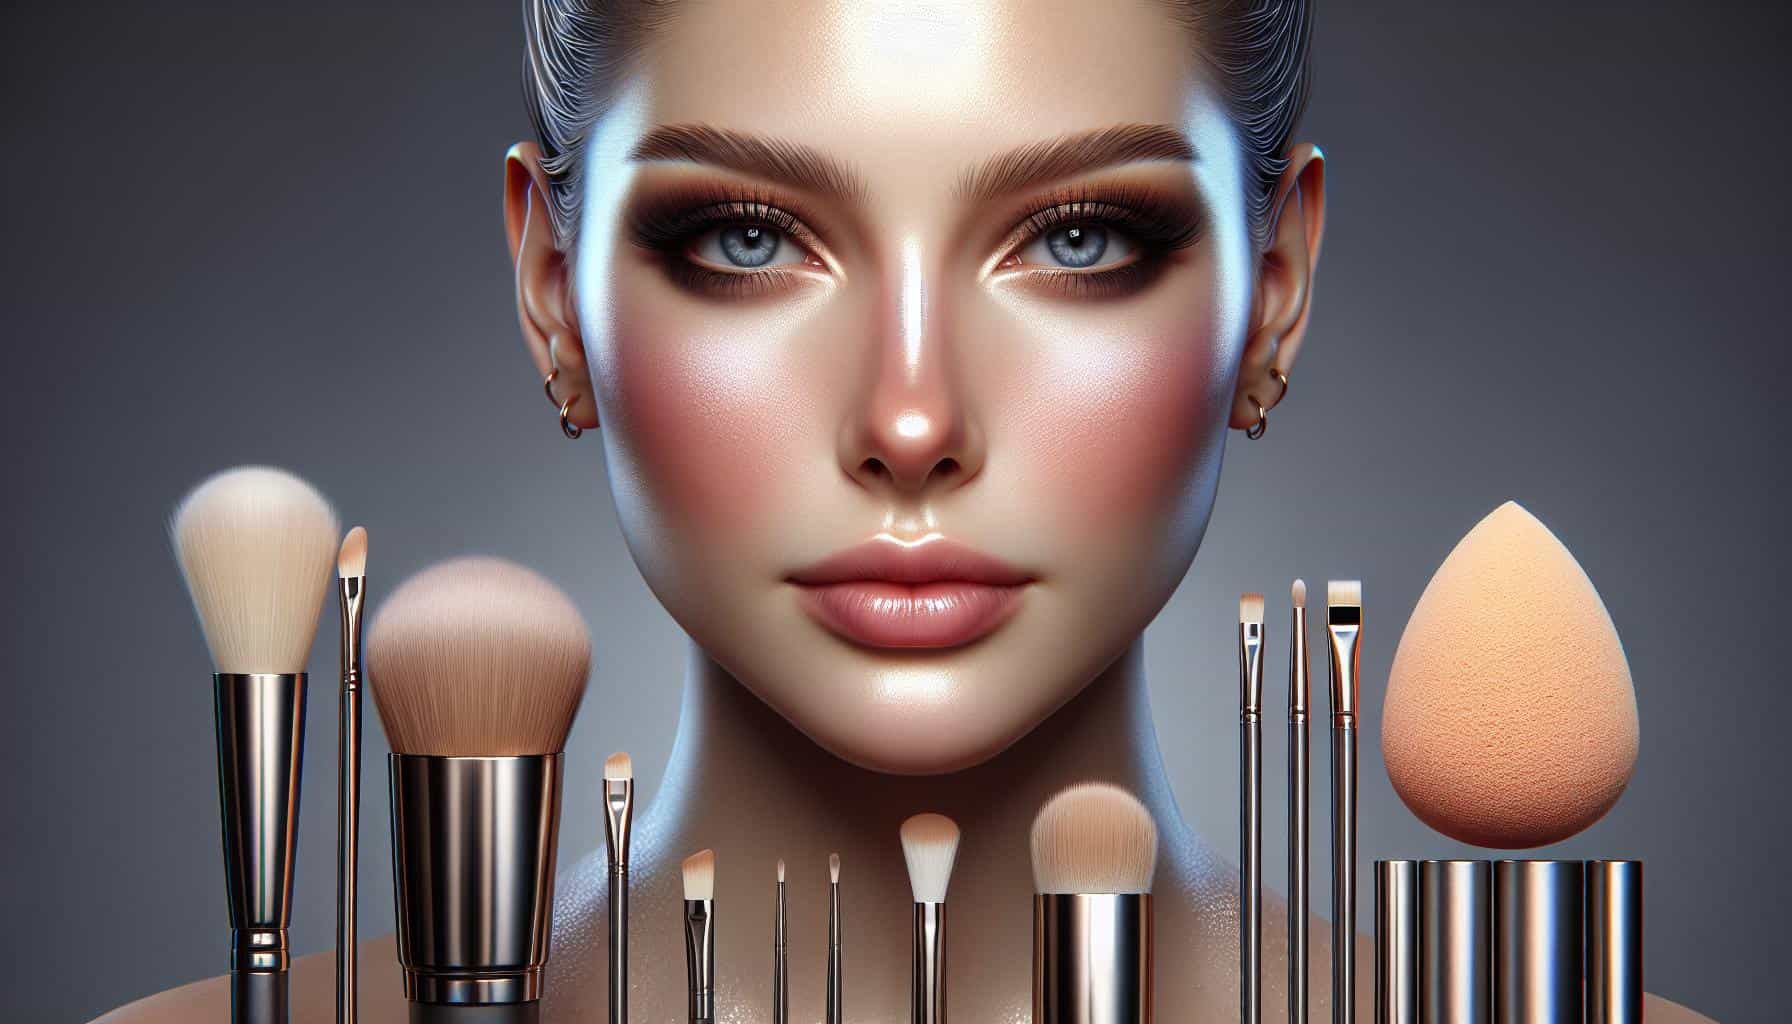
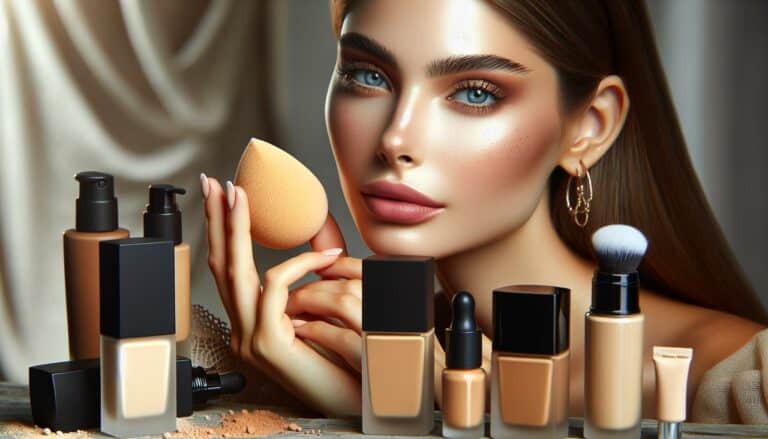
Experiment with different tools like fingertips, a fan brush, or a damp beauty sponge for application. Each tool offers a unique finish – fingertips provide a more concentrated glow, while a brush or sponge can offer a softer, more diffused look. Dive into your beauty routine with confidence and uplift your cheekbones to new heights.
Collarbone
Highlighting your collarbone can elevate your look, especially when wearing outfits that expose this area. This subtle yet captivating addition creates an alluring glow, accentuating your body’s natural contours. By applying illuminator to your collarbone, you’re not just enhancing your facial features but adding a touch of radiance to your overall appearance.
When you’re aiming to highlight your collarbone, the choice of illuminator comes into play. Depending on the event and your outfit, you might want to choose between a liquid, cream, or powder illuminator. Liquid illuminators blend seamlessly into the skin, offering a more natural, lit-from-within glow. Cream illuminators provide a slightly more intense radiance, perfect for evening events. Powder illuminators are ideal for a subtle, diffused shine that catches the light beautifully.
Here’s a quick guide on choosing the right illuminator shade based on your skin tone:
| Skin Tone | Illuminator Shade |
|---|---|
| Fair | Pearly, Champagne |
| Medium | Rose Gold, Gold |
| Dark | Bronze, Dark Gold |
“Dusting a bit of illuminator on your collarbone can magically transform your look, making you glow in the most enchanting way.”
For application, start by taking a small amount of your chosen illuminator on a fluffy brush or using your fingers for creams and liquids. Gently sweep it along the length of your collarbone, focusing on the areas that naturally catch the light. Blend until you achieve a soft, radiant glow. Remember, the key is to enhance not overwhelm.
Conclusion
When picking the perfect illuminator shade, skin tone plays a crucial role.
Here’s a quick guide to help you out:
| Skin Tone | Recommended Illuminator Shade |
|---|---|
| Fair | Pearl or Champagne |
| Medium | Rose Gold or Peach |
| Olive | Golden or Bronze |
| Dark | Bronze or Warm Copper |
Remember, the goal is to enhance your natural glow, not to overshadow it.
Application Tools and Techniques
Depending on your preference and the area you’re highlighting, different tools can be used:
- Fingers: Great for smaller areas like the inner corners of your eyes or your Cupid’s bow.
- Brushes: A fan brush or a small, fluffy brush works wonders for cheekbones and brow bones.
- Sponge: Use a damp makeup sponge for a more blended, natural look on larger areas like the collarbone.
“The right tool can make all the difference in achieving that perfect glow.”
Layering and Blending
To ensure your illuminator melds seamlessly with your makeup, blending is key. Start with a light hand, and build up if needed. For areas like the collarbone, blending across the expanse of the bone enhances its natural shape and adds a subtle shimmer that moves with you.
- Start Light: It’s easier to add more than to remove excess.
- Layer Wisely: Apply foundation first, then illuminator, and set with powder if desired.
- Blend, Blend, Blend: Use your chosen tool to gently merge the illuminator with your base makeup.
Incorporating these strategies will ensure your highlighted areas look naturally radiant, drawing attention to your best features. Whether you’re aiming for a subtle everyday look or a bold statement glow, the application of illuminator can transform your makeup, highlighting your natural beauty in the best way possible.

