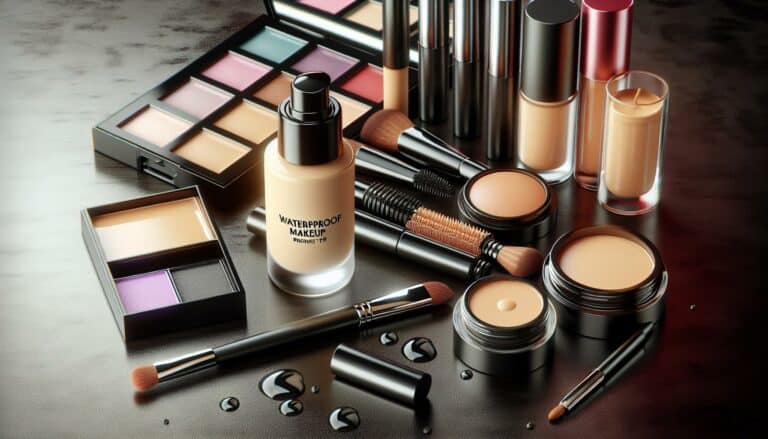
Where to Apply Bronzer and Contour
Have you ever stared at your makeup palette, wondering where to start with bronzer and contour? You're not alone. The art of defining and enhancing your features can transform your look, but it's crucial to know the right spots for application. Let's break it down together.
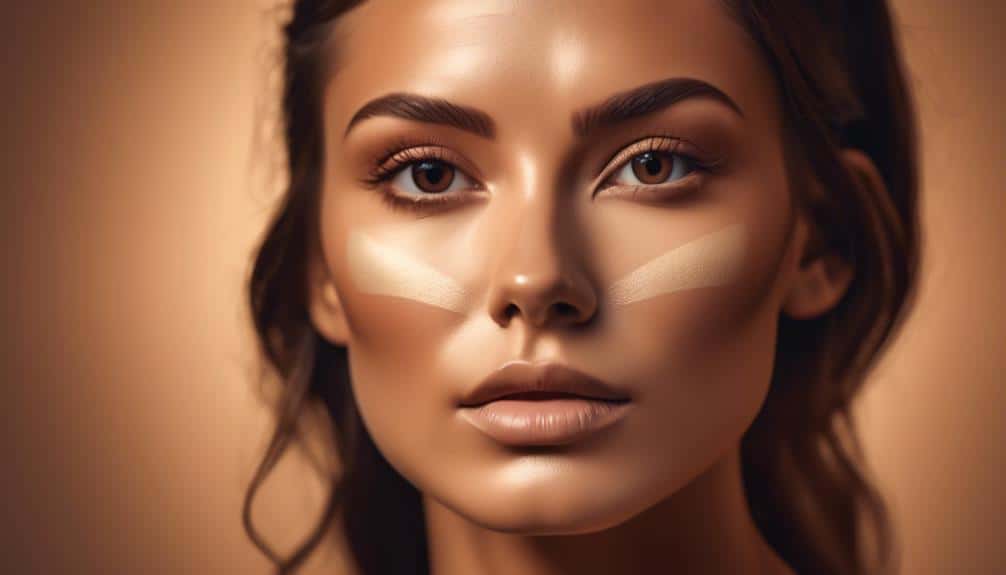
For bronzer, think about where the sun naturally kisses your skin: your cheekbones, temple, and jawline. It's about creating a warm, sun-drenched glow that makes you look like you've just returned from a beach vacation.
Contouring, on the other hand, is more about the shadows, sculpting your features to add depth and dimension. It's about strategic placement along the hollows of your cheeks, the sides of your nose, and the perimeter of your forehead. With each brushstroke, you're not just applying makeup; you're crafting an illusion, playing with light and shadow to reveal your most stunning self.
But how do you blend these techniques seamlessly? Stay with us, and we'll guide you through perfecting your cheekbone definition, sculpting that jawline, and mastering nose contouring techniques, ensuring every angle is your best angle.
Key Takeaways
- Choose the right type of bronzer (powder or cream) based on your skin type (oily or dry) for the desired finish (matte or dewy).
- Use angled brushes or blending sponges for precise application and seamless blending.
- Place highlighter above the cheekbones, contour just below the cheekbones, and add blush on the apples of the cheeks for perfect cheekbone definition.
- Sculpt the jawline by sweeping bronzer along it and blending downwards onto the neck, and sculpt the forehead by applying bronzer along the hairline and blending into it for a natural transition.
Understanding Bronzer Basics
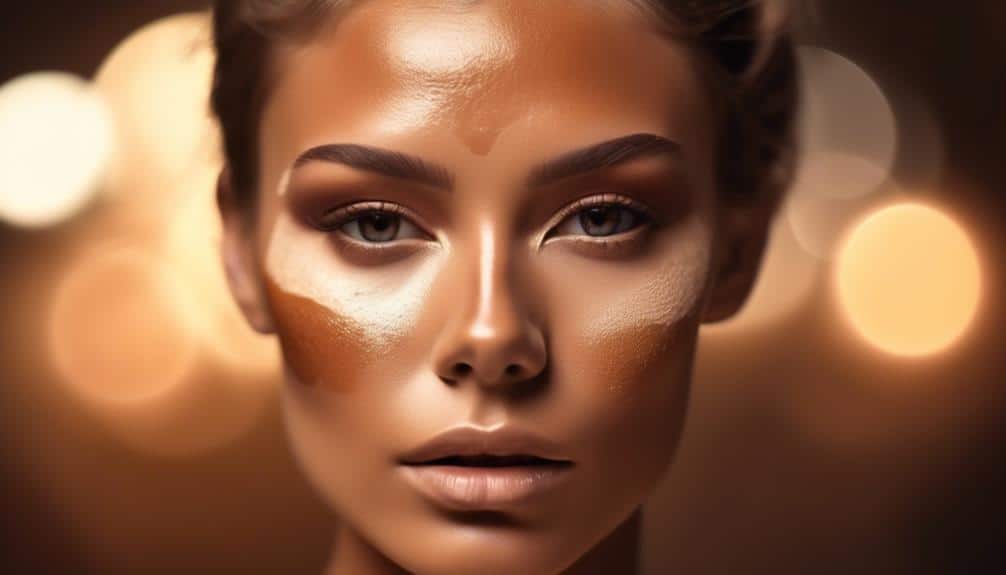
To truly master the art of makeup, it's crucial you understand the basics of bronzer, a tool that can transform your complexion with a sun-kissed glow. Knowing your bronzer types and the best application tools is like holding the secret keys to a flawless finish.
Bronzer types vary, ranging from powders to creams, and each has its unique charm.
- Powder bronzers are beloved for their ease of use and suitability for oily skin, offering a matte finish that feels light as air.
- Cream bronzers, on the other hand, glide onto the skin with a dewy finish, perfect for achieving that natural, radiant look, especially on dry skin.
As for application tools, the magic lies in choosing the right brush or sponge.
- A fluffy, angled brush works wonders for powder bronzer, ensuring a diffused, natural blend that caresses your features.
- Cream bronzer lovers find solace in a dense, stippling brush or a beauty sponge, both adept at melding the product into the skin seamlessly.
Understanding these basics isn't just about technique; it's about feeling part of a community that values beauty and self-expression.
You're not just applying makeup; you're crafting your unique story, one bronzed cheek at a time.
Contouring 101: The Essentials
Contouring 101: The Essentials
- After mastering the sun-kissed glow with bronzers, it's time to sculpt and define your features with the art of contouring. Contouring isn't just about shading; it's about creating depth and highlighting your natural beauty in a way that feels like you're part of a welcoming community of beauty enthusiasts.
Product selection is your first step. Choose products that blend seamlessly with your skin tone for a subtle, natural look.
- Creams are fantastic for dry skin, offering a dewy finish.
- Powders work wonders for oily skin types, providing a matte effect.
Remember, the right tools make all the difference. Opt for angled brushes for precise application and blending sponges for a softer look.
Now, let's talk highlight placement, an essential aspect of contouring. Imagine your face as a canvas, where light naturally hits:
- The tops of your cheekbones
- The bridge of your nose
- Your brow bone
- The cupid's bow
These are your high points, where highlighter should be applied to create that sought-after glow.
This strategic placement, combined with your carefully selected contour product, shapes your face in the most flattering way, ensuring you feel like you belong in any setting, radiating confidence.
Perfecting Cheekbone Definition
Perfecting Cheekbone Definition
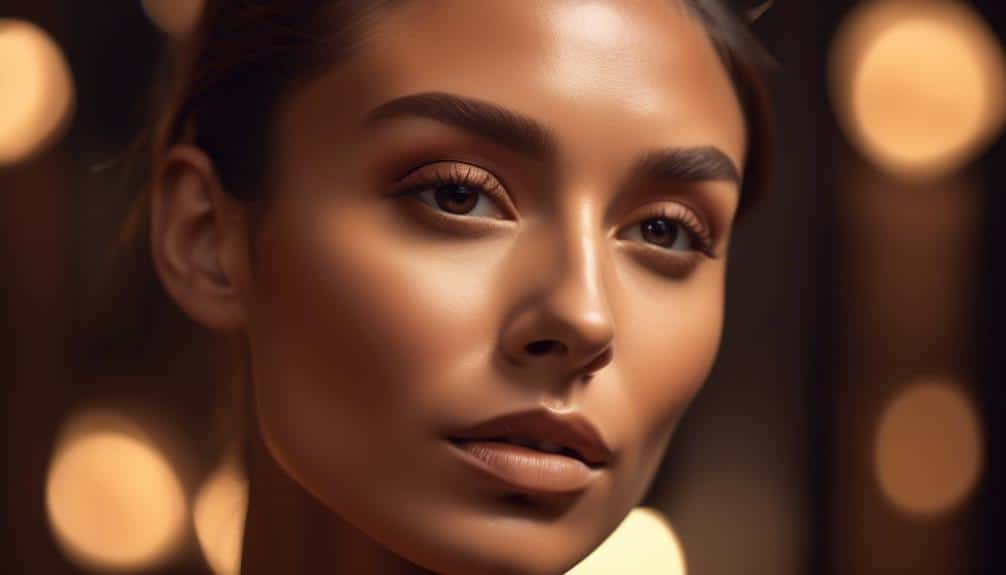
Achieving perfectly defined cheekbones is a game-changer in enhancing your facial structure, creating an elegant and refined look that truly elevates your makeup artistry.
Here's how to perfect the art of cheekbone definition, making you feel like you belong in any room you enter:
- Highlighter Placement:
- Start by applying highlighter above your cheekbones.
- This step not only accentuates their natural shape but also brings a radiant glow to your face.
- Use a light hand and blend upwards towards your temples for a seamless finish.
- Contour Underneath:
- To sculpt, apply contour or bronzer just below the cheekbones.
- This creates a shadow effect that visually lifts and defines your cheeks.
- Ensure the product is well-blended to avoid any harsh lines.
- Blush Application:
- Add a touch of blush on the apples of your cheeks.
- This brings warmth and a natural-looking flush that makes your cheekbones pop even more.
- Smile lightly to find the perfect spot for application.
- Blend for a Seamless Look:
- Finally, blend everything gently with a fluffy brush.
- This ensures there are no distinct lines between your highlighter, contour, and blush, creating a sophisticated and harmonious look.
Sculpting the Jawline and Forehead
Sculpting the Jawline and Forehead
Sculpting your jawline and forehead can dramatically redefine your face's silhouette, offering a balanced and polished look that radiates confidence. When you master the art of contouring these areas, you're not just enhancing your features; you're embracing a form of self-expression that speaks volumes about your personal style.
– Jawline
- Gently sweep your bronzer along the jawline, moving towards the chin. This creates a subtle shadow that enhances definition.
- For an added touch, blend downwards onto your neck to avoid any harsh lines, ensuring neck shading is on point.
– Neck
- Extend the bronzer slightly down the neck, blending seamlessly with the jawline contour to create a natural transition and avoid a mask-like appearance.
- Neck shading is crucial for a cohesive look.
– Forehead
- Apply bronzer along your hairline, blending into the scalp.
- This technique, known as hairline blending, shortens the forehead and brings warmth to the face.
– Hairline
- Focus on blending the bronzer into your hairline, ensuring there are no stark differences between your face and scalp.
- Hairline blending is all about creating a natural, seamless transition.
With these tips, you'll not only sculpt a jawline and forehead that convey strength and elegance, but you'll also foster a sense of belonging among those who value beauty as an art form.
Nose Contouring Techniques
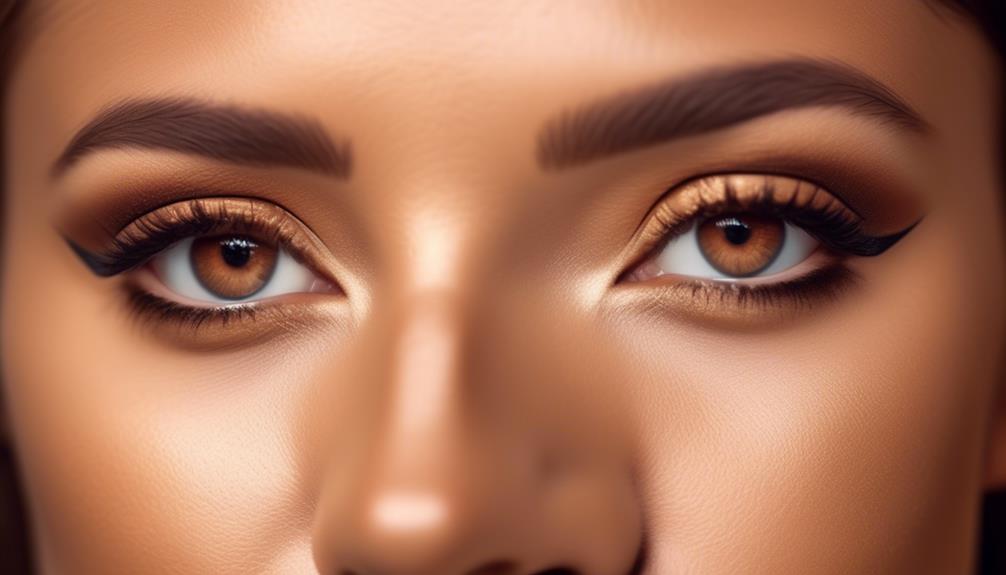
Moving from redefining the silhouette of your jawline and forehead, let's now focus on mastering nose contouring techniques to further enhance your facial features with precision and artistry. This delicate process can transform the way you perceive and present yourself, instilling a sense of confidence and belonging.
Here's how to achieve that perfect nose contour:
1. Choose the Right Makeup Tools****:
- For precision, opt for a small, angled brush that can mimic the natural shadows of your nose.
- A fluffy brush is ideal for blending, ensuring there are no harsh lines.
2. Identify Your Ideal Contour Lines****:
- Lightly draw two lines down the sides of your nose, starting from the inner brows.
- The closer the lines, the slimmer your nose appears.
3. Highlight Placement****:
- Apply a thin line of highlighter down the bridge of your nose, focusing on the area you wish to accentuate.
- This step brings light to the center of your face, making your nose appear straighter and more refined.
4. Blend for a Natural Finish****:
- Gently blend the contour lines and highlight, moving in an upward and outward motion.
- This blending is crucial for creating a soft, natural look that feels like you, only enhanced.
With these steps, you're not just applying makeup; you're sculpting your identity with grace and intention.
Conclusion
You've mastered the magic of makeup, blending bronzer beautifully and crafting contours with care. Each stroke of your brush brings out the best in your bone structure, from jawline to cheekbones, sculpting your features with finesse.
As you gaze into the mirror, remember, it's not just about the makeup; it's a celebration of your unique beauty. So, shine with confidence, knowing you've harnessed the art of accentuating your allure.
Makeup isn't just a routine; it's a ritual of self-love and expression.

