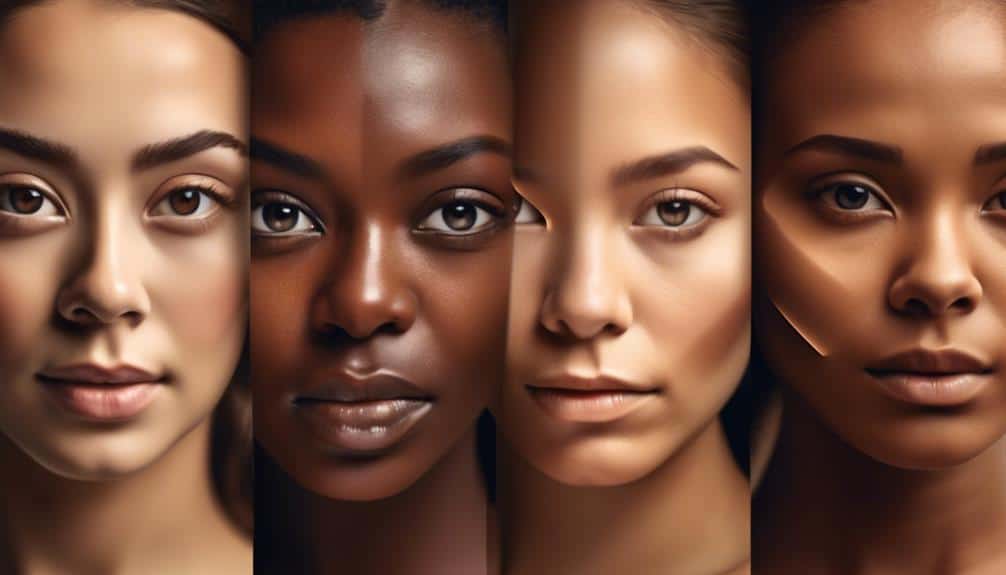
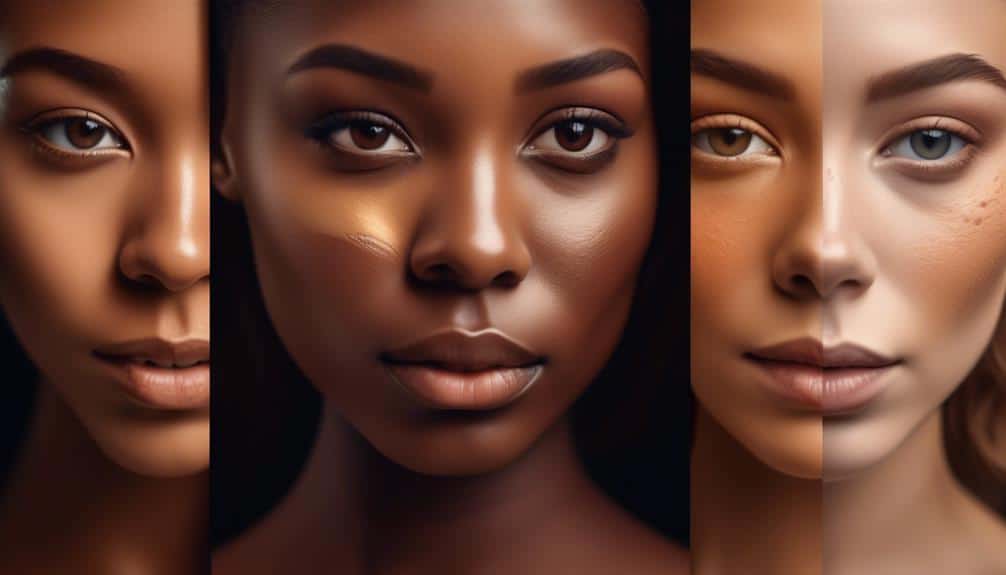
Is there really a one-size-fits-all approach to contouring cheeks, or does the secret lie in understanding your unique face shape and how to enhance it? You've likely seen countless tutorials promising to give you the perfect cheekbones with just a few simple strokes, but the truth is, mastering this technique requires a bit more finesse.
From selecting the right tools and contour shade that complements your skin tone to mastering the art of blending for a natural finish, there's a lot to consider. As you embark on this journey to sculpt your cheeks like a pro, you'll discover that the key lies not just in the products you use, but in the techniques and your understanding of your own face.
Stay tuned to uncover how to tailor your contouring practice to suit your unique features, ensuring you achieve a look that's not only flattering but distinctly yours.
Key Takeaways
- Recognize your face shape to guide contour application
- Contouring can create illusions of depth and enhance face symmetry
- Select appropriate brushes for different contouring tasks
- Choosing the right contour shade enhances natural bone structure
Understanding Face Shapes

To effectively contour your cheeks, it's crucial to first recognize your face shape, as this guides where and how you apply the product. Whether you're aiming for a lifted look to counteract the effects of aging or striving for perfect face symmetry, understanding your unique features is the first step toward feeling a sense of belonging in your skin.
Each face shape, be it oval, round, square, or heart, has its own charm and set of challenges. For example, aging can alter the way our face holds volume, making cheeks appear less defined over time. But with the right contouring technique, you can create illusions of depth and structure, giving your face a more youthful and balanced appearance.
Choosing the Right Tools
Selecting the appropriate tools is crucial for achieving flawless contouring results. You're not just applying makeup; you're sculpting your facial features to highlight your natural beauty. Let's dive into the world of brush types and maintenance tips to ensure you're equipped for success.
| Brush Type | Use Case | Maintenance Tip |
|---|---|---|
| Angled Contour | Sculpting cheekbones and jawline | Wash weekly with mild soap |
| Tapered Highlighter | Applying highlighter to high points | Gently reshape while wet |
| Flat Top Kabuki | Blending contour seamlessly | Dry upside down to keep shape |
| Small Fluffy | Softening harsh lines for a natural finish | Clean after each use |
Choosing the right brushes isn't just about technique; it's about feeling part of a community that values artistry and self-expression. Each brush type has its unique role in your contouring routine, ensuring precision and ease of application. But remember, their effectiveness can only be maintained with proper care. Follow these maintenance tips to keep your tools in top condition, ensuring they're always ready to help you achieve that perfect, sculpted look. You're not alone on this journey; we're here to guide you every step of the way.
Selecting Your Contour Shade

Choosing the perfect contour shade is crucial for enhancing your natural bone structure. It's about finding that sweet spot where the product seamlessly blends into your skin, making you feel like you're part of an exclusive beauty club.
Here's how to ensure you're picking the right shade that makes your cheeks pop while still looking incredibly natural:
- Identify your skin undertones – Warm, cool, or neutral; understanding this will steer you in the right direction. It's like unlocking the first door to an elite group where everyone's cheekbones look effortlessly sculpted.
- Go two shades darker – Aim for a contour shade that's about two shades darker than your natural skin tone. It's the secret handshake into the world of perfect contouring.
- Consider the product texture – Whether you're into creams, powders, or sticks, the texture can affect how the shade appears on your skin. It's about choosing the right tool that makes you feel like you belong.
- Test in natural light – Always swatch and observe the contour in natural light. It's the final step to ensuring you've found your perfect match, welcoming you into the realm of flawless makeup application.
Contouring Techniques Simplified
Mastering a few simple contouring techniques can dramatically enhance your facial features, giving you a sculpted look with minimal effort. By embracing the right lighting tips and application methods, you'll not only boost your confidence but also feel like you're part of a community that values beauty and self-expression.
| Lighting Tips | Application Methods |
|---|---|
| Use natural light to find the best angles. | Blend contour lines with a makeup sponge for a natural look. |
| Shadows should mimic natural facial contours. | Use a contour stick for precise application, then blend. |
| Adjust the intensity based on the lighting. | Start with less product and build gradually to avoid harsh lines. |
| Highlight after contouring to enhance the effect. | Practice makes perfect, so don't be afraid to experiment. |
Blending for a Natural Finish

Achieving a natural finish with your contouring hinges on blending techniques that seamlessly integrate the makeup with your skin. This process is essential, not just for aesthetic appeal, but for creating a look that feels like you.
Here's how you can master the art of blending for that flawless, natural finish:
- Skin Preparation: It's all about the canvas. Ensure your skin is well-moisturized and primed. This step makes your skin smooth and ready, ensuring that the contour and highlight blend effortlessly without any patchiness.
- Use the Right Tools: Whether it's a beauty blender or a blending brush, choose a tool that you're comfortable with. It should feel like an extension of your hand, enabling you to blend with precision and care.
- Highlight Placement: Be strategic. Apply highlighter on the high points of your face where light naturally hits. This not only enhances your features but also helps in blending the contour seamlessly, creating a natural shadow and light effect.
- Blend, Blend, Blend: Use gentle, circular motions to blend the contour and highlight together. Remember, the goal is to eliminate any harsh lines, making the transition between your natural skin and the makeup imperceptible.
Conclusion
With the right tools and shade, contouring your cheeks becomes an art you'll master quickly. Remember, understanding your face shape is crucial; it guides where and how to apply the contour for that sculpted look.
By simplifying techniques and blending thoroughly, you'll achieve a natural finish that enhances your features beautifully.
So, dive in, experiment, and watch as your skills transform your face into a masterpiece. Trust the process—it's simpler than it seems and absolutely worth the effort.


