How to Use Cream Contour
Did you know that over 60% of makeup enthusiasts find using cream contour a challenge? If you've ever found yourself among this group, you're not alone.
Mastering the art of cream contour is essential for achieving a sculpted, natural-looking finish that enhances your best features. Starting with selecting the right shade, preparing your skin properly, applying the contour with precision, blending it seamlessly, and finally, setting it to ensure longevity, each step plays a crucial role in the overall process.
As we explore these steps together, you'll discover not only how to avoid common pitfalls but also how to elevate your makeup game to the next level. Stick around to uncover the secrets to mastering cream contour, transforming your makeup routine with confidence and ease.
Key Takeaways
- Undertone identification and choosing the right shade are crucial for a natural and effective cream contour.
- Properly preparing the skin before contour application is essential for a flawless finish.
- Identifying the face shape and using the right contour tools ensure tailored application techniques.
- Mastering blending techniques, considering lighting, and using a well-lit mirror help achieve a seamless contour.
Selecting the Right Shade

Choosing the right shade of cream contour is crucial, as it directly impacts the naturalness and effectiveness of your makeup look. You're in a journey where every shade speaks to a unique aspect of your skin, and finding the perfect match is like finding a place where you truly belong. It's not just about picking a color; it's about understanding your skin's undertone.
Undertone identification is your first step towards achieving a flawless contour. Are you cool, warm, or neutral? This knowledge transforms your makeup routine, ensuring your contour enhances, rather than detracts from, your natural beauty.
But there's something else you've got to keep in mind – shade expiration. Yes, just like your favorite snacks, your contour shades have a shelf life too. Using an expired product can lead to skin irritations and won't give you the results you're aiming for. Always check the expiration date before application to ensure the safety and effectiveness of your contour makeup.
Preparing Your Skin
Having found your perfect contour shade, it's now essential to prepare your skin properly before application to ensure a flawless finish. This step is crucial, not just for the effectiveness of your contouring but for the health of your skin as well.
First off, understanding the importance of a good moisturizer can't be overstated. It's the foundation that'll keep your skin hydrated, making the contour blend seamlessly without clinging to dry patches.
But here's where it gets personal: skin type considerations. You're not just part of a crowd; your skin is as unique as you are. If you've got oily skin, look for a lightweight, oil-free moisturizer that hydrates without adding excess shine.
For those with dry skin, a richer, more emollient cream will provide the moisture barrier you need. And let's not overlook sensitive or combination skin types – there are formulas specifically designed for you, too.
Applying Cream Contour
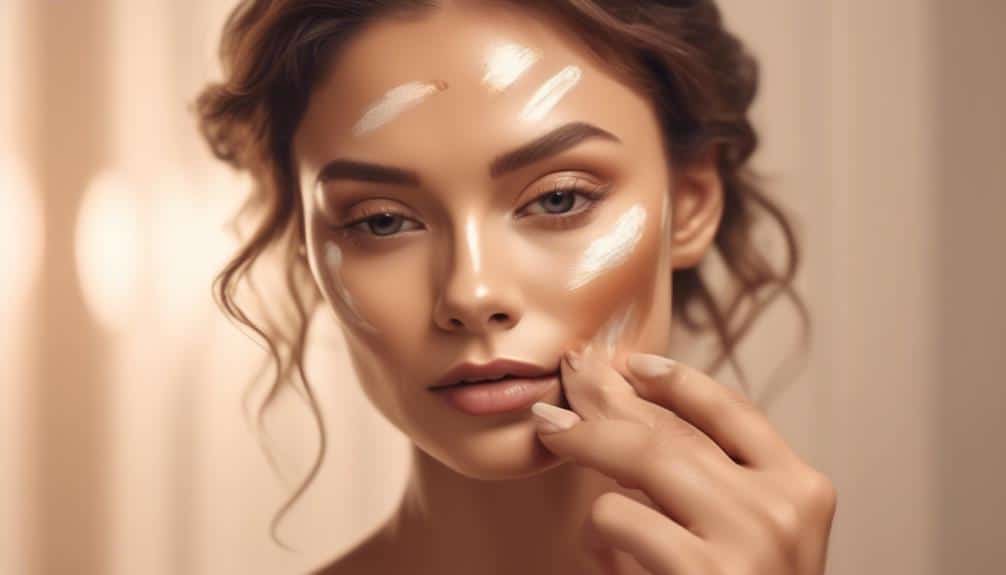
Once your skin is prepped and moisturized, it's time to dive into the art of applying cream contour for a sculpted look. You're not alone on this journey; we're here to guide you through this transformative process, ensuring you feel confident and included every step of the way.
Selecting the right contour tools and understanding your face shape are crucial steps in achieving a look that feels uniquely you. Here's how you can start:
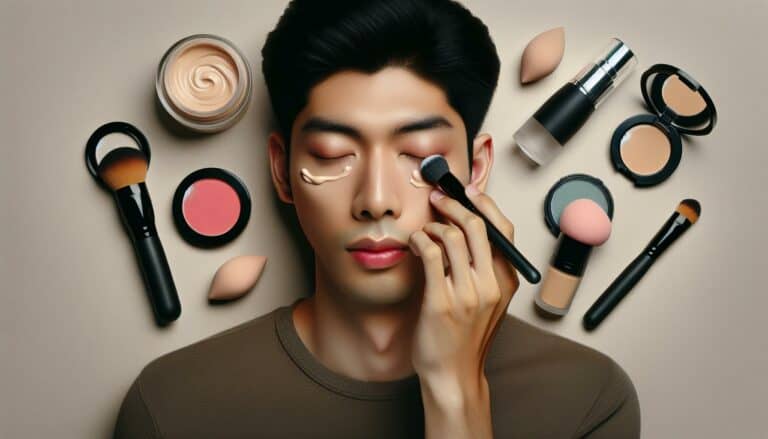
- Choose Your Tools Wisely: Opt for a contour brush or a beauty sponge. These tools help blend the cream contour seamlessly, ensuring there are no harsh lines.
- Identify Your Face Shape: Whether you have a round, oval, square, or heart-shaped face, contouring highlights your best features and brings balance. Tailor your application technique to suit your face shape, enhancing your natural beauty.
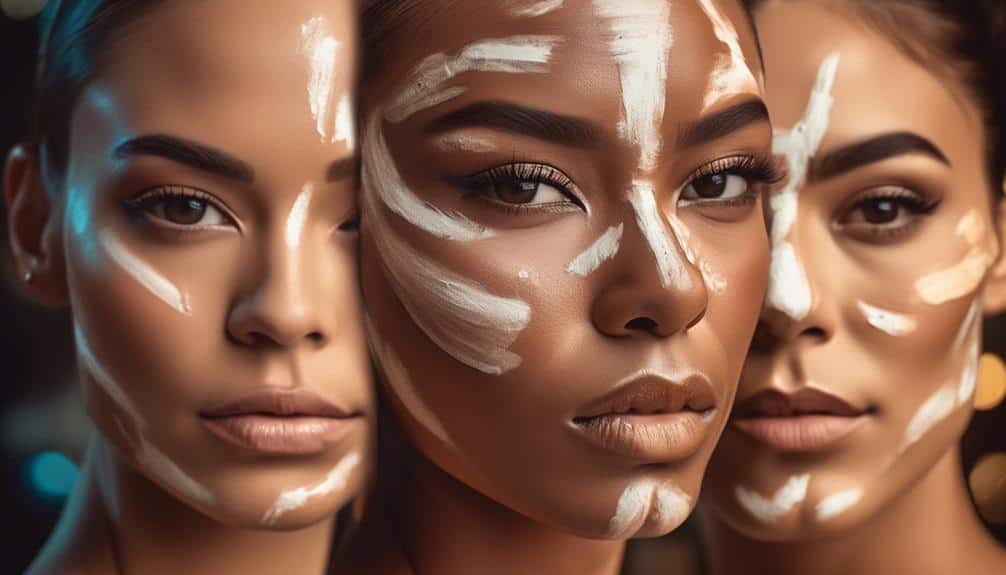
- Apply and Blend: Use the contour cream to draw lines along the hollows of your cheeks, your hairline, jawline, and sides of your nose. Then, blend, blend, blend! The goal is to create shadows that define and sculpt, making sure everything looks natural and cohesive.
Blending Techniques
Mastering the art of blending is crucial for achieving a flawless contour that looks like your skin but better. When you're part of this beauty-loving community, you know that every detail matters, from the brush choices to the lighting importance. It's all about creating a look that feels as good as it looks, where you're not just applying makeup, but also crafting your confidence.
| Step | Brush Choices | Lighting Importance |
|---|---|---|
| 1 | Use a dense, flat brush for initial blending. | Natural light is best for seeing true colors. |
| 2 | Switch to a fluffy brush to diffuse edges. | Avoid overhead lighting that can create shadows. |
| 3 | Consider a stippling brush for a seamless finish. | Use a well-lit mirror to ensure even application. |
Setting Your Contour

To ensure your cream contour stays in place all day, you'll need to set it with a translucent powder. This step is crucial to avoid common contour mistakes like smudging or fading. It also ensures your highlight placement shines through, keeping you looking flawless from morning to night.
Here's how to properly set your contour:
- Choose the Right Powder: Opt for a lightweight, translucent setting powder. This will lock in your contour without altering its color or making it look cakey.
- Use a Fluffy Brush: A large, fluffy brush will help you evenly distribute the powder over your contoured areas. Lightly dab the powder over your contour lines, focusing on areas that tend to get oily throughout the day.
- Don't Forget Your Highlight: After setting your contour, gently apply the setting powder to your highlight areas. This not only sets the highlight in place but also enhances its effect, ensuring you're glowing for the right reasons.
Conclusion
Now that you've got the hang of using cream contour, it's time to let your confidence shine through. Remember, selecting the right shade, prepping your skin, applying with precision, blending like a pro, and setting your masterpiece are key steps to nailing that sculpted look.
It's not rocket science, but with a bit of practice, you'll be turning heads in no time. So, go ahead and put your best face forward, showcasing those beautifully defined features to the world.

