How to Contour Your Jawline Like a Pro: Your No-Fuss Guide to Killer Definition
Look, we’ve all been there – staring into the mirror, trying to figure out how to get that sharp, sculpted jawline that seems to be everywhere on social media. Whether you’re dealing with a softer profile or just want to enhance your natural bone structure, contouring your jawline can be a total game-changer. But here’s the thing: it doesn’t have to be as complicated as some makeup gurus make it seem.
Table of Contents
Let’s Talk About What Jawline Contouring Actually Is

Think of contouring as creating shadows and highlights where you want them – basically, you’re playing with light to enhance your natural features. When it comes to your jawline, we’re talking about creating that defined line that runs from your ear to your chin. It’s like architecture for your face, but way less intimidating than it sounds.
The Tools You’ll Need

Before we dive in, let’s get our supplies in order. You don’t need to break the bank – just make sure you have:
- A contouring product (powder or cream – we’ll get into which one might work better for you)
- A good contour brush (angled brushes are your friends here)
- A blending brush (because harsh lines are so 2016)
- Setting powder (optional, but helpful)
- A decent mirror and good lighting (trust me on this one)
Choosing Your Weapon:

Here’s the deal: both cream and powder contours have their moments. Cream contours give you that super blendable, natural-looking finish, while powders are more foolproof for beginners.
If you’re just starting out, I’d recommend going with a powder contour. It’s more forgiving, and you can build it up gradually. Plus, if you mess up, it’s easier to fix without having to start your entire face over (we’ve all been there).
For the cream contour fans, you’ll get a more precise application and potentially longer-lasting results. But remember – blend, blend, and then blend some more. Nobody wants to look like they’ve got racing stripes on their face.
The Step-by-Step Guide (Because We All Need One)

Step 1: Prep Your Canvas
Start with your regular foundation routine. Make sure everything’s well-blended and set if you’re using powder products. Your base needs to be solid before you start sculpting – it’s like preparing a wall before painting.
Step 2: Find Your Sweet Spot
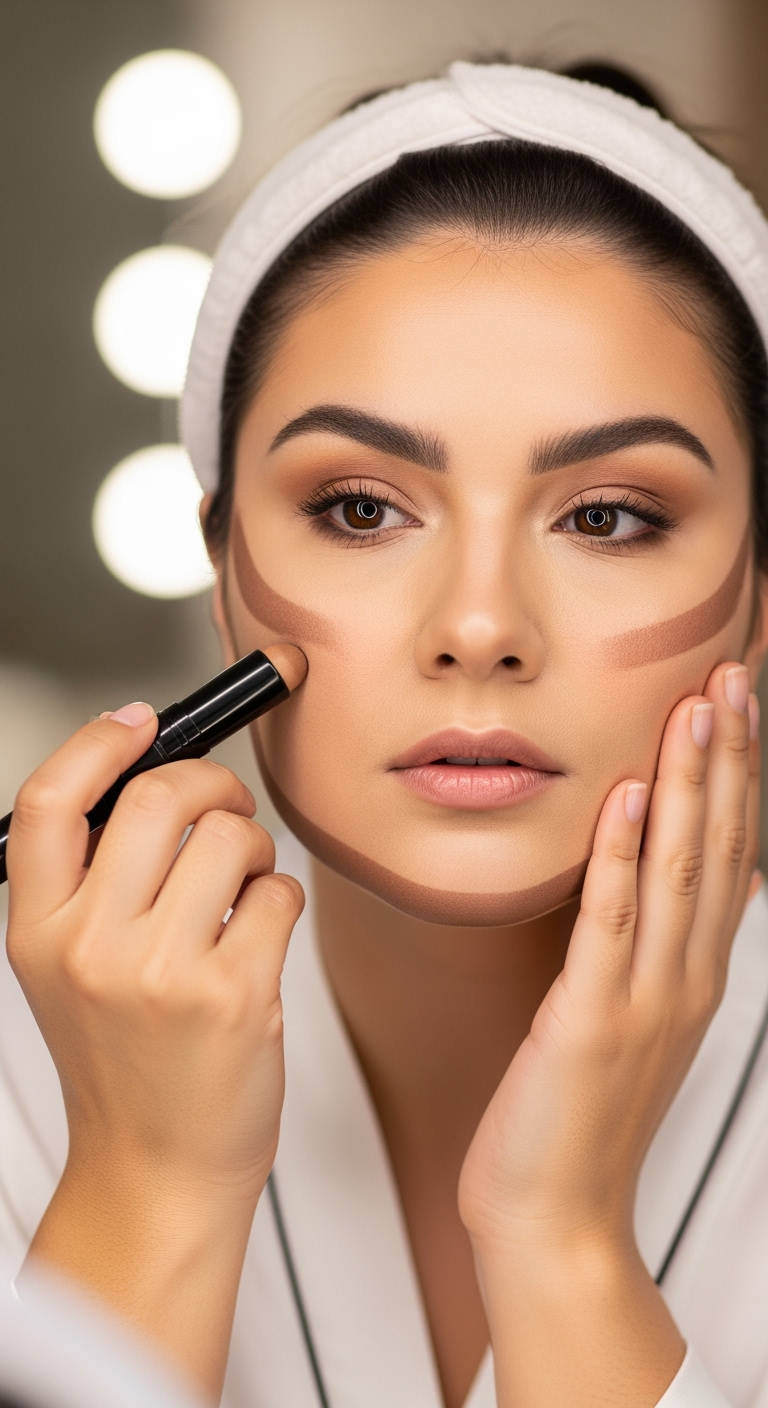
This is crucial, so pay attention. To find where your contour should go, feel for your jawbone. Start right below your ear and follow that bone line down to your chin. That’s your contour path. If you’re having trouble finding it, make a fish face (come on, we all do it) – that line that appears is your guide.
Step 3: The Application Process
Now for the fun part. If you’re using powder contour:
- Take your angled brush and tap off excess product
- Start at your ear and follow that jawline you mapped out
- Use light, feathery strokes – you can always add more, but taking away is trickier
- Keep the product slightly below your actual jawline (this creates that shadow effect)
For cream contour:
- Draw a thin line slightly below your jawline
- Use your fingers or a beauty sponge to blend upward
- Work in sections so the product doesn’t dry before you can blend it
Step 4: The Blending Game
This is where the magic happens. Take your clean blending brush and work that product into your skin using upward motions. The key is to make sure there’s no visible line between your contour and your natural skin tone. It should look like a natural shadow, not like you drew on your face with a marker.
Pro Tips That Actually Make a Difference

The Neck Factor
Don’t forget to blend down onto your neck a bit. Nothing gives away contour quite like a stark line that stops at your jaw. You want this to look seamless, like your bone structure just naturally casts these perfect shadows.
The Double-Check Method
Here’s a trick I swear by: check your contour from different angles and in different lighting. What looks perfect straight-on might look obvious from the side. Natural light is your best friend here – if it looks good in daylight, you’re golden.
Color Matters
Choose a contour shade that’s only 1-2 shades darker than your natural skin tone. Going too dark is the fastest way to make your contour look obvious and unnatural. And please, for the love of makeup, make sure it matches your undertone. If you’re cool-toned, use a cool-toned contour; if you’re warm-toned, go warm.
Common Mistakes (Because We’ve All Made Them)

The Heavy Hand
Starting with too much product is probably the most common mistake I see. Remember: you can always add more, but taking it away usually means starting over. Start light and build up gradually.
The Wrong Placement
Putting your contour too high or too low can throw off your whole look. Too high, and it looks like a random stripe; too low, and it can create the illusion of a double chin – definitely not what we’re going for here.
The Blend Fail
Not blending enough or blending in the wrong direction can make your contour look obvious and harsh. Always blend upward and outward, never down. Gravity already pulls everything down – we’re trying to lift here!
Making It Last All Day
Let’s be real – you don’t want to spend all this time perfecting your contour only to have it disappear by lunch. Here are some tips to make it stay put:
- Use a setting spray after you’re done blending
- If you’re using cream contour, set it with a matching powder
- Carry a small brush for touch-ups (though if you’ve done it right, you shouldn’t need many)
Adapting Your Technique for Different Face Shapes

Every face is different, and that’s what makes makeup so fun. Here’s a quick guide:
- Round faces: Focus on creating length by extending the contour slightly past your jawline
- Square faces: Soften the angles by blending more thoroughly at the corners
- Heart-shaped faces: Keep the contour lighter near the chin
- Oval faces: You lucky ducks can pretty much follow the standard technique
When Less Is More
Here’s something that might surprise you: sometimes, the most effective contouring is the kind that nobody can tell you’re wearing. If people are complimenting your bone structure rather than your makeup, you’ve nailed it.
The Bottom Line
Contouring your jawline doesn’t have to be complicated or time-consuming. Start simple, practice regularly, and remember that makeup should be fun. Don’t stress too much about making it perfect – sometimes those little imperfections are what make the look more natural and beautiful.
Remember, these are guidelines, not rules set in stone. Play around, find what works for your face, and most importantly, rock it with confidence. Because honestly? Confidence is the best contour of all.
And hey, if all else fails, there’s always the trusty delete-and-start-over method. We’ve all been there, and there’s no shame in the makeup game. Keep practicing, and before you know it, you’ll be contouring your jawline like a pro without even thinking about it.
Now go forth and sculpt that jawline of your dreams – you’ve got this!


