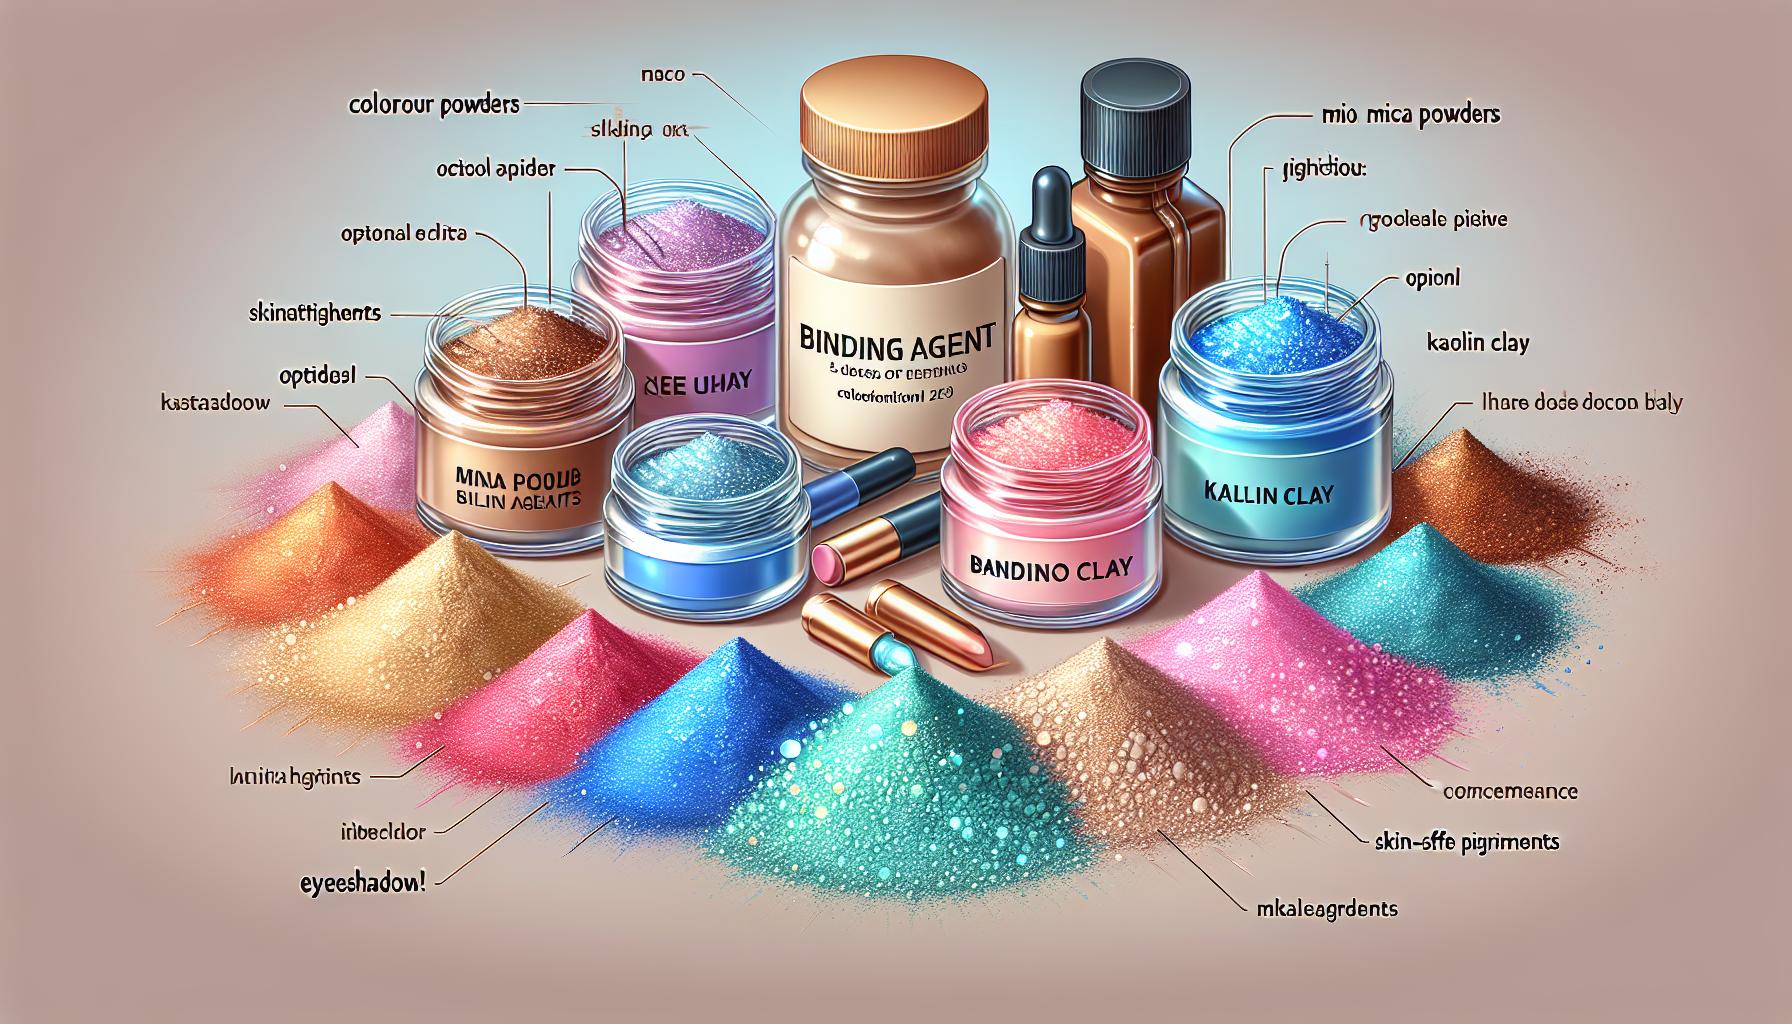
Gathering the Ingredients and Tools
Before diving into the exciting process of making your own eyeshadow, it’s essential to gather all the necessary ingredients and tools. This step ensures you have everything at hand, making the process smoother and more enjoyable.
Ingredients for your DIY eyeshadow largely depend on the color and finish you’re aiming for. However, there are a few key components you’ll need to start:
- Mica powders for the base color
- Binding agents like jojoba oil or magnesium stearate
- Fillers to add volume, such as talc or kaolin clay
- Optional: Pigments for color adjustments
Here’s a quick table summarizing the basic tools you’ll need:
| Tool | Purpose |
|---|---|
| Mixing bowls | For combining ingredients |
| Measuring spoons | For precise measurements |
| Mortar and pestle or coffee grinder | For blending powders |
| Sifter | For removing clumps |
| Empty eyeshadow pans | For storing your eyeshadow |
To ensure a smooth and pigmented application, quality of ingredients is crucial. Opt for cosmetic-grade mica and pigments to avoid skin irritation. Also, consider incorporating natural preservatives if you plan on keeping your eyeshadow for extended periods.
When selecting tools, cleanliness is paramount. Make sure your equipment is sterilized to prevent any bacterial growth. Using a small spritz of rubbing alcohol on your tools and pans can keep your DIY eyeshadow safe for use.
Choosing the Base Ingredients

Before diving into the colorful world of DIY eyeshadow, it’s crucial to select the right base ingredients. These will determine not only the color but also the texture and longevity of your eyeshadow. First up, you’ll need mica powders. They’re the cornerstone of any eyeshadow, providing the shimmer and pigmentation you love.
Next, consider your binding agents. These help your eyeshadow stick together and to your skin. Common choices include jojoba oil and magnesium stearate. Each has its benefits, so you’ll want to experiment to find which works best for you.
Fillers are just as important. They affect the eyeshadow’s opacity and how it applies. Kaolin clay is a popular option, offering a smooth application, while talc can provide a matte finish. However, if you have sensitive skin, you might want to steer clear of talc.
For those who want to add a bit of sparkle, optional pigments and glitters can be mixed in. Just ensure they’re skin-safe to avoid any irritation.
“Always start with a small batch to test the color and wearability.”
Here’s a quick glance at some base ingredients you’ll need:
| Ingredient | Purpose |
|---|---|
| Mica Powders | Provides color and shimmer |
| Binding Agents | Helps powders adhere to skin and each other |
| Fillers | Affects opacity and application |
| Optional Pigments/ Glitters | Adds sparkle and unique colors |
Remember, the quality of your base ingredients will directly impact the final product. Opt for high-quality, ethically sourced materials to ensure the best results for your skin and the environment.
Selecting and Mixing Pigments
Once you’ve gathered your base ingredients, selecting the right pigments is your next step toward crafting the perfect eyeshadow. Colors can range from bold and vibrant to soft and natural. It all depends on the look you’re aiming for. Mica powders offer a wide range of colors and can be mixed to create unique shades. But remember, the purity of colors matters as much as their vibrancy.
When it comes to mixing, think of yourself as a painter with a palette. Start with a base color and gradually add others until you achieve your desired hue. Always mix in small quantities to avoid wasting materials if the result isn’t what you expected.
“Experimentation is key. The beauty of DIY eyeshadow is in creating something uniquely yours.”
Below is a basic guide to mixing pigments:
| Base Color | Add for Warmth | Add for Coolness |
|---|---|---|
| Brown | Red, Orange | Blue, Green |
| Green | Yellow | Blue |
| Blue | Green | Purple |
| Purple | Red | Blue |
Remember, adding white can lighten colors, while black can darken them.
As you mix, document your ratios. This ensures that you can replicate or tweak the color in future batches. A tool as simple as a notebook can become your best friend, keeping track of successful mixes and those that didn’t quite hit the mark.
Finally, when your pigment is ready, you’ll incorporate it into the base mixture you’ve prepared. Ensure a thorough blend to achieve a smooth, even color. This is where your creative exploration really takes shape, transitioning from a simple mixture to your own personalized eyeshadow.
Adding Texture and Shimmer
Once you’ve chosen and mixed your pigments, it’s time to consider the texture and level of shimmer you want in your eyeshadow. Texture and shimmer play vital roles in the final appearance and performance of the eyeshadow on your skin. From subtle glows to bold, metallic finishes, the addition of shimmer can transform your eyeshadow from basic to breathtaking.
Mica powders are your go-to for adding shimmer. They come in various grades of shimmer, from satin to sparkling. It’s crucial to select the right type of mica powder based on the effect you’re aiming for.
Here’s a quick guide to common mica powder finishes:
| Finish | Description |
|---|---|
| Satin | Subtle glow |
| Shimmer | Noticeable sparkle |
| Metallic | Strong, reflective finish |
| Glitter | Large, distinct particles |
Beyond shimmer, texture affects how the eyeshadow applies and blends. For a smoother application, mix your colored micas with a binding agent like jojoba oil or magnesium stearate. This step is crucial, especially if you prefer a creamy texture.
Experimentation is key. Start with a base formula and adjust the ratio of mica to binder to find what works best for you. Document your measurements to ensure you can recreate your masterpiece or adjust as needed.
Remember, making your own eyeshadow isn’t just about creating color; it’s about crafting the perfect texture and shimmer that complements your style uniquely. Whether aiming for a subtle sheen or an intense metallic finish, the right combination of ingredients will bring your vision to life.
Pressing and Storing Your Eyeshadow
Once you’ve experimented with colors and achieved your desired shade and texture, it’s time to press your eyeshadow into pans for easy application and storage. Pressing is a crucial step that ensures your eyeshadow is compact, less messy, and more durable.
First, you’ll need an empty eyeshadow pan and a pressing tool. Often, a small coin wrapped in a clean cloth works well as a makeshift pressing tool. To press the eyeshadow,
- Prepare the mixture by adding a few drops of rubbing alcohol to your eyeshadow mix. This helps in binding the powder.
- Fill the pan with the loose eyeshadow mixture, gently tap to remove any air pockets, and then, place your pressing tool or coin wrapped in cloth over the pan.
- Apply pressure evenly across the surface of the eyeshadow until the mixture is firmly compacted.
After pressing, let the eyeshadow sit for a few hours or overnight to dry completely. Avoid using it right away to ensure it sets properly.
Storing Your Eyeshadow
Proper storage extends the lifespan of your eyeshadow. Keep it in a cool, dry place away from direct sunlight. Consider using a magnetic palette for easy organization and access to your custom shades.
“Remember, the key to longevity is keeping water and contaminants out of your homemade cosmetics.”
Below is a table showcasing the ideal storage conditions for homemade eyeshadow:
| Condition | Description |
|---|---|
| Temperature | Below 25°C (77°F) |
| Humidity | Low, ideally between 35% and 50% |
| Container Type | Airtight, preferably with minimal exposure to air |
Your homemade eyeshadow, when well-made and stored properly, can last for several months. Always check for any changes in smell, texture, or color, as these are indicators that your eyeshadow might need to be disposed of.
Conclusion
As you dive deeper into making your own eyeshadow, remember that experimentation is key. Each batch you create is a chance to refine your technique, adjust pigments, and experiment with different textures and finishes. You’ll find that certain combinations work better than others, and sometimes, unexpected results can lead to your next favorite shade.
| Step | Details |
|---|---|
| Base | Start with mica powder as your base. |
| Pigments | Gradually add pigments to achieve your color. |
| Binding | Use a binding agent to hold the powder together. |
| Testing | Test the color on your skin. |
Remember, the beauty of DIY eyeshadow is the ability to adjust and perfect your creation until it’s exactly what you’re looking for. Don’t be afraid to go back and add a bit more of this or that if it’s not quite right on the first try.
“The beauty of making your own makeup is that you create exactly what you want, down to the last sparkle.”
Keep in mind, it’s not just about the color. The consistency and application of your eyeshadow are equally important. If your eyeshadow feels too chalky or doesn’t adhere well, consider adjusting the ratio of your binding agent or experimenting with different fillers.
As you get more comfortable with the process, start thinking about how you can expand your homemade makeup collection. Eyeshadow is just the beginning—there’s a whole world of makeup waiting for you to put your personalized touch on it.


