Easy Eyeshadow Guide for Beginners
Let’s be real – eyeshadow can feel super intimidating when you’re just starting out. All those gorgeous Instagram looks seem impossible to recreate, and don’t even get me started on trying to figure out what “blend upward and outward” actually means. But here’s the thing: eyeshadow doesn’t have to be rocket science. Once you get the basics down, you’ll wonder why you were ever stressed about it.
Table of Contents
Getting Your Tools Together
Before we dive into techniques, let’s talk about what you actually need. And no, you don’t need to drop hundreds of dollars at Sephora to get started.
Brushes That Matter

You really only need three brushes to start: a flat shader brush for packing color onto your lid, a fluffy blending brush for (you guessed it) blending, and a smaller pencil brush for detail work. The flat shader is usually wide and dense – perfect for picking up pigment and patting it exactly where you want it. Your blending brush should be fluffy and dome-shaped, kind of like a mini powder brush. And that pencil brush? Think of it as your precision tool for the lower lash line or inner corner highlights.
Don’t stress too much about brush brands when you’re starting out. You can find perfectly good brushes at the drugstore, and honestly, some of them work better than expensive ones. Just make sure they’re not scratchy against your skin and that they pick up product well.
Eyeshadow Palettes for Beginners

Here’s where things get fun but also overwhelming. My advice? Start with a neutral palette. I know, I know – neutrals might seem boring when you’re looking at all those gorgeous bright colors, but trust me on this. Neutrals are forgiving, versatile, and they’ll teach you all the basic techniques without the pressure of getting a bold look perfect.
Look for palettes with a mix of matte and shimmer shades. You want some light colors (these will be your highlights and base shades), some medium tones (your main lid colors), and a few darker shades (for depth and definition). Brands like Urban Decay Naked palettes, Tarte, or even drugstore options like Maybelline or L’Oreal have great beginner-friendly neutral palettes.
The Canvas: Prepping Your Eyes
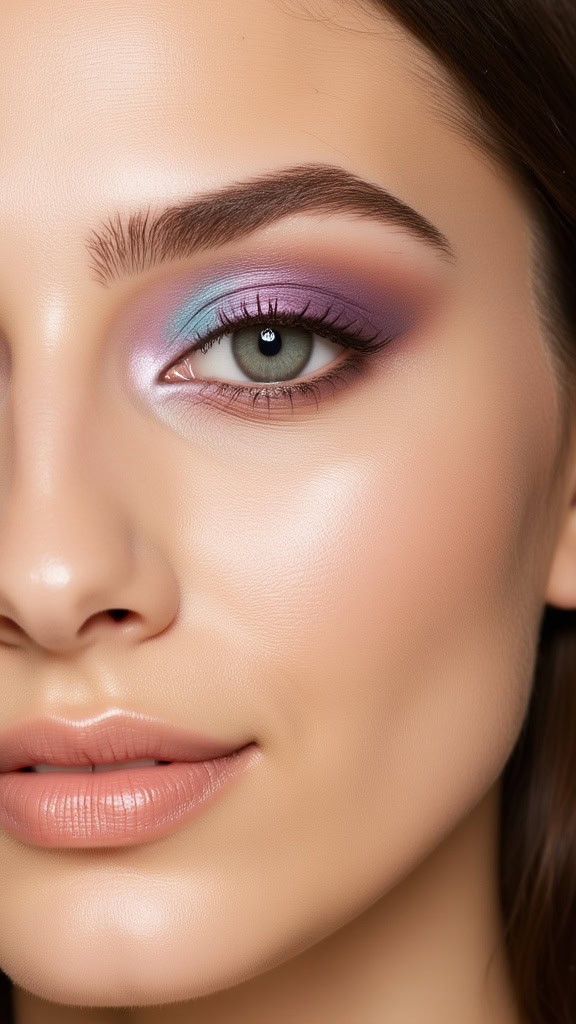
This step is huge but so many people skip it. Eyeshadow primer is your best friend – it helps your eyeshadow stay put all day and makes the colors pop way more than they would on bare skin. If you don’t have eyeshadow primer, you can use a tiny bit of concealer or even cream eyeshadow as a base.
Pat the primer all over your eyelid, from your lash line up to your brow bone, and don’t forget that inner corner and lower lash line if you plan to put shadow there too. Let it set for a minute while you do something else – maybe fill in your brows or apply mascara to your bottom lashes.
The Basic Three-Shade Look
This is your bread and butter look that works for literally everything – work, dates, casual hangouts, whatever. Once you master this, you can start playing around with more complex looks.
Step 1: The Base Shade
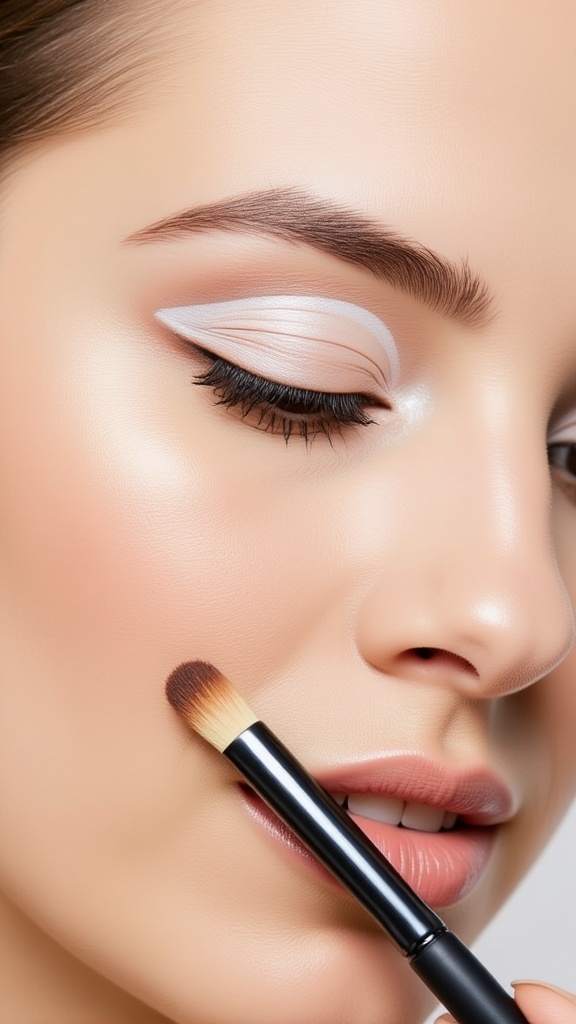
Pick a light, neutral shade that’s close to your skin tone or just slightly lighter. This is going all over your lid as your base. Use your flat shader brush and gently pat the color from your lash line up to your brow bone. Don’t worry about being super precise here – this is just creating an even canvas.
Step 2: The Main Event
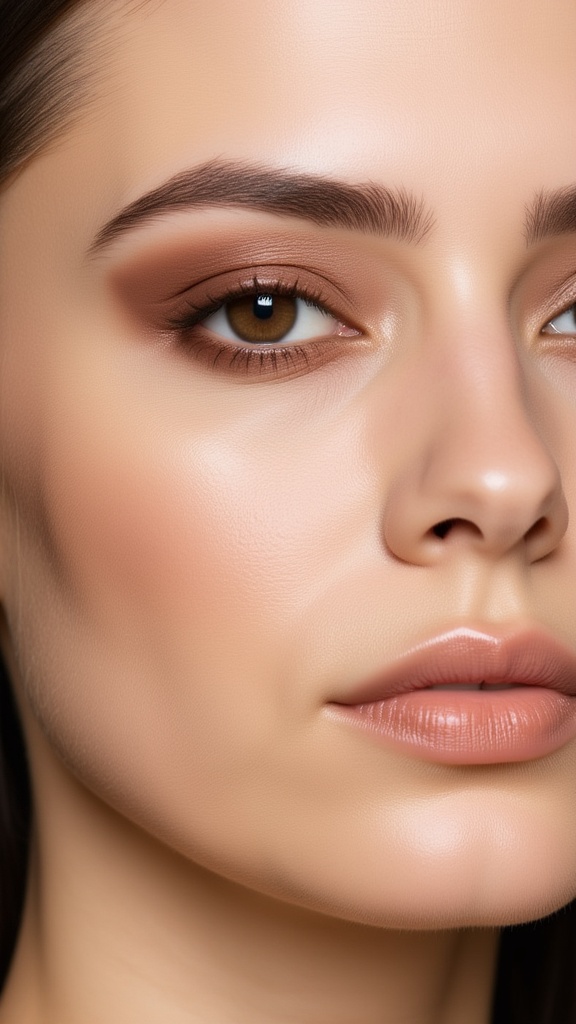
Choose a medium-toned shade – this could be a soft brown, taupe, or even a muted berry if you’re feeling adventurous. This color is going on your eyelid (the mobile part – basically the area that moves when you blink).
Use your flat shader brush again and pat this color all over your eyelid, building it up gradually. The key word here is “pat” – don’t drag the brush back and forth, just gently press the color where you want it. You can always add more, but it’s harder to take away.
Step 3: Adding Depth
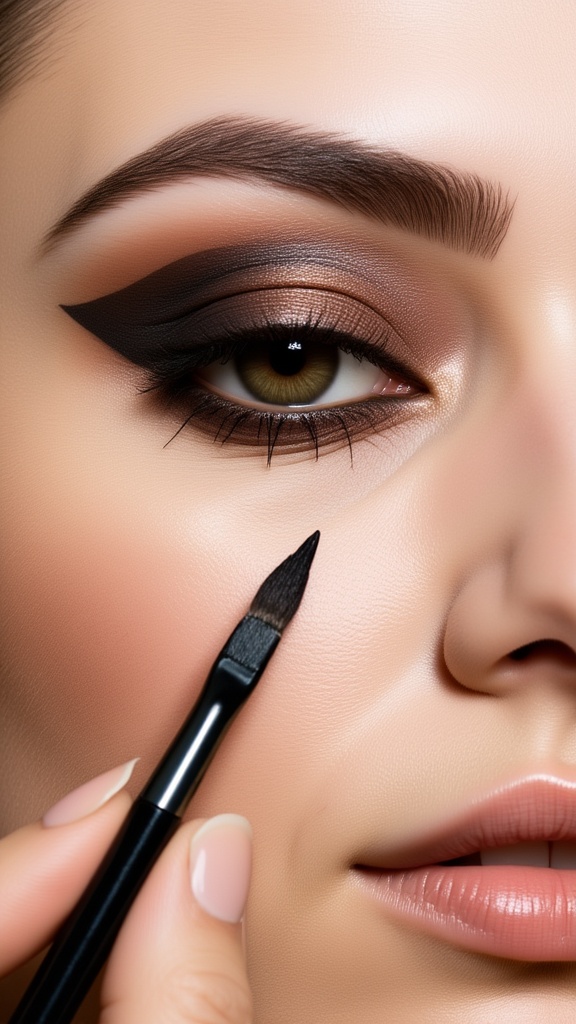
Now for the fun part – creating dimension. Take your darkest shade (usually a deeper brown or charcoal) and use a smaller, denser brush to apply it right in your outer corner and along your upper lash line. This is where that pencil brush comes in handy.
The trick here is to keep this darker shade in the outer third of your eye. Imagine dividing your eyelid into three sections – you want this deeper color only in that outer section. This creates a subtle gradient that makes your eyes look more defined and awake.
Blending: The Magic Happens
Okay, this is where most beginners panic, but I promise it’s not as hard as it looks. Blending is really just softening harsh lines so everything looks seamless and natural.
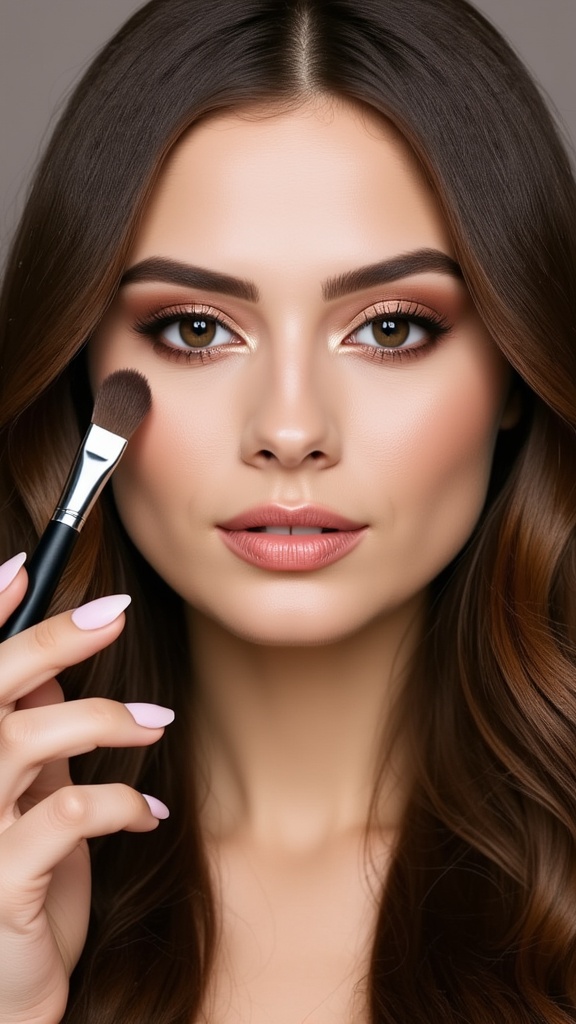
Take your fluffy blending brush (make sure it’s clean or at least doesn’t have dark eyeshadow on it) and use gentle windshield wiper motions where the colors meet. Start light – you’re just softening edges, not moving color around dramatically.
The key is to blend in the crease area and anywhere you see harsh lines. Keep your motions gentle and build up gradually. If you blend too aggressively, you’ll just create a muddy mess.
Pro tip: Always blend with a clean brush, or at least clean off excess product between colors. You can use a tissue or one of those brush cleaning sponges.
Common Mistakes (We’ve All Been There)
Going Too Dark Too Fast
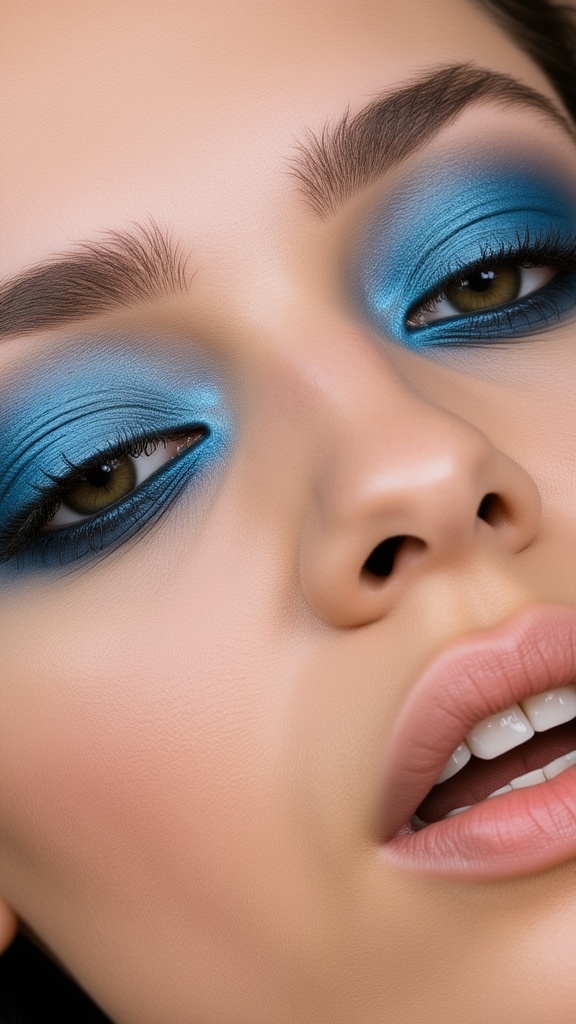
The biggest mistake I see beginners make is applying dark colors too heavily right off the bat. Start light and build up. You can always add more intensity, but it’s really hard to tone things down once you’ve gone too dark.
Forgetting to Blend
Harsh lines are not your friend unless you’re going for a very specific editorial look. Blend, blend, blend. When you think you’ve blended enough, blend a little more.
Wrong Brush for the Job
Using a big fluffy brush to apply color precisely, or trying to blend with a flat, dense brush – it’s just going to make everything harder. Match your brush to your task.
Ignoring Your Eye Shape
Not all eyeshadow techniques work the same on every eye shape, and that’s totally fine. If you have hooded eyes, you might need to place colors differently than someone with prominent lid space. Don’t try to force techniques that don’t work for your unique features.
Easy Color Combinations to Try
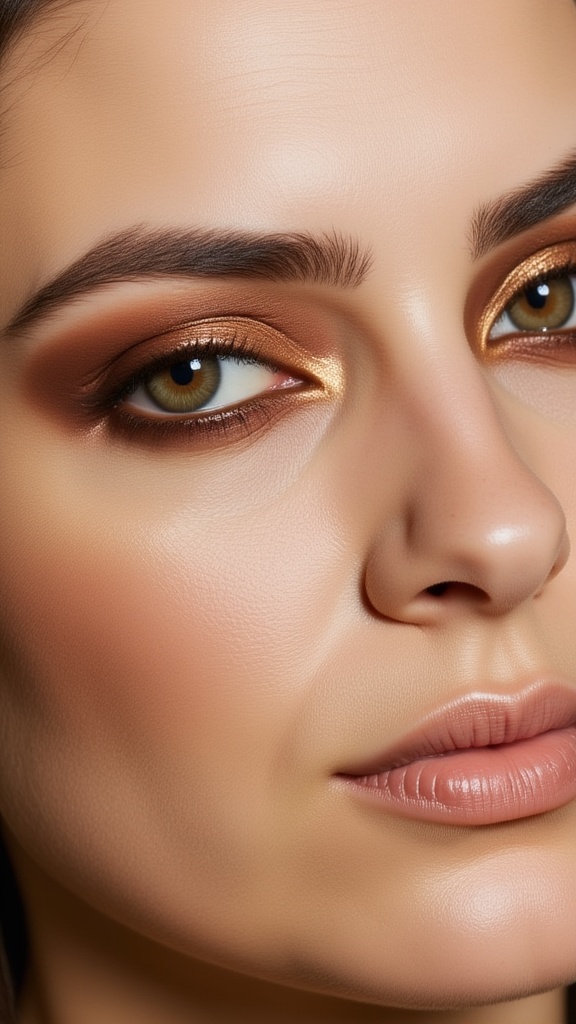
Once you’ve got the basic three-shade technique down, you can start playing with different color combinations:
Warm Neutrals: Cream base, warm brown on the lid, deeper chocolate in the outer corner
Cool Tones: Light taupe base, medium gray on the lid, charcoal in the outer corner
Soft Glam: Champagne base, rose gold on the lid, deeper plum in the outer corner
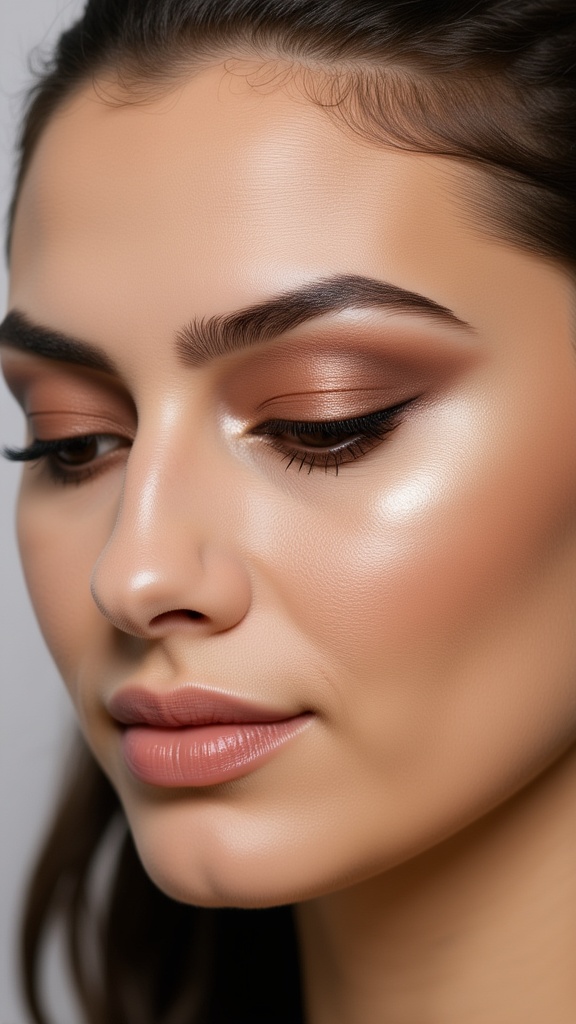
Everyday Bronze: Ivory base, warm bronze on the lid, deep brown in the outer corner
Taking It Up a Notch
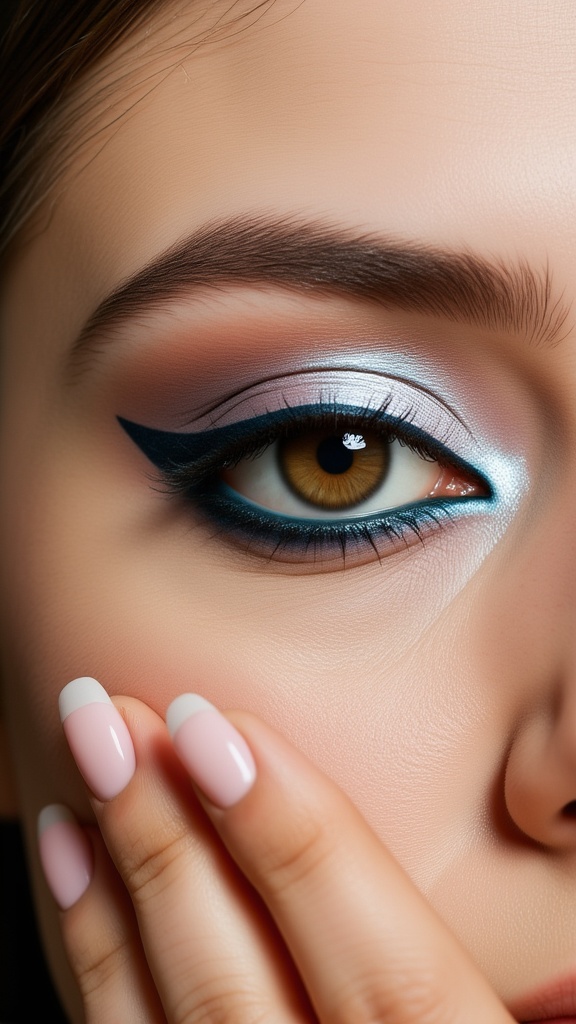
When you’re ready to experiment, try adding a shimmer shade to your inner corner or the center of your lid. This instantly makes any look more polished and awake. Just use your finger or a small flat brush to pat a light, shimmery shade right in the inner corner of your eye.
You can also start playing with the lower lash line. Take that same medium shade you used on your lid and gently smudge it along your lower lash line with a small brush. This creates cohesion and makes your eyes look bigger.
The Reality Check
Your first few attempts probably won’t look like those flawless YouTube tutorials, and that’s completely normal. Even makeup artists had to start somewhere. The difference between a beginner and someone who’s been doing makeup for years is just practice and knowing what works for their specific features.
Some days your blending will be perfect, other days it might look a bit muddy. Some eyeshadow formulas will work amazingly for you, others won’t. It’s all part of figuring out what works for your eyes, your skin, and your lifestyle.
Don’t get discouraged if your eyeshadow doesn’t last all day at first – there are so many factors that affect wear time, from your skin type to the weather to how much you rub your eyes. Focus on getting comfortable with the application first, then worry about longevity.
Your Eyeshadow Journey Starts Now
The beautiful thing about makeup is that it washes off at the end of the day. So experiment, play around, and don’t take it too seriously. Start with these basic techniques, practice them until they feel natural, and then start branching out into colors and styles that excite you. Before you know it, you’ll be creating eye looks that make you feel confident and beautiful – and isn’t that the whole point?

