DIY Concealer Guide: Custom Recipes for Every Skin Type
Choosing the Right Ingredients
When diving into making your own concealer, selecting the right ingredients is akin to picking the foundation of your DIY project. This choice not only impacts the final product’s effectiveness but also how well it blends with your skin.
At the heart of a good concealer are two critical components: the base and the colorants. Your base is predominantly what gives the concealer its creamy texture and staying power, while the colorants are what you’ll adjust to match your skin tone perfectly.
For the base, you’ll typically want to start with:
- Shea butter or cocoa butter for moisture
- A carrier oil like jojoba or almond oil for skin health
- Beeswax or a vegan alternative for the solid consistency
These ingredients ensure your concealer is hydrating, smooth, and blendable.
Here’s a simplified breakdown of these base ingredients:
| Ingredient | Purpose | Benefit |
|---|---|---|
| Shea/Cocoa Butter | Moisture | Keeps skin hydrated |
| Jojoba/Almond Oil | Skin health | Promotes a healthy glow |
| Beeswax/Vegan Wax | Solid consistency | Ensures product stability |
When it comes to colorants, a blend of non-toxic, mineral-based colors is your safest bet. You’re typically looking at:
- Titanium dioxide for lightening
- Zinc oxide for its soothing properties
- Iron oxides for adjusting the shade
Remember, the key to the perfect DIY concealer is experimentation and personalization.
“Your beauty products should be as unique as you are.”
By starting with quality ingredients, you’re on your way to crafting a concealer that not only looks natural but feels good on your skin.
Determining Your Skin Tone
Before you dive into the creation of your DIY concealer, it’s vital to determine your skin tone. This step ensures that the concealer you make blends seamlessly with your skin, offering a natural and flawless appearance.
Your skin tone can be broadly categorized into three types: light, medium, and dark. However, it’s the undertones that play a crucial role in perfecting your makeup. Undertones are categorized as cool, warm, or neutral. A simple way to identify your undertone is the vein test. Look at the veins on the inside of your wrist:
- If they appear blue or purple, you have a cool undertone.
- If they look green, your undertone is warm.
- Veins that appear blue-green indicate a neutral undertone.
“Understanding your undertone is the secret to not just a perfect concealer but to all makeup applications.” – An acclaimed makeup artist
Here’s a brief guide to help you match your skin tone and undertone with the right pigment:
| Skin Tone | Undertone | Recommended Pigment Color |
|---|---|---|
| Light | Cool | Pink tones |
| Light | Warm | Peach tones |
| Medium | Cool | Yellow tones |
| Medium | Warm | Golden tones |
| Dark | Cool | Dark coffee tones |
| Dark | Warm | Bronze tones |
Remember, creating the perfect shade for your DIY concealer might require a bit of experimentation. Mix small amounts of pigment at a time and adjust as needed until you find your perfect match. This customized approach ensures your concealer not only blends well but also enhances your natural beauty.
Mixing and Blending
Once you’ve identified your skin tone and undertone and selected the appropriate pigments, it’s time to delve into the art of mixing and blending your DIY concealer. This step is crucial for achieving a seamless match.
Start by experimenting with small quantities. For a base, you can use moisturizer, foundation, or even a liquid highlighter if you’re aiming for a luminous finish. The goal is to blend the pigments into your base gradually.
Here’s a basic guideline to get started:
- For lighter skin tones, begin with a base that matches your complexion and add tiny amounts of yellow or peach pigments to tackle under-eye circles or blemishes.
- Medium skin tones often benefit from golden or olive pigments to neutralize discoloration.
- If you have a darker skin tone, incorporating red or orange pigments can help in concealing dark spots effectively.
Remember, it’s all about adjusting the ratio to achieve the color that vanishes on your skin.
| Base Color | Additive Color | Purpose |
|---|---|---|
| Light | Yellow/Peach | Under-eye circles |
| Medium | Golden/Olive | Neutralize discoloration |
| Dark | Red/Orange | Conceal dark spots |
“The key to DIY concealer is to blend until you can’t distinguish where your skin starts and the concealer begins.” This mantra will guide you through the process.
As you mix, constantly test the product on your jawline to ensure a perfect match. The lighting in your room can significantly affect how the color looks, so checking the blend in natural light is advisable.
Adding Custom Skincare Benefits
Once you’ve reached a blend that perfectly matches your skin tone, it’s time to enhance your DIY concealer with skincare benefits tailored to your specific needs. Whether you’re looking for hydration, anti-aging properties, or blemish control, the right ingredients can turn your concealer into a powerful skincare ally.
Select Ingredients Based on Your Skincare Goals
| Skincare Goal | Recommended Ingredient |
|---|---|
| Hydration | Hyaluronic Acid |
| Anti-aging | Vitamin C |
| Blemish Control | Tea Tree Oil |
| Brightening | Niacinamide |
Remember, less is more. You don’t need a lot of these ingredients to see benefits. A drop or two will suffice.
Incorporating Ingredients
Be mindful of the consistency and texture of your concealer after adding any skincare ingredients. Hyaluronic acid and vitamin E oil are great for hydration but can thin out your mixture. A tiny pinch of natural clay can help maintain the desired thickness without compromising the integrity of your concealer.
Pro Tip: Always perform a patch test with your modified concealer to ensure your skin reacts positively to the added benefits and there’s no irritation.
Why Custom Skincare Benefits Matter
Adding skincare benefits to your concealer not only saves time in your beauty routine but also enhances your skin’s overall health. By tailoring your concealer to address specific concerns, you’re providing targeted care with every application. This dual-purpose approach ensures that while you’re covering imperfections, you’re also nourishing your skin, making every layer meaningful.
Adjusting the Coverage
After you’ve mastered the art of blending your own concealer, it’s crucial to tweak the coverage according to your needs. Whether you’re aiming for a light, medium, or full coverage, the key is in the ratio of ingredients you use.
For a lighter coverage, ideal for a natural look or for those days when your skin feels nearly perfect, you’ll want to increase the amount of moisturizer or primer in your mix. This not only thins out the pigment but allows for a smoother, more blendable application.
On the other hand, for medium coverage, which is great for daily use, you’ll need to balance the coloring components with your base. This achieves a concealment that’s not too heavy but still capable of covering minor blemishes or discolorations.
For full coverage, necessary to hide more noticeable imperfections, the pigment is your best friend. This means less base and more coloring components, allowing you to tackle those tough spots effectively.
Here’s a simple guide to help you adjust:
| Coverage | Base (%) | Pigment (%) |
|---|---|---|
| Light | 70 | 30 |
| Medium | 50 | 50 |
| Full | 30 | 70 |
Remember, it’s all about finding the right balance for your skin. Trial and error are part of the process, so don’t be afraid to adjust ratios as you go.
“The perfect concealer isn’t found, it’s created. Customize your coverage to meet your skin’s needs.”
Keep in mind that consistency is key. Depending on the coverage you’re going for, the thickness of your concealer will vary. You might need to experiment with the consistency to ensure it blends seamlessly into your skin, offering the desired effect without looking cakey or unnatural.
Conclusion
Now that you’ve mastered the basics of making your own concealer, it’s time to personalize it. Customization is key to ensuring your DIY concealer meets your specific needs. Here are a few ways to tweak your formula:
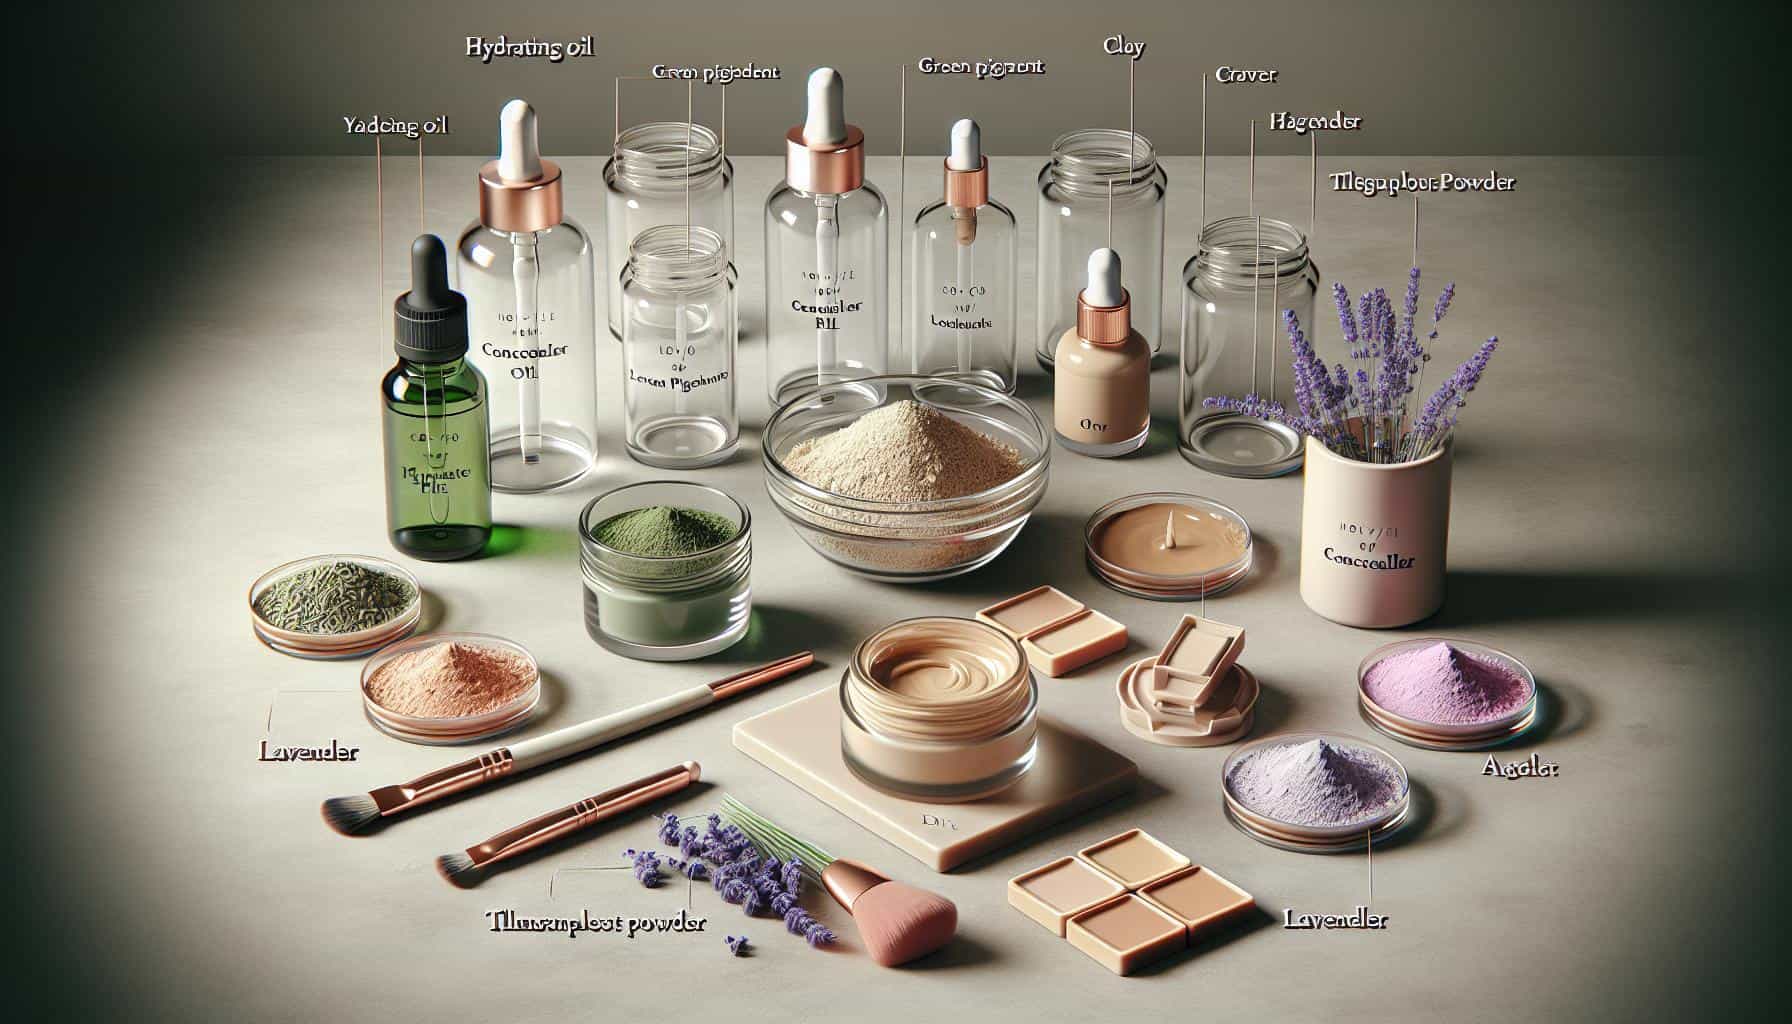
- For Dry Skin: Add a couple of drops of hydrating oil such as argan or jojoba.
- For Oily Skin: A pinch of clay can help control excess oil and give a matte finish.
- Color Correction: Add green pigment to counteract redness or lavender for sallow skin.
Experimenting is part of the fun and lets you create a product that’s just right for you.
Staying Power
Ensuring your concealer lasts all day might require a bit of trial and error. Setting it with a translucent powder can certainly help. But, if you’re looking for something more tailored, consider adjusting the wax-to-oil ratio. More wax means a firmer setting, which could help longevity.
| Ingredient | Light Coverage | Medium Coverage | Full Coverage |
|---|---|---|---|
| Wax | 1 Part | 2 Parts | 3 Parts |
| Oil | 3 Parts | 2 Parts | 1 Part |
| Powder | 2 Parts | 3 Parts | 4 Parts |
“The perfect concealer is not just about hiding flaws, it’s about enhancing your natural beauty and giving confidence.” – A DIY Beauty Enthusiast
Remember, the shelf life of your DIY concealer is typically shorter than store-bought versions. Without preservatives, it’s best used within 3-6 months. Always store it in a cool, dry place and keep an eye out for any changes in smell or texture that might indicate it’s time to whip up a fresh batch.

