Ultimate Guide: How to Use Concealer Under Eyes for a Flawless Look
Choosing the Right Shade
Finding the perfect shade of concealer is crucial in masking those persistent dark circles under your eyes. You might think grabbing any shade close to your skin tone will do the trick, but there’s a bit more science to it. For a start, it’s essential to understand the basics of color correction.
Lighter shades are generally recommended for brightening the under-eye area, but go too light and you risk the dreaded raccoon eyes. Instead, aim for a concealer that is one to two shades lighter than your foundation. This will ensure a seamless blend with your skin tone while still achieving the brightening effect you’re after.
Here’s a quick visual guide:
| Skin Tone | Recommended Concealer Shade |
|---|---|
| Fair | 1-2 shades lighter than your foundation |
| Medium | 1-2 shades lighter than your foundation |
| Dark | 1-2 shades lighter than your foundation |
For those dealing with purple or bluish under-eye circles, a concealer with a peach or orange undertone can work wonders in neutralizing these colors. Remember, the goal is to create a natural look that enhances your features.
Tip: “When in doubt, test the concealer under your eyes in natural light. This will give you the most accurate representation of how it’ll look throughout the day.”
Choosing the right shade isn’t just about matching; it’s about understanding how different colors interact with your skin tone and under-eye shadows. With these tips, you’re well on your way to finding your holy grail concealer that’ll leave you looking rested and radiant.
Prepping the Under-Eye Area
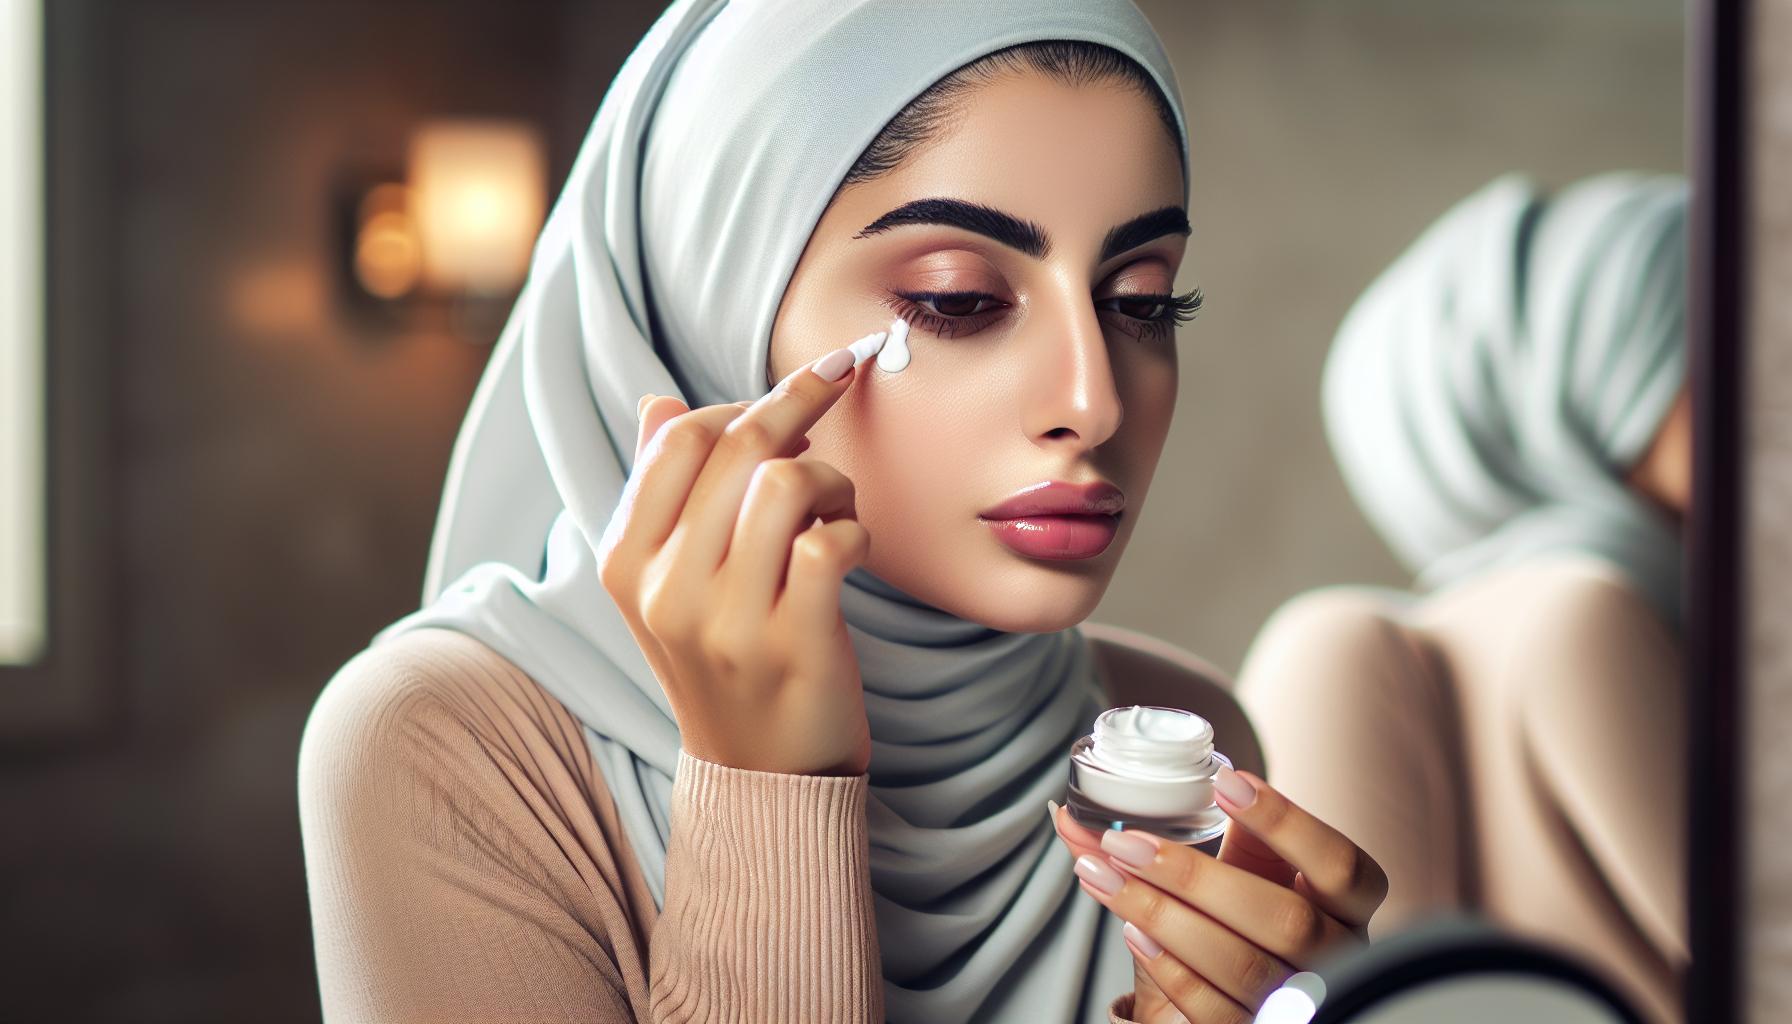
Before diving into the concealer application, it’s crucial to prepare your under-eye area properly. This not only helps in achieving a smoother application but also ensures that your concealer stays put throughout the day.
Start with a Clean Slate
Always begin with a clean and moisturized face. Use a gentle cleanser to remove any impurities and follow up with an eye cream. Hydration is key to preventing your concealer from settling into fine lines. For best results, look for eye creams with ingredients like hyaluronic acid or caffeine, which can help reduce puffiness and hydrate the skin.
"Proper hydration makes a world of difference in how your concealer applies and lasts."
Primer is Your Friend
Applying a lightweight primer specifically designed for the under-eye area can significantly improve the longevity and appearance of your concealer. A primer creates a smooth base, minimizing the appearance of pores and fine lines.
| Ingredient | Benefit |
|---|---|
| Hyaluronic Acid | Attracts moisture, reducing the appearance of fine lines |
| Caffeine | Reduces puffiness by constricting blood vessels |
Hydration is not just about the products you apply. Drinking plenty of water throughout the day plays a crucial role in keeping your skin looking fresh and vibrant.
Remember to let your eye cream and primer fully absorb into your skin before moving on to the concealer application. This ensures that your makeup does not slide off or cake up, giving you a flawless finish.
Applying the Concealer
Once you’ve prepped your under-eye area, it’s time to dive into the art of applying concealer. This might seem straightforward, but a few techniques can make a world of difference in achieving that seamless finish.
Start with a light hand. You can always build coverage, but it’s tougher to scale back if you begin with too much. Dot the concealer in a triangular formation under the eye – the point towards the cheek and the base along your lower lash line. This shape not only covers dark circles but also creates an uplifting effect.
For blending, your fingers can be a great tool, especially for creamy formulas. The warmth of your skin helps the product melt seamlessly into your face. However, for a more precise application, a damp beauty sponge or a small, fluffy brush does wonders, especially around the inner corners of your eyes.
Here’s a quick guide on how to choose your tool:
| Tool | Best for |
|---|---|
| Fingers | Warming up and blending creamy products |
| Damp Sponge | Precise, dabbing application for a natural finish |
| Fluffy Brush | Gentle application on delicate under-eye skin |
Remember, the key is to dab and blend, never rub. Rubbing can move the product around too much, leaving uneven coverage.
“Less is more,” especially when it comes to concealer. It’s easier to add than to take away. Patience and layering are your best friends here.
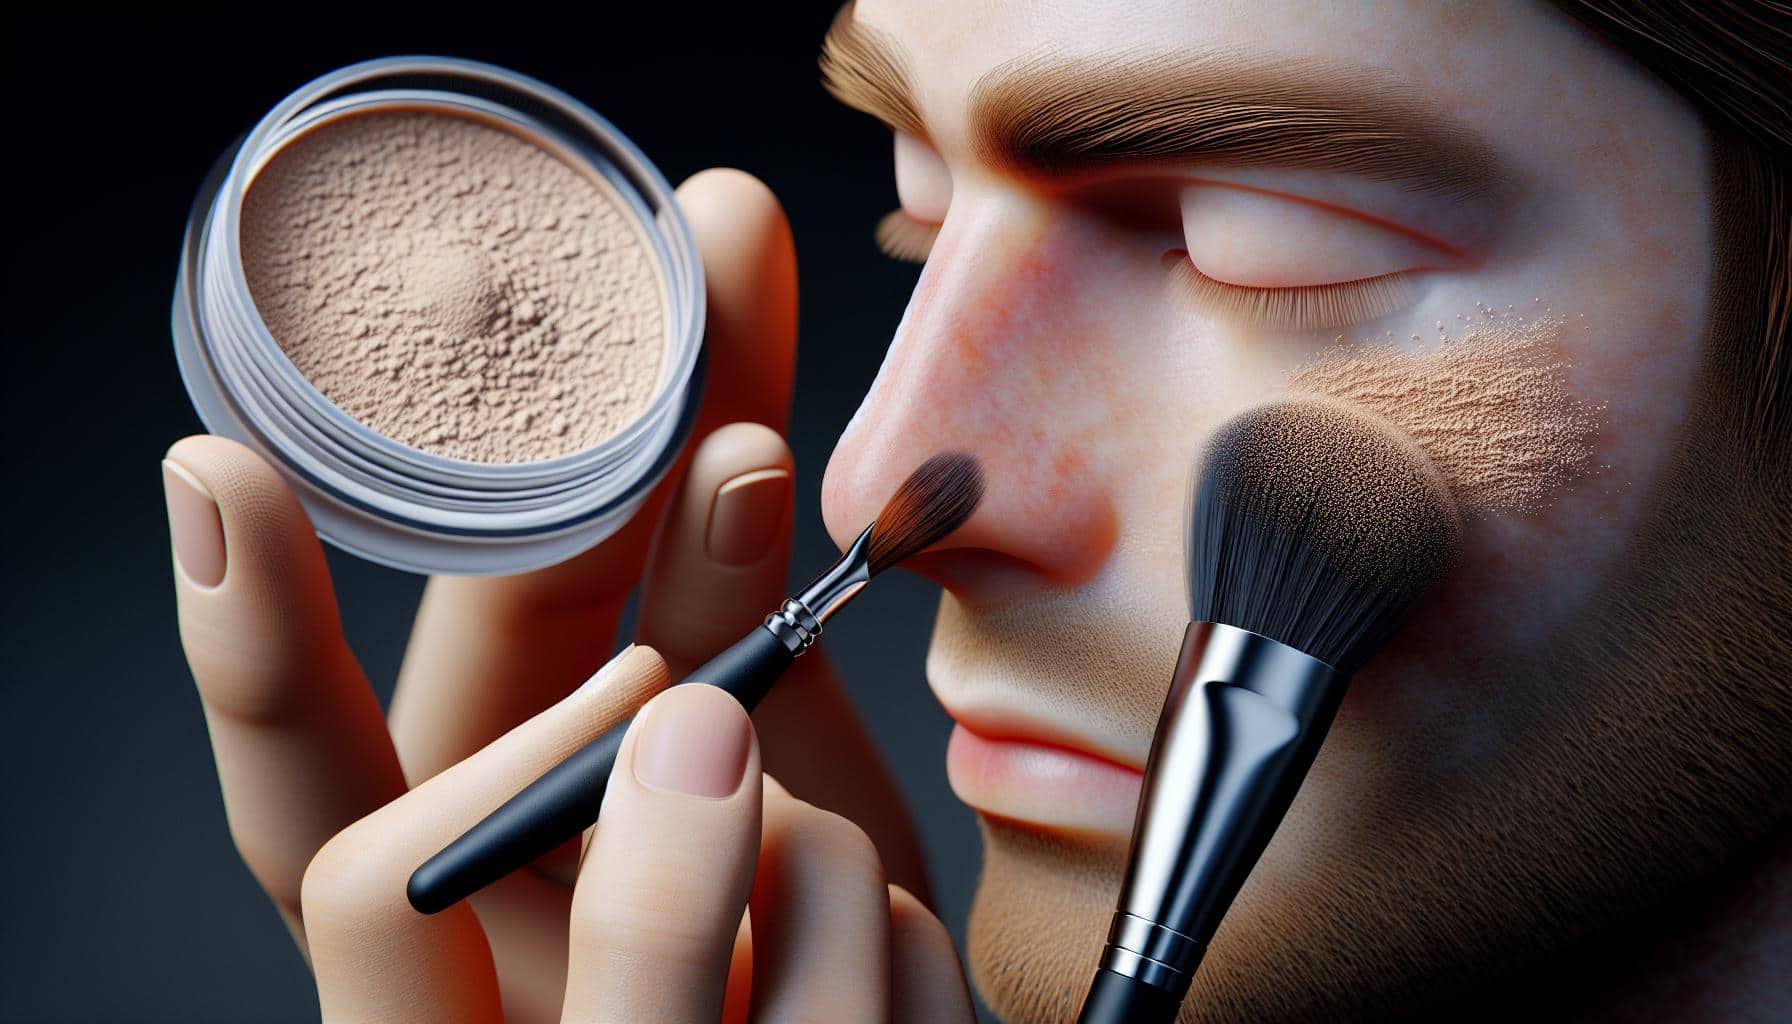
Once you’ve blended to your satisfaction, setting the concealer with a light dusting of translucent powder helps prevent it from creasing throughout the day. A small, fluffy brush is perfect for this step, ensuring you don’t disturb the beautifully blended concealer underneath.
Blending Techniques
After you’ve applied your concealer using the triangular formation, it’s time to blend it seamlessly into your skin. Blending is crucial to achieving a natural look, as it ensures there are no harsh lines or visible edges between your concealer and your foundation or bare skin.
There are several tools you can use for blending:
- Fingers: Your body warmth makes concealer blend smoothly.
- Damp Sponge: Ideal for a dewy finish.
- Fluffy Brush: Perfect for a more precise, airbrushed look.
Choosing the right tool depends on the coverage you need and the finish you prefer. Here’s a quick guide:
| Tool | Coverage | Finish |
|---|---|---|
| Fingers | Light to Medium | Natural |
| Damp Sponge | Medium to Full | Dewy |
| Fluffy Brush | Medium | Airbrushed |
Remember, the key to blending is to dab and press the concealer into your skin rather than aggressively rubbing or dragging. This technique helps to prevent the product from settling into fine lines and creases around your eye area.
“Blending is not about making it disappear but making it seamlessly become a part of your skin.”
Once you’ve blended the concealer under your eyes, take a moment to evaluate if you need additional coverage. If so, it’s better to apply a thin additional layer and blend again rather than starting with too much product. This step-by-step approach ensures a flawless finish without over-application.
Lastly, regardless of the tool you choose, ensure your application creates a lifting effect. Blend the edges outward and slightly upward towards your temples for a subtle eye-lift illusion. This simple technique can make a significant difference in your overall appearance.
Setting the Concealer
Once you’ve masterfully blended your concealer, setting it is crucial. This step ensures your hard work doesn’t crease or slip away as the day progresses. You might wonder, ‘what’s the best way to set concealer under the eyes?’ Here’s a straightforward approach that promises longevity and a flawless finish.
First, you’ll need a setting powder. There are two main types: translucent and tinted. Each serves a purpose, and your choice depends on your desired outcome.
| Type | Pros | Cons |
|---|---|---|
| Translucent | Invisible finish, universal appeal | Can cause flashback in photos |
| Tinted | Adds coverage, blurs imperfections | Must match your skin tone or concealer |
Gently tap a minimal amount of your chosen setting powder onto a fluffy brush or a soft, velvety puff. Then, press the powder over the concealed areas. Here’s a tip: less is more. Overloading with powder can make the under-eye area look cakey.
“A light dusting of powder sets the concealer, keeping it in place without altering the color or texture.” – Makeup Pro Tips
For a seamless integration, lightly dust away any excess powder with a clean, fluffy brush. This method helps to blend the setting powder with the concealer, ensuring there’s no demarcation line.
Remember, the key to a lasting and natural-looking under-eye is in the finesse of setting your concealer. With a gentle hand and the right setting powder, you maintain the brightness and coverage all day.
Conclusion
Once you’ve perfected the application and setting of your concealer under the eyes, ensuring its longevity is your next concern. It’s not just about looking great when you step out the door; it’s about maintaining that flawless look throughout the day. Setting spray plays a pivotal role in this process.
A light misting of setting spray will lock in your makeup, offering resistance against smudging, fading, and creasing. Consider choosing a setting spray that complements your skin type – there are options available for oily, dry, and combination skin that not only help your makeup last longer but also provide skincare benefits.
| Skin Type | Recommended Setting Spray Type |
|---|---|
| Oily | Matte-finishing |
| Dry | Hydrating, dewy-finishing |
| Combination | Balanced, adaptable formula |
Pro Tip: Hold the setting spray bottle at arm’s length and mist it gently across your face. Allow it to air dry for the best results.
Incorporating setting spray into your concealer routine enhances not just the durability of your makeup but also ensures that the skin under your eyes remains hydrated and vibrant.
Remember, mastering the art of concealer application under the eyes is a game of precision, patience, and practice. With the right techniques and products, you’re well on your way to achieving a radiant, blemish-free look that lasts all day.

