Master Your Makeup: Where to Put Powder on Face for a Flawless Finish
The Basics of Applying Powder
Diving into the world of makeup, especially powder, might seem daunting at first, but it’s all about mastering the basics. When you’re looking to achieve that flawless finish, understanding where and how to apply powder is key.
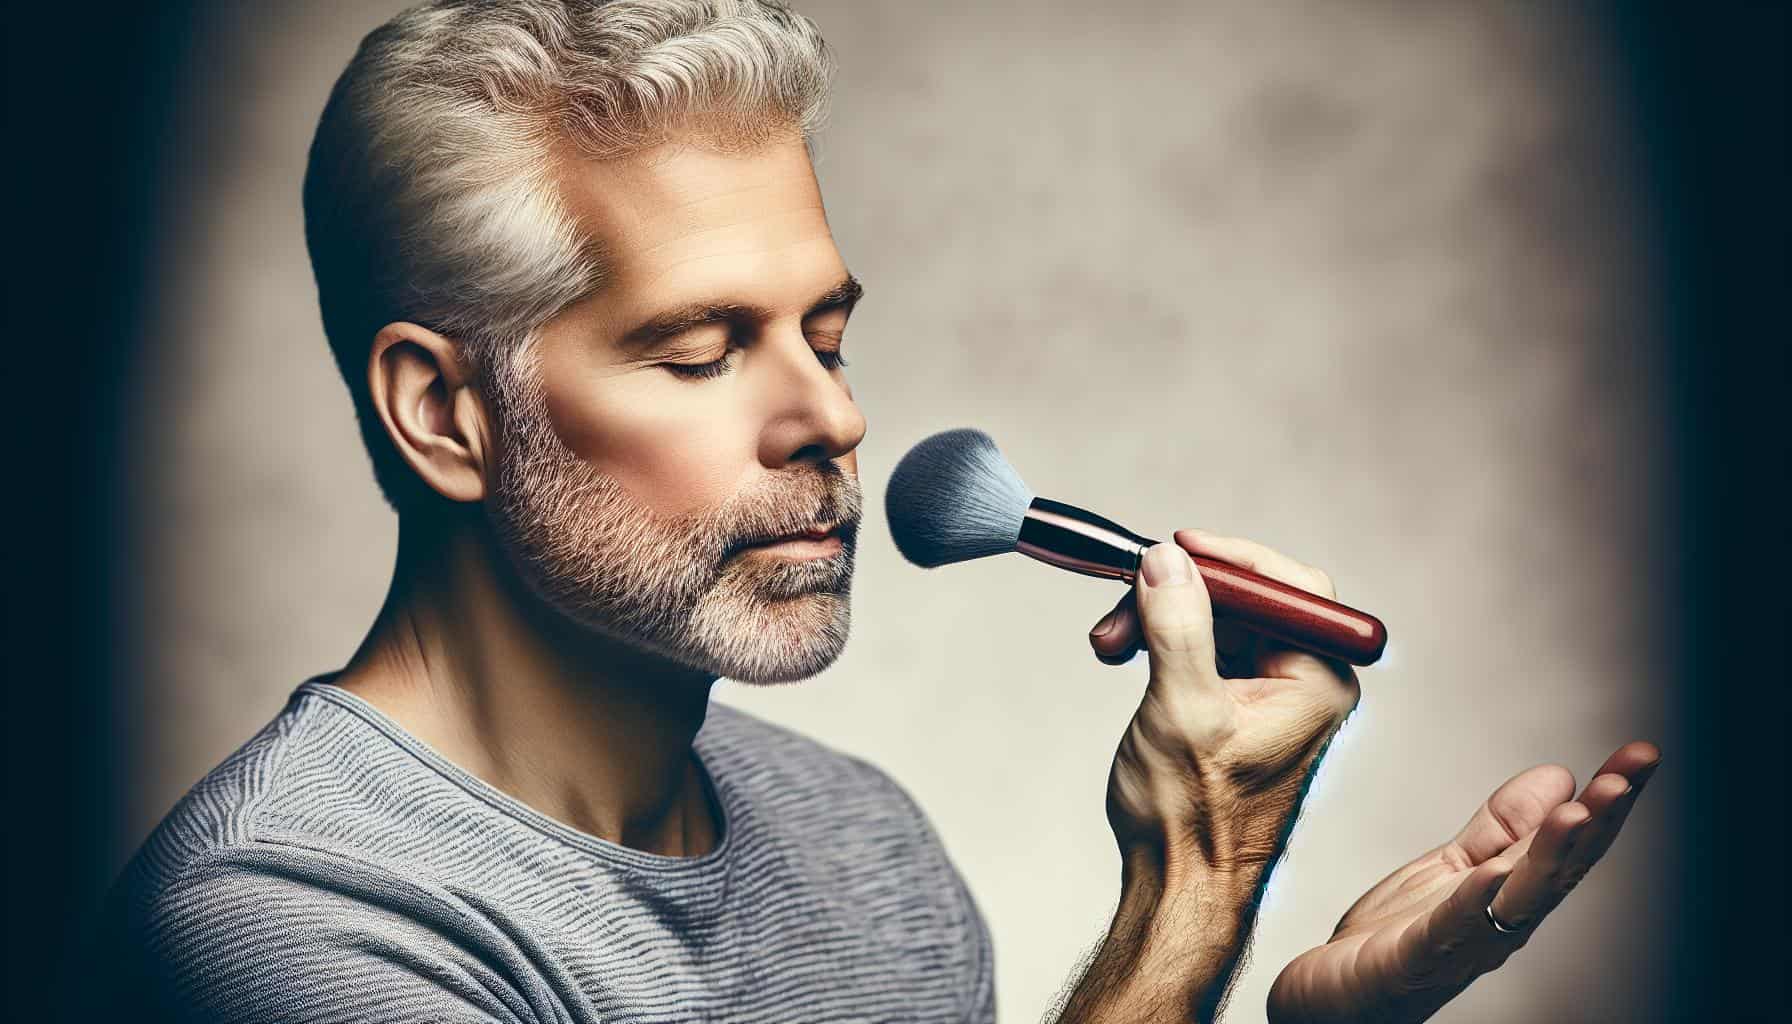
First off, let’s talk tools. You’ll need the right brushes or sponges for application. A large, fluffy brush is ideal for a light dusting across the face, while a smaller, dense brush is perfect for setting those hard-to-reach areas.
“The right tool makes all the difference in applying makeup powder. It’s not just about what you apply, but how you apply it.”
Bear in mind that applying powder isn’t a one-size-fits-all process. Different areas of the face require different techniques. Let’s break it down:
| Area | Tool Recommended | Technique |
|---|---|---|
| T-Zone | Small, dense brush | Light, dabbing motions |
| Under Eyes | Small, fluffy brush | Gentle sweep and set |
| Cheeks | Large, fluffy brush | Broad sweeps for a light finish |
- T-Zone: This area tends to be oilier, making precision application key to avoid a cakey look.
- Under Eyes: A delicate area that needs light sweeping motions to set concealer without emphasizing lines.
- Cheeks: Usually require less powder, a broad sweep ensures a natural, blended look.
Blending is your best friend here. Once you’ve applied your powder, take the time to blend it seamlessly into your foundation or base. This step ensures there are no harsh lines or patches, leaving you with a smooth, cohesive canvas.
Understanding The Purpose of Powder

When diving into the world of makeup, recognizing the purpose of powder can significantly enhance your overall look. It’s not just about applying makeup; it’s about setting it to stay. Powder helps in absorbing excess oil, reducing shine, and offering a matte finish. This makes it an essential step, especially if you have oily skin or live in a humid climate.
Beyond oil control, powder plays a pivotal role in setting your foundation or concealer, preventing it from slipping or creasing throughout the day. Think of it as the glue that holds your makeup in place, ensuring longevity.
For a clearer understanding, observe the table below highlighting the primary purposes of using powder:
| Purpose | Benefit | Recommended for |
|---|---|---|
| Oil Control | Reduces shine, absorbs excess oil | Oily/Combination Skin |
| Setting Makeup | Prevents foundation/concealer creasing | All Skin Types |
| Matte Finish | Provides a smooth, matte look | All Skin Types, especially oily |
“Powder is the unsung hero of the makeup bag. It sets, perfects, and finishes, often without any visible trace.”
Incorporating powder into your makeup routine isn’t just about applying it haphazardly. Each area of your face demands a different approach. The T-zone, under eyes, and cheeks all have their unique needs, emphasizing the importance of technique and tool choice. With the right approach, powder can transcend its basic purposes, offering dimension and longevity to your makeup, making it truly last from day to night.
Finding the Right Powder for Your Skin
Before diving into where to apply powder, it’s crucial to select a powder that complements your skin type and needs. Skin type and desired finish are pivotal in making this choice. Whether you’re aiming for a luminous glow or a matte look, there’s a powder out there for you.
For Different Skin Types
Your skin type should guide your powder selection. Here’s a quick guide to help you out:
| Skin Type | Recommended Powder Type |
|---|---|
| Oily | Matte, Translucent |
| Dry | Hydrating, Mineral |
| Combination | Balancing, Long-Wear |
| Sensitive | Mineral, Fragrance-Free |
Oily skin types benefit from matte powders that control shine, while dry skin should look for hydrating powders that offer a non-cakey finish. Combination skin requires a balancing act, perhaps a powder that focuses on the T-zone to manage shine without over-drying. Those with sensitive skin should opt for mineral powders that minimize irritation.
Pro Tip: “Test the powder on your jawline, not your hand, to get the most accurate match to your face.”
Desired Finish
Consider what finish you prefer:
- Matte for reducing shine
- Dewy for a radiant glow
- Natural for a look that’s between matte and dewy
Matte finishes are excellent for controlling excess oil, dewy finishes impart a youthful radiance, and natural finishes offer versatility, appearing neither too shiny nor too flat.
Choosing the right powder is just the beginning. Each powder type has its charm and function, and finding your match is key to nailing that flawless makeup look. Remember, the powder you choose should not only suit your skin type but also enhance your overall makeup by complementing your foundation or concealer.
How to Prep Your Face for Powder
Before diving into where to put powder on your face, it’s crucial to understand how to prepare your skin properly. A flawless finish starts with the right prep.
First things first, cleansing and moisturizing are your foundational steps. Ensure your skin is clean and well-hydrated to avoid any powdery or cakey look once the powder is applied. Depending on your skin type, choose a moisturizer that provides enough hydration without leaving an oily residue.
Following moisturization, priming your face is the next big step. A good primer creates a smooth canvas and ensures your powder and other makeup components adhere well and stay put throughout the day.
Here’s a quick guide on what to focus on during prep:
| Step | Purpose |
|---|---|
| Cleansing | Removes dirt and oils, preparing the skin for hydration. |
| Moisturizing | Hydrates the skin, preventing the powder from becoming cakey. |
| Priming | Creates a smooth base for powder application, enhancing the longevity of your makeup. |
Important Note: Allow each layer to fully absorb before moving on to the next. This ensures each product works effectively and does not interfere with the application or texture of the powder.
Lastly, if you’re dealing with particular skin concerns like dry patches or fine lines, consider using targeted treatments or serums before applying moisturizer. These can help address specific issues and create a more even surface for makeup application.
This prep routine not only primes your skin but also maximizes the effectiveness and appearance of the powder, ensuring you get the flawless finish you’re aiming for.
Where to Apply Powder on Your Face
After prepping your skin properly, knowing where to apply powder is crucial for achieving that seamless finish. Unlike other makeup steps, powder application is all about targeting specific areas to reduce shine, set your makeup, and enhance your features.
First, focus on the T-Zone – the forehead, nose, and chin. This area tends to be oilier and may require a bit more powder to stay matte throughout the day. A light dusting across the cheeks can also help set foundation and concealer, ensuring your makeup stays intact.
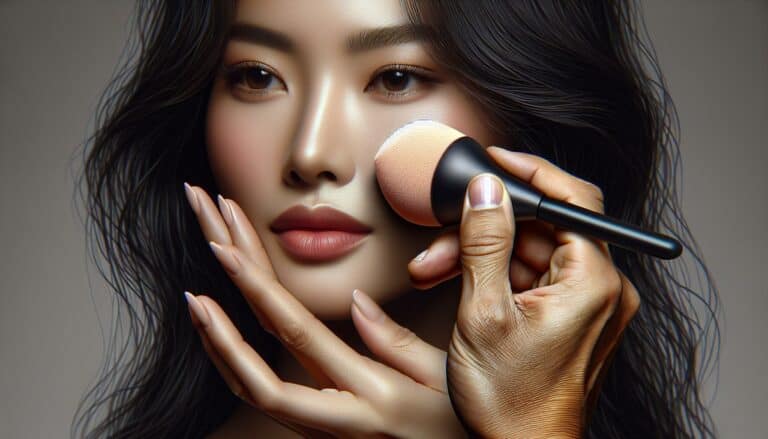
Highlighting the under-eye area is another key step. Setting powder here not only brightens the look but also prevents your concealer from creasing. Remember to use a light hand and a fluffy brush for an airbrushed finish.
To help you visualize, here’s a quick reference table:
| Area | Powder Application Method |
|---|---|
| T-Zone | Moderate dusting to control shine |
| Under-eye | Light dusting to set concealer |
| Cheeks | Light sweep to set makeup |
Remember: “Less is more when it comes to powder. You’re aiming for a matte finish, not a powdery facade.”
For those with dry skin, applying powder sparingly or opting for hydrating formulas can prevent a cakey appearance. Meanwhile, oily skin types might benefit from a bit more powder to control excess shine.
Lastly, consider using a translucent powder for a universal fit or a colored powder that matches your skin tone for extra coverage. Experimenting with finishes, from matte to radiant, allows you to tailor your powder application to your skin’s needs and your personal preference.
Setting Your Foundation with Powder
After you’ve prepped your skin and applied your foundation, setting it with powder is the next crucial step. This doesn’t just help your makeup last longer; it also keeps your skin looking flawless and matte.
Setting your foundation with powder shouldn’t feel daunting. Start by selecting a powder that complements your skin type and foundation. If you’re using a liquid foundation, a finely milled loose powder can set your makeup without making it look cakey.
“Always tap off the excess powder from your brush to avoid over-application.”
When applying powder, focus on areas where your makeup tends to break down first. The T-Zone—forehead, nose, and chin—is notorious for becoming oily. A light dusting of powder in these areas can make a significant difference.
| Area | Amount of Powder | Tool |
|---|---|---|
| T-Zone | Moderate | Large, fluffy brush |
| Under-eyes | Light | Small, tapered brush |
| Cheeks | Light | Large, fluffy brush |
For dry skin types, be cautious around areas that can look parched or flaky. A minimal amount of powder, or even skipping certain areas altogether, might work better for you.
Remember, the goal is to set your foundation so it lasts throughout the day, not to completely mattify your face. Experiment with the amount of powder and the tools you use to find what works best for your skin and makeup routine.
Contouring and Highlighting with Powder
Once your foundation and setting powder are in place, it’s time to sculpt and highlight your face for that extra dimension. Contouring and highlighting with powder not only define your features but also ensure a seamless blend with the rest of your makeup.
For contouring, select a powder that is two shades darker than your skin tone. The key areas to apply contour powder are:
- Under your cheekbones
- Along your jawline
- The sides of your nose
- The perimeter of your forehead
These areas are where shadows naturally fall, and enhancing them will give your face a more sculpted appearance.
Highlighting, on the other hand, brings forward and illuminates certain features. Choose a highlighter that complements your skin tone—usually one that is two shades lighter. Apply the highlighter to:
- The tops of your cheekbones
- The bridge of your nose
- The brow bone
- The cupid’s bow
“Contouring and highlighting are like peanut butter and jelly. They work best together, defining your natural bone structure and bringing out your best features.” – Expert Makeup Artist
Here’s a quick reference table for where to apply contour and highlighter powder:
| Feature to Enhance | Contour | Highlight |
|---|---|---|
| Cheekbones | Below the bone | Above the bone |
| Jawline | Under the jaw | – |
| Nose | Sides | Bridge |
| Forehead | Perimeter | Center |
| Cupid’s Bow & Brow Bone | – | Directly on |
Remember, blending is your best friend in making sure there are no harsh lines, and everything looks natural. Use a clean, fluffy brush for blending the powders seamlessly into your skin. With practice, you’ll get the hang of enhancing your features just the way you like.
Tips for Applying Powder in Specific Areas
When applying powder, less is more. You want to aim for a look that enhances your natural beauty rather than masking it. Here’s a guide to help you apply powder strategically to specific areas of your face:
- T-Zone: This is often the oiliest part of the face. A light dusting in the T-Zone helps control shine and set your makeup.
- Under Eyes: Setting powder can prevent your concealer from creasing. Use a small, fluffy brush for a precise application that doesn’t cake.
- Cheeks: For contouring, apply powder slightly below your cheekbones. This elevates your facial features by creating shadows and dimension.
Here’s a quick reference guide for where to apply various types of powder:
| Area | Type of Powder | Purpose |
|---|---|---|
| T-Zone | Setting/Translucent | Control Shine, Set Makeup |
| Under Eyes | Setting | Prevent Creasing |
| Cheeks | Contour | Define and Sculpt |
Blending is key. Whether it’s your T-Zone or cheeks, make sure to blend the powder softly into your skin or foundation. Harsh lines or visible powder can detract from a natural, seamless look.
“Always start with a light hand and build up if necessary. It’s much easier to add more powder than to take it away.” – Makeup Pro Tip
Remember, the goal is to enhance your features subtly. Powder, when used correctly, can play a pivotal role in achieving a flawless makeup look that lasts all day.
How to Choose the Right Tools for Applying Powder
Choosing the right tools for applying powder is just as crucial as picking the right shade. The tools you use can significantly affect the final look of your makeup.
When it comes to Powder Brushes, they’re the most common tool for applying face powder. Go for a fluffy, soft brush that allows for a light and even distribution of product. Look for one made with natural fibers if your skin is sensitive.
Kabuki Brushes
Kabuki brushes are short, with densely packed bristles, perfect for Buffing in powder for a flawless finish. They’re ideal if you’re aiming for full coverage.
Beauty Sponges
Beauty sponges, when used damp, can offer a Dewy Finish by pressing the powder gently onto the skin. They’re great for under-eye setting powder application or for baking your makeup.
Pro Tip: “Always tap off the excess product from your brush or sponge to avoid over-application.”
| Tool | Use Case | Finish |
|---|---|---|
| Powder Brush | General Application | Natural |
| Kabuki Brush | Full Coverage | Matte |
| Beauty Sponge | Targeted Application | Dewy |
Personal Preferences and the type of powder you’re using should guide your choice. Loose powders work best with a fluffy brush, while pressed powders can be applied with both brushes and sponges depending on the desired coverage.
Experiment with different tools to find what works best for you and your makeup routine. Each tool has its strengths, and mastering them can take your makeup application to the next level.
Conclusion
When diving into the realm of makeup application, strategically placing powder on your face can make a world of difference in your overall look. You’re probably aware of the usual areas, but let’s break it down a bit further to ensure you’re getting the most out of your products.
First off, remember the T-zone – this includes your forehead, nose, and chin. These areas tend to get oily faster, so applying a light layer of powder can help keep shine at bay. But, it’s not just about combating oil; it’s also about setting your makeup for a longer-lasting look.
For under-eyes, be gentle and sparing. A light dusting of translucent powder can prevent your concealer from creasing, but too much can highlight fine lines.
Here’s a quick guide to help you remember:
| Area | Product Recommendation | Benefit |
|---|---|---|
| T-zone | Translucent powder | Reduces shine |
| Under-eyes | Light, loose powder | Prevents creasing |
| Cheeks | Colored, setting powder | Enhances blush longevity |
Pro Tip: Always apply powder with a light hand. It’s simpler to build up coverage than to take it away!
Remember, the goal is to enhance your natural beauty, not mask it. Powder, when applied correctly, can set your makeup, reduce unwanted shine, and give you a flawless finish. But always keep in mind, makeup is a form of self-expression and experimentation. There are no hard and fast rules, only guidelines to help you along your journey. Feel free to bend the rules and try out different techniques to see what works best for you.

