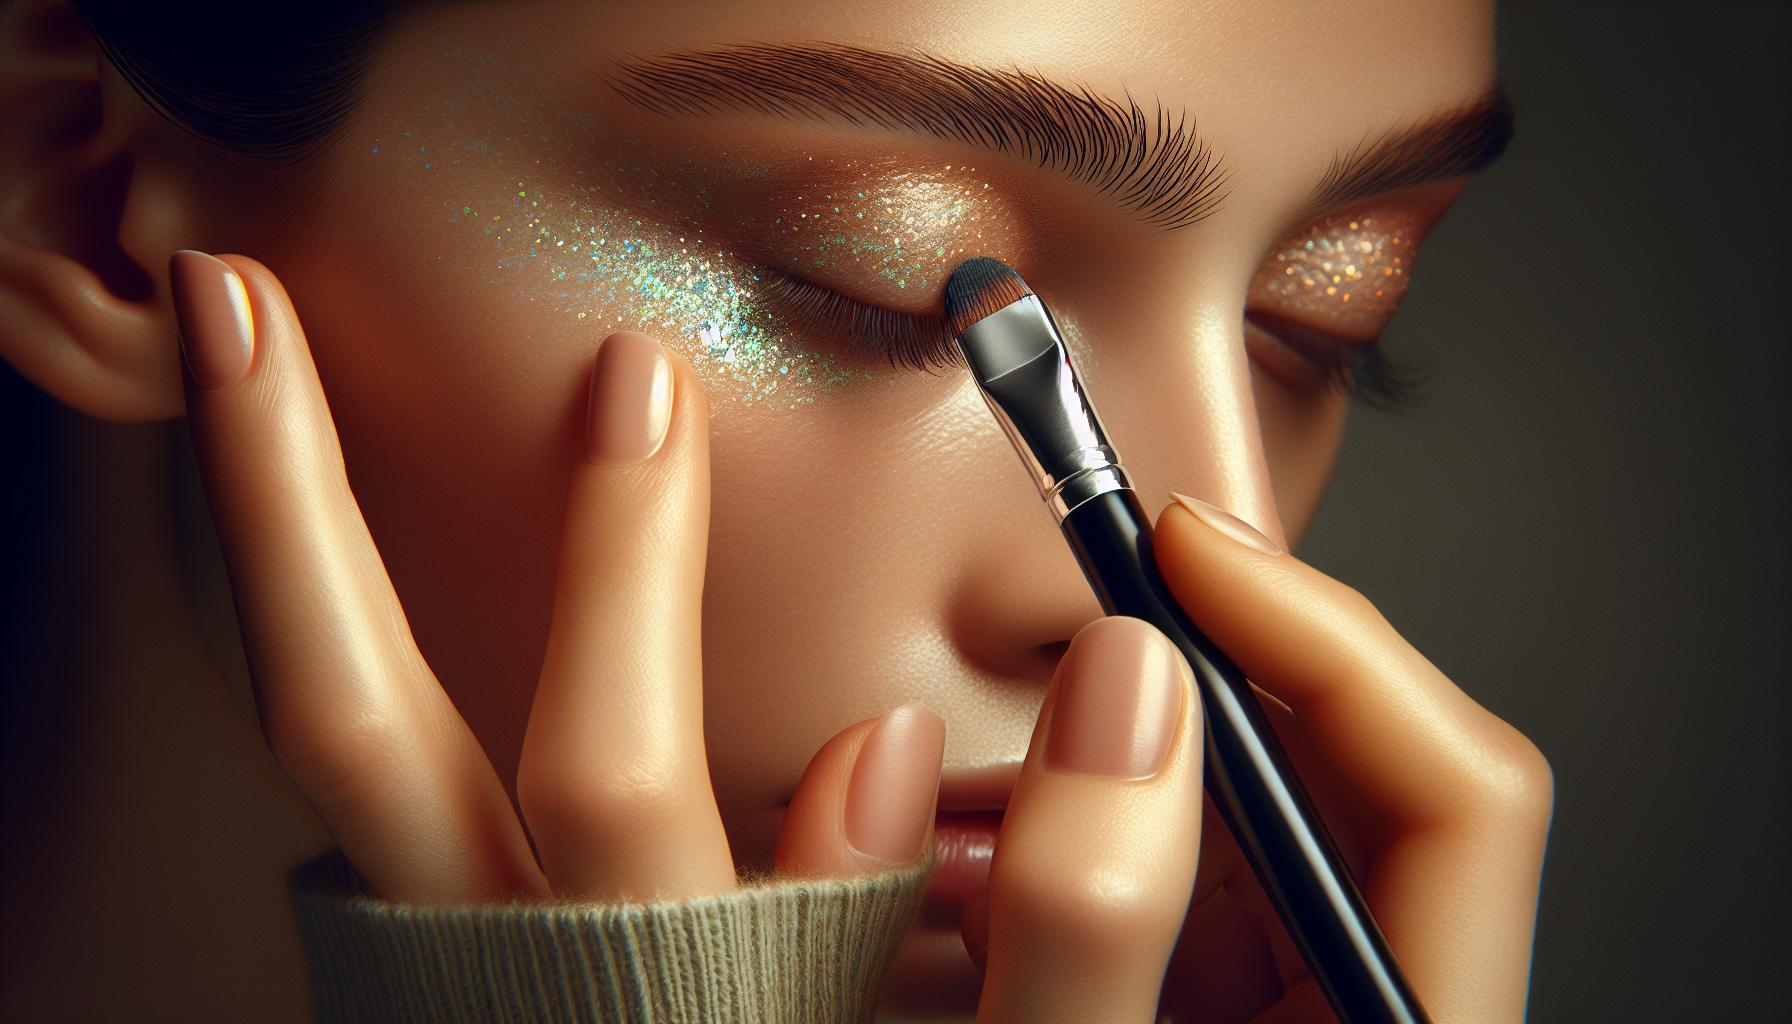
Choosing the Right Glitter Eyeshadow
When you’re on the hunt for the perfect glitter eyeshadow, it’s not just about picking up the shiniest palette you find. Your choices should harmonize with your eye color, skin tone, and the occasion to truly enhance your look.
Eye Color Magic
It’s thrilling to know that certain shades can make your eye color pop like never before. Here’s a quick guide:
| Eye Color | Recommended Shade |
|---|---|
| Blue | Warm bronze or gold |
| Green | Rich purples or pinks |
| Brown | Cool blue or silver |
| Hazel | Green or gold |
Skin Tone Synergy
Your skin tone plays a crucial role in selecting a glitter eyeshadow that complements rather than clashes. Here’s a straightforward strategy:
- Fair Skin: Go for light pinks, silvers, and champagnes.
- Medium Skin: Bronze, gold, and earthy tones are your allies.
- Dark Skin: Embrace bold jewel tones like emerald, sapphire, or amethyst.
“The right glitter eyeshadow doesn’t just illuminate your eyes; it enhances your overall complexion.”
Timing is Everything
The occasion dictates the intensity of your sparkle. A gentle shimmer works for daytime, while full-on glitter is perfect for nights out. However, remember that less is often more. Starting with a modest application and building up as needed can help you achieve that flawless look.
By keeping these tips in mind, you’ll be well on your way to finding that dazzling eyeshadow that not only catches the light but turns heads too.
Preparing Your Eyes for Glitter

Before you dive into applying your glitter eyeshadow, it’s crucial to prepare your eyes to ensure the glitter stays put and looks as vibrant as intended. Here’s how you can create the perfect canvas for your sparkly look.
Firstly, start with a clean base. Make sure your eyelids are free from any oils or makeup residue. This step isn’t just about cleanliness; it’s about creating a smooth surface for your eyeshadow to adhere to.
After cleansing, apply an eye primer. Primer plays a pivotal role in glitter eyeshadow application. It not only enhances the pigmentation of your glitter but also ensures it stays in place, without creasing or smudging. If you don’t have primer, a dab of concealer works as a great alternative.
Here’s a quick breakdown of why eye primer is key:
| Benefit | Description |
|---|---|
| Enhances Pigmentation | Makes glitter more vibrant and noticeable. |
| Longevity | Helps eyeshadow last longer, reducing the need for touch-ups. |
| Prevention | Reduces creasing and smudging of glitter particles. |
Additionally, consider using a white eyeshadow base or pencil to make the colors pop, especially if you’re using lighter or more translucent glitters.
Pro Tip: “For an added layer of intensity and to ensure your glitter sparkles to its fullest, pat a bit of light eyeshadow over your primer before applying the glitter. This will make the colors more vivid and eye-catching.”
Lastly, if you’re working with loose glitter, a setting spray or a specific glitter glue can offer that extra adherence you need for a flawless, long-lasting sparkle. Spraying a small amount on your brush before dipping into the glitter can prevent fallout and keep your glitter precisely where you want it.
By following these steps, you’re not just preparing your eyes for glitter eyeshadow; you’re setting the stage for a memorable, standout look that lasts.
Applying Glitter Eyeshadow
When you’re ready to dive into the world of glitter eyeshadow, preparation and technique are key. First, ensure you’ve selected the right type of glitter eyeshadow for your look—pressed, loose, or cream-based. Here’s a quick breakdown:
| Type | Benefits |
|---|---|
| Pressed | Easy to apply, less fallout |
| Loose | Intense sparkle, versatile application |
| Cream | Long-lasting, minimal need for adhesive |
Step 1: Prime Your Eyelids
Always start with a clean, primed eyelid. Applying primer or concealer ensures that your glitter eyeshadow has a smooth canvas and stays put for hours. This step can’t be overstated; it’s crucial for achieving a flawless look.
Step 2: Lay Down a Base Color
Before going in with glitter, apply a matte eyeshadow close to your skin tone. This step will accentuate the glitter and add depth to your eyes.
Step 3: Apply the Glitter
“For minimal fallout and maximum precision, use a flat, synthetic brush or your fingertip to apply pressed or cream glitter. If you’re using loose glitter, a damp brush can help minimize mess.”
Remember to gently tap off any excess product before applying to avoid fallout under your eyes.
Step 4: Blend and Set
After applying your glitter, gently blend the edges with a clean brush for a seamless transition into your base color. If you’ve used loose glitter, consider setting your look with a setting spray to lock everything in place.
Remember, when working with glitter, patience and practice will lead you to perfect your technique. Don’t be afraid to experiment with different colors and textures to find what works best for you.
Blending and Layering Techniques
Blending and layering your glitter eyeshadow correctly is crucial for achieving a seamless, eye-catching look. You’ll want to start with a solid base of matte eyeshadow before adding any glitter. This gives the glitter something to adhere to and helps create a gradient effect that’s both beautiful and multidimensional.
Choosing Your Tools
For the best blending and layering results, you’ll need to select the right tools. Soft, fluffy brushes are ideal for blending matte shades in your crease and outer corners, creating a smooth transition. For applying glitter, however, a flat, synthetic brush or even a clean fingertip can provide more precision and less fallout.
Step-by-Step Layering Guide
- Apply a Matte Base: Choose a matte eyeshadow close to your skin tone or one that complements the color of your glitter.
- Add Dimension: Use a slightly darker matte shade in the crease and outer corner.
- Glitter Time: Pat your chosen glitter eyeshadow onto the lid with a flat brush or your finger.
- Blend: Gently blend the edges of the glitter with the matte shades using a clean fluffy brush.
Ensuring Longevity
For your glitzy look to last all day or night, consider the following:
- Use a Primer: Always start with an eyeshadow primer.
- Setting Spray: A quick spritz can help everything stay in place.
Remember, “The key to flawless eyeshadow is blending,” as noted by many makeup artists. Through blending and proper layering, your glitter eyeshadow can achieve a professional, polished finish.
| Material | Why it’s Used |
|---|---|
| Matte Eyeshadow | Base color and for blending around the glitter |
“Layering is an art. Start simple, and build your way up.”
Experiment with different textures and colors to find the perfect combination for your eyes.
Removing Glitter Eyeshadow
After dazzling the night away with your glittery eyes, it’s crucial to remove your eyeshadow gently but effectively to prevent any potential damage or irritation to your sensitive eye area. Here are some steps to ensure you get every speck of glitter off safely.
First off, avoid rubbing your eyes. This can not only spread the glitter but can also irritate your skin and eyes.
“Always be gentle when removing makeup from around your eyes. Harsh rubbing can lead to damage.”
Opt for an oil-based makeup remover or coconut oil. These substances are great at breaking down the adhesive properties of the glitter and eyeshadow, making it easier to remove.
Steps to Remove Glitter Eyeshadow
Using an oil-based remover, follow these steps for a hassle-free removal process:
- Apply the remover on a cotton pad.
- Gently press the pad onto your eyelid for a few seconds.
- Slowly wipe away the glitter in one direction.
- Use a clean cotton pad for any residue left.
- Repeat if necessary until all the glitter is gone.
- Finish with a gentle face wash to remove any oil residue.
| Product Type | Examples |
|---|---|
| Oil-based remover | Bioderma, Clinique Take The Day Off |
| Natural oils | Coconut oil, Jojoba oil |
| Gentle face wash | Cetaphil Gentle Skin Cleanser, Cerave |
By following these steps and using the recommended products, you can ensure your skin remains healthy and free from any glitter remnants. Remember, taking care of your skin is just as important as the makeup you choose to wear.
Conclusion
Achieving a stunning, long-lasting glitter eyeshadow look might seem daunting, but with the right preparation and application techniques, you can ensure your eye makeup remains vibrant and in place throughout any event. Remember, practice makes perfect, and finding what works best for your unique features is key.
- Prime your eyelids to create a smooth canvas that will help the glitter adhere better and stay put.
- Opt for high-quality glitter and adhesive to avoid fallout and ensure longevity.
- Seal the deal with a setting spray to lock everything in place.
Here’s a handy table to help you choose the right tools for applying and ensuring the longevity of your glitter eyeshadow:
| Tool | Purpose |
|---|---|
| Small flat brush | For precise glitter application |
| Blending brush | To seamlessly blend edges |
| Setting spray | To lock in the look and prevent fallout |
| Glitter adhesive | For a stronghold on loose glitter particles |
“The key to flawless glitter eyeshadow is patience and precision. Take your time with each step for a truly stunning effect.” – Makeup Artist Jane Doe
Remember, blending is your friend when working with glitter. Soft transitions between colors and textures create a more sophisticated look. Whether you’re preparing for a day at the office or a night out, adjusting the intensity of your glitter eyeshadow can complement any occasion.
Lastly, always listen to your skin. If you find certain products cause irritation, don’t hesitate to try different brands or formulations. Makeup should enhance your beauty, not compromise your comfort.


