Choose the Right Shade of White Eyeshadow
Picking the perfect shade of white eyeshadow is crucial for nailing that look you’re aiming for. It’s not just about grabbing the first white shadow you see; shade, undertone, and finish all play a significant role in how the product will compliment your skin tone and overall makeup.
Understand Your Skin’s Undertone
Before diving into the shades, it’s essential to understand your skin’s undertone. Mainly, skin undertones are categorized into three types: cool, warm, and neutral. Here’s a quick guide to help you identify yours:
| Undertone | Characteristics |
|---|---|
| Cool | Pink, red or bluish undertones |
| Warm | Yellow, peachy, golden undertones |
| Neutral | A mix of both cool and warm or none of the above |
Matching Shade to Undertone
For cool undertones, a white eyeshadow with a slight blue or pink hue can work wonders. Warm undertones, on the other hand, pair beautifully with whites having a hint of peach or yellow. And if you’re neutral, you’re in luck; most shades will complement your skin, but aim for a true white to highlight your versatility.
Finish Matters
The finish of your white eyeshadow can dramatically affect its appearance and use. Matte finishes are great for a more understated, sophisticated look, perfect for daytime or professional settings. Shimmer or metallic finishes add drama and are ideal for night-outs or when you want to add a bit of sparkle to your gaze.
Expert Tip: “Layering a shimmer shade over a matte one can add dimension and shimmer without overwhelming,” says celebrity makeup artist Alex Rivera.
Remember, the right white eyeshadow is out there for you. It’s all about playing with shades and finishes until you find your perfect match.
Prepare Your Eyelids for Application

Before diving into the vibrant world of white eyeshadow, it’s essential to prepare your eyelids. This step ensures your eyeshadow not only looks flawless but stays put throughout the day or night.
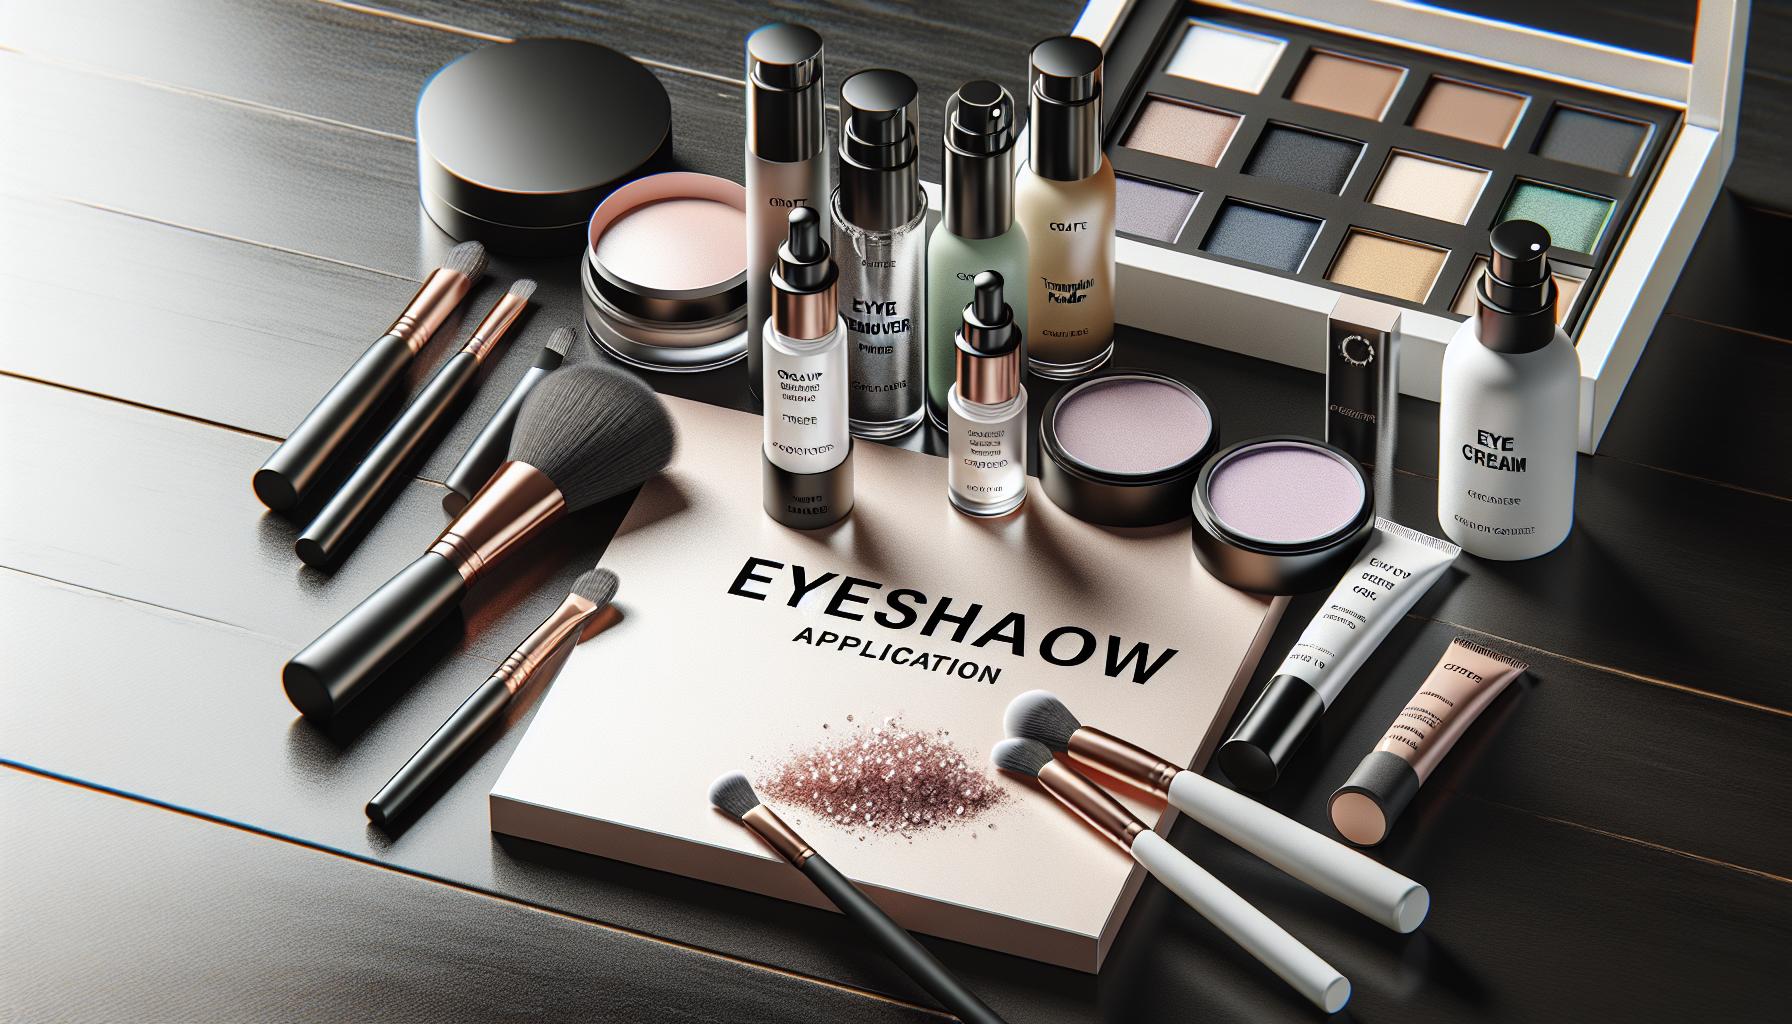
Start by cleansing your eyelids with a gentle makeup remover or cleanser. This will remove any oils or residue that could interfere with your eyeshadow application. Next, apply an eyeshadow primer. Primer creates a smooth canvas and boosts the longevity of your eyeshadow. If you don’t have a primer, a dab of concealer or foundation works in a pinch.
Hydration is key for a smooth application, so don’t skip moisturizing your eyelids. However, be sure to apply a lightweight, non-greasy eye cream or moisturizer. Heavy formulas can cause your eyeshadow to slide off.
For those who struggle with oily lids, consider using a matte primer or lightly dusting translucent powder over your primer to lock everything in place.
“Prepping your eyelids is like priming a wall before painting. It’s a crucial step for vibrant and enduring results.” – Alex Rivera, Celebrity Makeup Artist
| Eyelid Prep Step | Product Type | Benefit |
|---|---|---|
| 1. Cleanse | Makeup remover or cleanser | Removes oils and residue |
| 2. Prime | Eyeshadow primer | Enhances longevity |
| 3. Moisturize | Eye cream or moisturizer | Smooths application |
| 4. Set (optional) | Translucent powder | Locks primer in place |
Remember, the goal is a smooth, even base that lets your white eyeshadow shine. Whether you’re aiming for a subtle hint of brightness or a bold, dramatic look, proper preparation is the foundation of your eyeshadow application success.
Apply White Eyeshadow as a Highlighter
When you’re looking to add a pop of brightness to your look, white eyeshadow can double as a powerful highlighter. This versatile tool not only enhances your eyes but also illuminates the high points of your face with a few simple techniques.
To start, select a white eyeshadow with a shimmer or metallic finish for the most radiant effect. These finishes reflect light beautifully, drawing attention to where it’s applied. Using a small, fluffy brush, gently sweep the eyeshadow onto areas of your face that naturally catch the light.
Areas to Highlight:
- Brow bone: This lifts and defines your eyebrows, framing your face.
- Inner corner of the eye: Adding white eyeshadow here instantly makes the eyes look bigger and more awake.
- Cupid’s bow: A touch above your upper lip accentuates lip shape and volume.
- Cheekbones: A subtle sweep adds dimension and a youthful glow.
Pro Tip: “Layering a shimmer white eyeshadow over these areas can take your highlight to the next level, especially for evening looks,” says makeup expert Alex Rivera.
Here’s a quick overview of the impact of white eyeshadow as a highlighter:
| Highlighted Area | Effect |
|---|---|
| Brow Bone | Defines eyebrows; frames the face |
| Inner Corner of the Eye | Enlarges the eyes; increases alertness |
| Cupid’s Bow | Accentuates lip shape; adds volume |
| Cheekbones | Adds dimension; creates a youthful glow |
While experimenting with white eyeshadow as a highlighter, remember it’s all about enhancing your natural beauty. Start with a light hand and build up to the desired intensity for a polished, radiant finish that complements your overall makeup look.
Create a Subtle Daytime Look
Stepping out during the day doesn’t mean your eyeshadow should go unnoticed. With the right approach, your white eyeshadow can enhance your natural beauty without overwhelming it. Subtlety is key for a daytime look, and mastering this can turn your white eyeshadow into a daily staple.
Begin by selecting a matte finish white eyeshadow. This is crucial for creating a look that’s polished but not too dramatic for daylight hours. Apply a thin layer across your eyelid, blending it gently towards the crease. The goal here is to brighten the eyes while maintaining a natural appearance.
For those wanting just a touch more depth, adding a light brown or tan in the crease can create dimension without detracting from the subtlety of the white. Here’s a simple guide to layering your eyeshadow for a daytime look:
| Step | Eyeshadow | Area to Apply |
|---|---|---|
| 1 | Matte White | Full Lid |
| 2 | Light Brown | Crease (Optional) |
| 3 | Shimmer White | Inner Corner (Dot) |
“Incorporating a pop of shimmer in the inner corners of your eyes can instantly brighten your entire face,” advises makeup artist Alex Rivera. This small detail can make a significant difference, especially when the rest of your makeup is kept minimal during the day.
Layering your eyeshadows correctly ensures that each element compliments rather than competes with each other. Blending is your best friend here; make sure there are no harsh lines between the shades to maintain that effortlessly chic look.
Experiment with Bold and Dramatic Looks
When you’re ready to elevate your makeup game, white eyeshadow can be your secret weapon for crafting bold and dramatic looks. It’s not just about applying the shadow—it’s about how you play with contrast, textures, and application techniques to make your eyes truly stand out.
For an electrifying look, consider the graphic liner trend. Use white eyeshadow as a base to brighten the eye area, then take a bold-colored liner to draw sharp, geometric shapes or winged lines. This not only showcases your artistic flair but also makes your eyes the focal point of your look.
“White eyeshadow serves as the perfect canvas for colorful, bold liners, allowing your creativity to shine.” – Alex Rivera
Mixing textures can also create eye-catching effects. Here’s a simple guide to help you choose the right texture for your intended look:
| Look | Texture |
|---|---|
| Edgy | Glitter |
| Sophisticated | Metallic |
| Understated | Matte |
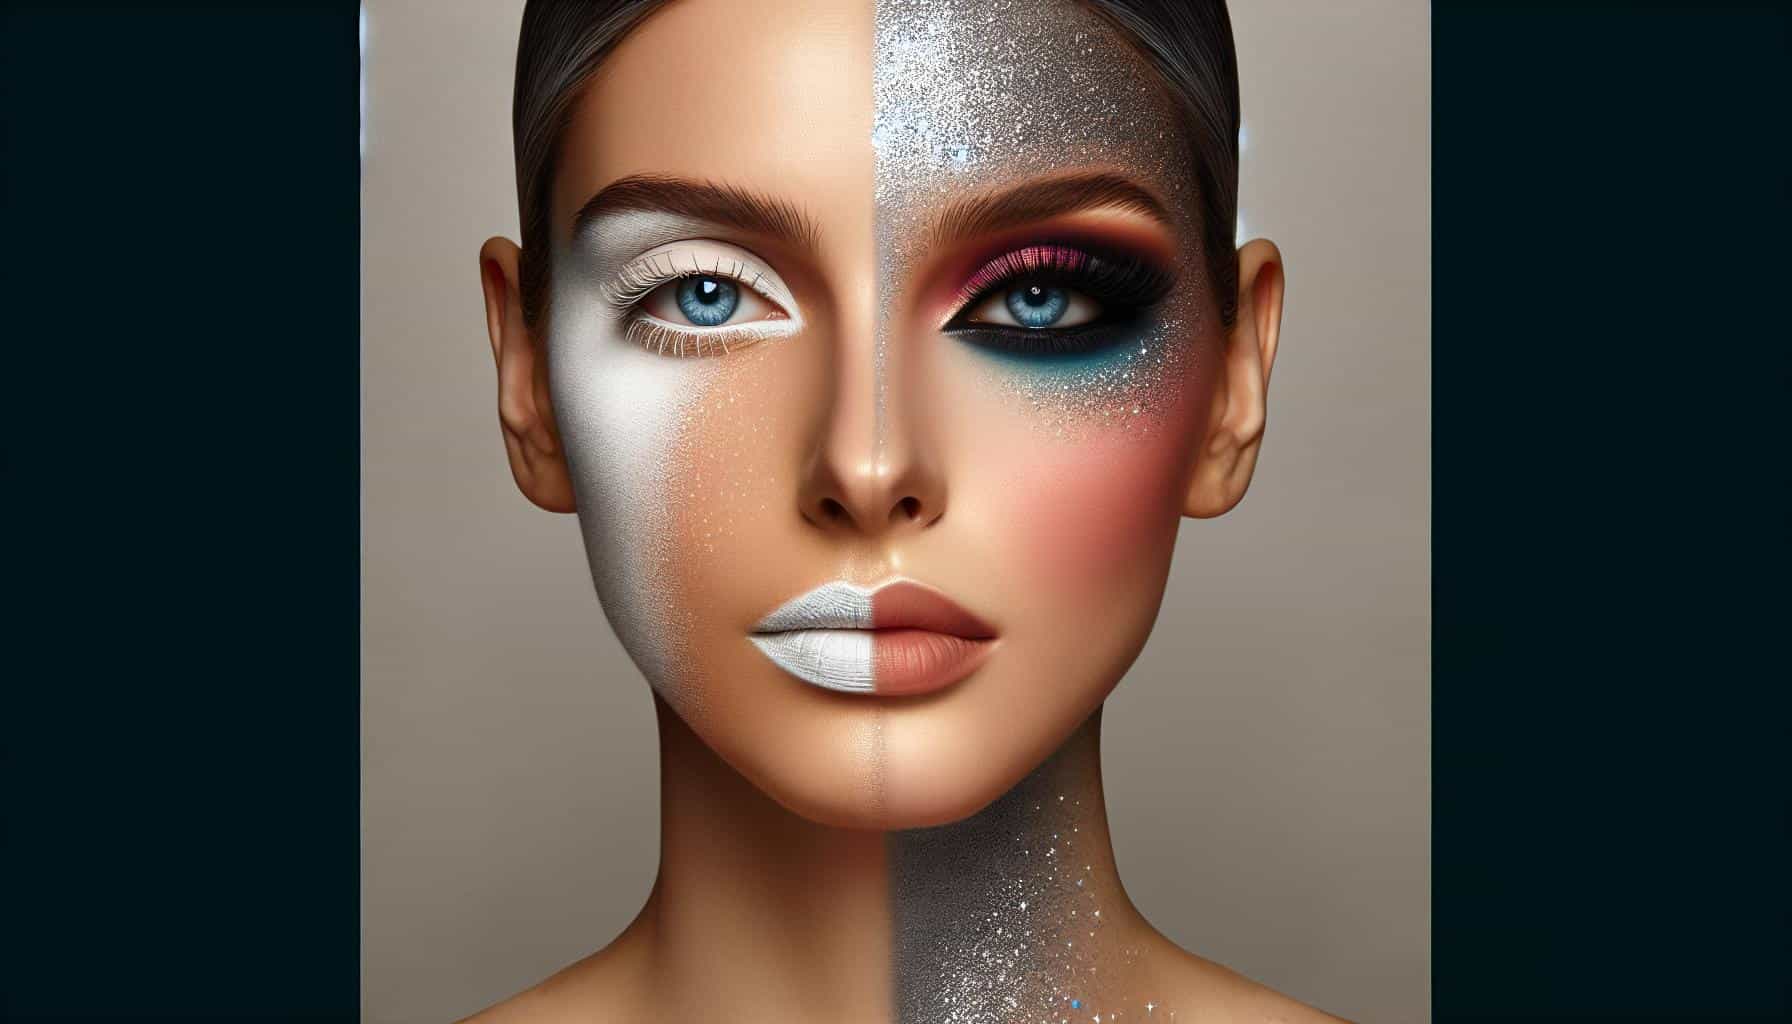
Don’t shy away from glitter or metallic textures when aiming for a night out or party look. Applying a glittery white eyeshadow on your lid with a damp brush can amplify your eyes, making them sparkle under the lights.
Layering is another technique worth exploring. Start with a matte white base, then layer a metallic or glitter shadow on the center of your lids for an unexpected pop. This not only adds depth but also plays with light, drawing more attention to your eyes.
Remember, the key to mastering dramatic looks with white eyeshadow is experimentation. Don’t be afraid to step outside your comfort zone and try different combinations of textures, colors, and application methods. Each attempt brings you closer to discovering your own unique style.
Conclusion
When you’re ready to transition your white eyeshadow look from day to evening, it’s all about adding drama and depth to your eyes. As dusk falls, you can easily turn your subtle daytime look into something more captivating for the night. Layering plays a crucial role in this transformation.
Start by deepening the crease with a darker shade than you would use for daytime—think deep browns, greys, or even black for a smoky effect. This contrast with the white eyeshadow not only adds dimension but also intensifies your look.
Here’s a tip from celebrity makeup artist Alex Rivera you’ll find invaluable:
“For an evening look that truly stands out, don’t shy away from adding a bit of sparkle. A touch of silver or gold glitter on top of the white can completely transform your look, giving it an ethereal quality.”
For a bold statement, consider using your white eyeshadow as a base under bright or neon pigments. The white base will make any color you apply on top pop, ensuring your eyes become the focal point.
In the table below, you can see the recommended shades for enhancing your white eyeshadow look for an evening out:
| Base Eyeshadow | Crease Color | Highlight |
|---|---|---|
| White | Deep Brown | Silver |
| White | Charcoal Grey | Gold |
| White | Jet Black | Iridescent |
Remember, makeup is an art, and your face is the canvas. Mixing textures and finishes can result in truly unique looks. Metallic finishes can add sophistication, while a touch of glitter injects fun and playfulness. Don’t be afraid to experiment with Layering Different Textures and shadows to see what works best for your style and occasion.


