Simple Basic Eyeshadow Guide: Prime, Pick, and Blend Like a Pro
Selecting the Right Shades
When you’re starting with eyeshadow, the sea of colors can be daunting. Don’t worry, though, picking the right shades is simpler than it seems. Your first step is to understand your skin’s undertone—warm, cool, or neutral. This knowledge greatly narrows down your best color options.
For warm undertones, think earthy colors like browns, golds, and oranges. Cool undertones sparkle with blues, purples, and greens. If you’re neutral, lucky you! Most colors will complement your skin tone.
Here’s a basic guide:
| Undertone | Recommended Shades |
|---|---|
| Warm | Browns, Golds, Oranges |
| Cool | Blues, Purples, Greens |
| Neutral | Nearly All Colors |
Remember, the goal is to enhance your natural beauty, not overshadow it. For daily wear, select shades slightly darker than your skin tone for a subtle yet impactful look.
“Eyeshadow can be a form of self-expression. Don’t be afraid to experiment with colors outside your recommended shades. What’s important is how it makes you feel.” – Jane Doe, Makeup Artist
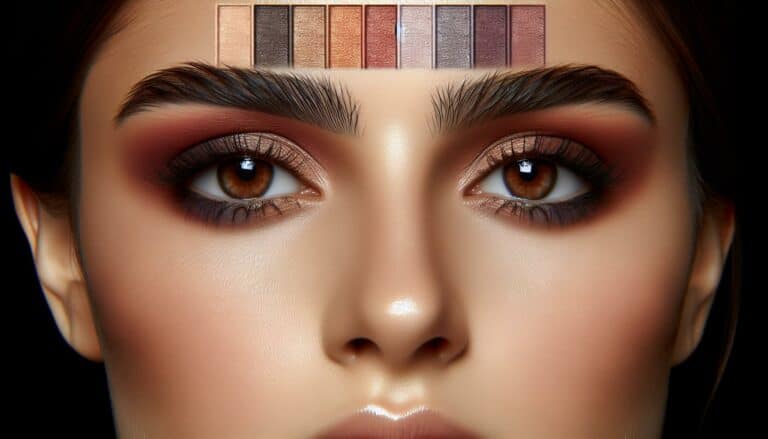
Start with a neutral palette for everyday wear—it’s a safe and versatile option. Neutral palettes typically contain a range of browns, beiges, and taupes that work well for most skin tones and undertones. They’re perfect for mastering basic application techniques before venturing into more vibrant colors.
Finally, consider the finish: matte, shimmer, and glitter. Matte shades are great for a subtle or professional look, shimmers add a touch of glam, and glitters are perfect for making a bold statement. Mixing finishes can add depth and dimension to your eyeshadow look. Experiment with different combinations to see what works best for you.
Prepping Your Eyes
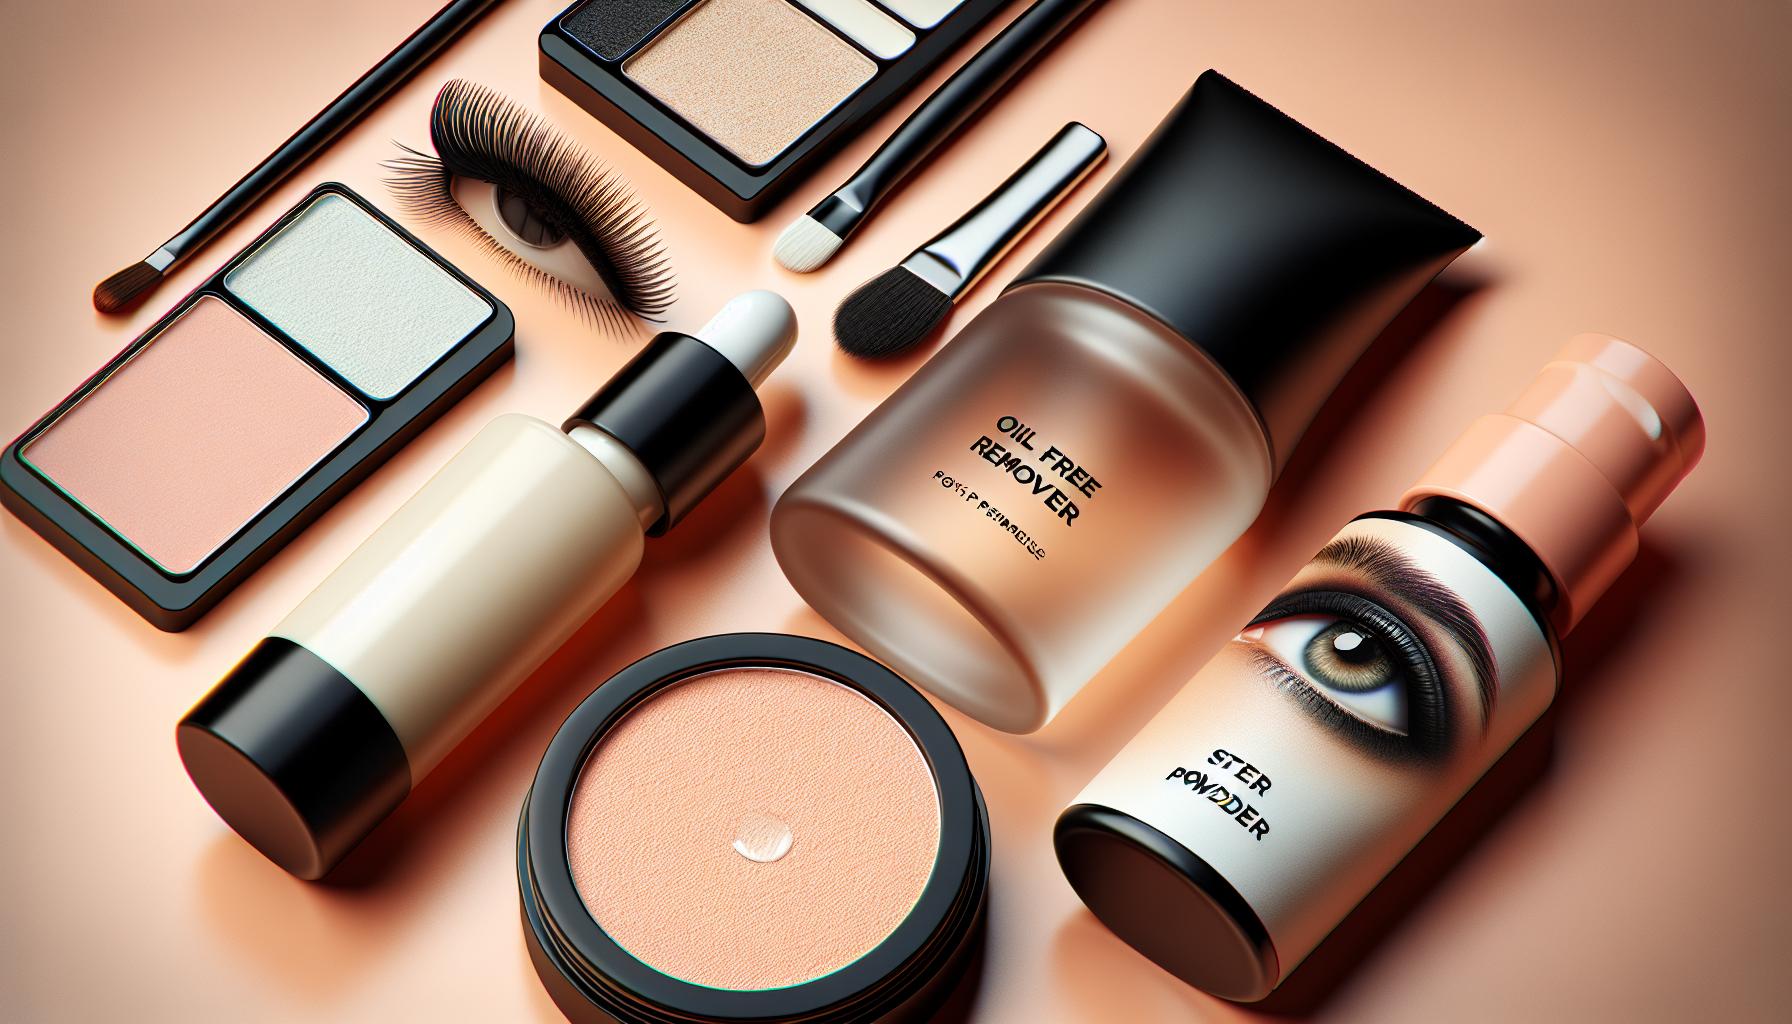
Before diving into the colorful world of eyeshadows, Prepping Your Eyes is a critical step you shouldn’t skip. This process ensures your eyeshadow not only goes on smoothly but also stays put throughout the day or night.
Firstly, cleanse your eyelids. Use a gentle, oil-free remover to get rid of any oils or makeup residue. This creates a clean canvas for your makeup.
Following cleansing, an eye primer is your best friend. It’s designed to make the eyeshadow adhere better and last longer. If you don’t have a primer, a small dab of concealer works as a good substitute. Here’s why primer is crucial:
“Eye primer creates a seamless canvas and intensifies the pigmentation of your eyeshadow for a look that lasts all day.”
Let’s talk about setting powder. Applying a light layer of setting powder over your primer or concealer prevents the eyeshadow from creasing. It smooths out any fine lines and creates an even base for application.
| Step | Product | Purpose |
|---|---|---|
| 1. Cleanse | Oil-free remover | Remove oils and makeup residue |
| 2. Prime | Eye primer | Enhance adhesion and longevity |
| 3. Set | Setting powder | Prevent creasing & ensure smooth application |
Remember, the goal of prepping is not only to improve the longevity of your eyeshadow but also to make the colors pop and allow for easier blending. Experiment with different primers and powders to find what works best for your skin type and the look you’re aiming for.
Applying the Base Color
Once your eyes are prepped and ready, it’s time to apply the base color. Base color acts as the foundation of your eyeshadow look, setting the stage for further detailing.
Start by choosing a shade that’s very close to your skin tone or slightly lighter. This will help illuminate your eyes and ensure that any colors layered on top pop.
“The base color is your eyeshadow’s foundation. Choose wisely.”
Using a fluffy eyeshadow brush, gently sweep your chosen base color across the entire lid, from lash line to brow bone. This not only sets a primer but creates a smooth canvas for additional colors. For those with oily lids, consider a matte finish to help absorb excess oil.
Here’s a quick guide to help you choose the right tool for applying your base color:
| Brush Type | Use Case |
|---|---|
| Fluffy Brush | For a light, even application across the entire lid |
| Flat Shader Brush | For packing color onto the lid for more intensity |
| Blending Brush | To smooth out any harsh lines |
Remember, the goal with your base color is to even out the skin tone on your lid and provide a clean backdrop for your eyeshadow look. Experimenting with different hues within your skin tone range can add subtle depth even before adding darker shades.
As always, blending is key. Ensure there are no harsh lines between your base color and your skin. You’re aiming for a seamless transition that enhances your natural eye shape.
Adding Dimension with Transition Shades
Adding dimension to your eyeshadow is like adding the secret ingredient to your favorite recipe. It’s what takes your look from flat to fab with just a few extra strokes. The transition shade is your best friend here, acting as a bridge between the base color and the darker shades you might use for contouring your eye.
You’ll want to choose a transition shade that’s a mid-tone color, typically one or two shades darker than your skin tone. This helps to create a gradient effect and adds depth to your eyeshadow look without overpowering it. For example:
| Skin Tone | Recommended Transition Shade |
|---|---|
| Light | Soft Peach |
| Medium | Warm Taupe |
| Dark | Rich Suede |
Using a fluffy blending brush, apply the transition shade into your crease and slightly above it. This is where your eyelid naturally folds. By applying a transition shade here, you’re defining your eye shape and ensuring that any darker colors you add later have a smooth gradient to blend into.
Remember, blending is key. Use windshield wiper motions to diffuse the color seamlessly into your base shade. The goal is to have no harsh lines between colors.
Pro Tip: For an added pop, consider using a slightly shimmery transition shade. It’ll catch the light beautifully and give your eyes an extra dimension without the need for glitter.
Ultimately, experimenting with different transition shades can dramatically change the outcome of your eyeshadow look. A light taupe might give you a subtle and natural blend, whereas a warm terracotta can offer a bolder, sunset effect. Don’t be afraid to step outside your comfort zone and try new combinations.
Creating Depth with the Outer Corner Shade
After layering your transition shade, it’s time to add depth to your eyeshadow look. Focusing on the outer corner of your eye, choose a shade that’s darker than your transition shade. This step is crucial for adding dimension and creating an illusion of a more defined eye shape.
For the outer corner, a matte finish is typically preferred, as it provides depth without adding unnecessary shine. Use a tapered blending brush for precision and control, focusing the color on the outermost part of your eyelid and blending into the crease.
| Skin Tone | Suggested Shade |
|---|---|
| Fair | Deep Brown |
| Medium | Rich Burgundy |
| Dark | Dark Charcoal |
Remember, the key to a seamless eyeshadow look lies in blending. Ensure you blend the outer corner shade well with the transition shade, using back-and-forth motions to avoid harsh lines.
Pro Tip: “Adding a dark shade to the outer corner not only adds depth but also creates a lifting effect for your eyes.”
Experimenting with different shades for the outer corner can lead to various effects, from a soft, subtle look to a bold, dramatic eye. Don’t hesitate to experiment with colors outside your comfort zone. As you become more confident with your skills, incorporating pops of color or shimmer into the outer corner can elevate your look even further.
Highlighting the Brow Bone and Inner Corner
After adding depth to your eyeshadow look, it’s time to bring in some highlight. Highlighting the brow bone and inner corner of your eyes can make a dramatic difference, making your eyes appear brighter and more open.
To begin with the brow bone, select a highlight shade that is lighter than your base color. This can either be a matte or slightly shimmering shade, depending on your preference. Using a small, precise brush, gently apply the highlight just below your eyebrow, following its natural arch. This subtle touch reflects light beautifully, enhancing the structure of your brow area.
Moving on to the inner corner of your eye, the application of a bright or shimmery shade here can truly make your eyes pop. The key is to use a shade that complements your overall eyeshadow look while adding a bit of sparkle or brightness. With a small, pointed brush, dab a little highlight into the inner corner of each eye. This technique is especially effective in making your eyes look wider and more awake.
Here are some commonly used highlight shades for different skin tones:
| Skin Tone | Highlight Shade |
|---|---|
| Fair | Soft Champagne |
| Medium | Rose Gold |
| Dark | Warm Bronze |
“A touch of highlight on the brow bone and inner corner can take your eyeshadow look from good to great. It’s like adding the perfect accessory to an outfit.”
Remember, blending is still crucial. Softly blend the highlight with the surrounding eyeshadow to avoid any harsh lines for a seamless transition. Experiment with different shades of highlight to see what best suits your unique eyeshadow creation.
Blending for a Seamless Look
Blending is arguably the key to mastering eyeshadow application. Without proper blending, your eyeshadow look can appear patchy or overly harsh. Think of blending as the magic wand that smooths everything out, creating a flawless transition between colors.
Essential Tools for Blending
For top-notch blending, you’ll need the right tools. Here’s a quick list of must-haves:
- Fluffy Blending Brush: For diffusing harsh lines
- Tapered Blending Brush: For precise application in the crease
- Clean Brush: To blend without adding more color
Blending Techniques to Know
Using the right techniques can make a world of difference. Remember, it’s all about gentle, circular, and windshield wiper motions.
| Technique | Use |
|---|---|
| Circular Motions | To diffuse color evenly across the lid |
| Windshield Wiper Motions | For seamless transition in the crease |
“Start with a light hand and build up color gradually. It’s easier to add more than to take away.”
Incorporating multiple shades can add depth and dimension, but it’s crucial that every addition is blended out. This prevents any stark lines, ensuring your eyeshadow melds together beautifully. Experiment with blending both matte and shimmer shades as they can interact differently on the skin. Remember, the goal is to create a cohesive look where colors flow seamlessly into one another.
Finishing Touches
After completing the blending process, highlighting and setting your eyeshadow are the final steps to ensure your look stays flawless throughout the day. Highlighting brings out the best in your eyeshadow work, adding a pop of brightness where it’s most effective.
Highlighting Key Areas
To enhance your eyeshadow look, apply a highlighter shade to the inner corners of your eyes and along the brow bone. This step not only makes your eyes look bigger and brighter but also gives an overall lifted appearance. Use a small, precise brush for the inner corners and a slightly fluffier brush for the brow bone to achieve a subtle blend.
Setting Your Eyeshadow
To prevent your eyeshadow from fading or creasing, it’s crucial to set your look. A light dusting of translucent setting powder or a quick spritz of setting spray can lock everything in place. Below is a comparison of both methods based on effectiveness and longevity.
| Setting Method | Effectiveness | Longevity |
|---|---|---|
| Translucent Powder | High | Moderate |
| Setting Spray | Moderate | High |
“A good setting spray is like a security blanket for your eyeshadow” – this is a gentle reminder that the right products can elevate your makeup game significantly.
Choosing between powder and spray might depend on your skin type or personal preference. Experimenting with both can help you find what best suits your needs. Remember, the goal is to ensure your eyeshadow remains vibrant and intact, showcasing your impeccable blending skills and the effort you’ve put into creating depth and dimension.
Conclusion
Achieving a stunning basic eyeshadow look is all about mastering a few key skills and understanding the right products for you. Remember, practice makes perfect. So, if at first, it doesn’t come out exactly as you hoped, don’t be disheartened. Every attempt is a step closer to nailing that flawless finish.
Starting with the essentials, ensure you’ve got your hands on quality eyeshadow primers. Primer not only helps your eyeshadow adhere better but also boosts its vibrancy. Next up, choosing the right eyeshadow palette is crucial. For beginners, opt for neutral shades as they’re forgiving and blend beautifully.
| Tool | Purpose |
|---|---|
| Eyeshadow Primer | Creates a smooth base and enhances color payoff |
| Neutral Palette | Offers versatile shades for day-to-night looks |
| Blending Brush | Essential for seamless integration of colors |
| Flat Shader Brush | For precise application on the lid |
“The only way to do great work is to love what you do.” – Keep this in mind as you experiment with different looks. Your passion for creating beautiful eye makeup will shine through.
Experimentation is key. Don’t shy away from trying different color combinations within your palette. Sometimes, the most unexpected pairing can lead to the most striking looks. And always blend, blend, blend! The magic in eyeshadow application lies in how well you can diffuse those edges and create a gradient effect.

